
*** We recently passed 1,000 subscribers on YouTube, and as a thank you for that and as a fun way to start the new year we’re giving away TWO sets of handgrips - one of each kind from this tutorial. For details and a chance to win be sure to visit the GIVEAWAY PAGE. ***
Wooden handgrips or kinogrips are becoming more and more popular. I’ve had my DIY grips for a couple years now and I get compliments on them constantly when I’m out on shoots - but besides being a conversation starter they’re ergonomic, practical, durable, and can be used on a variety of camera rigs. Most of the time these retail for nearly $100 or more, but today, we’ll be making our own wooden handgrips for around $12 per grip. We’re going to be making two different styles - some round / spherical ones, and some traditional / contoured ones.
MATERIALS:


2 1/4" wooden doll head (NOT a creepy one)
Scrap wood
Itty bitty screws
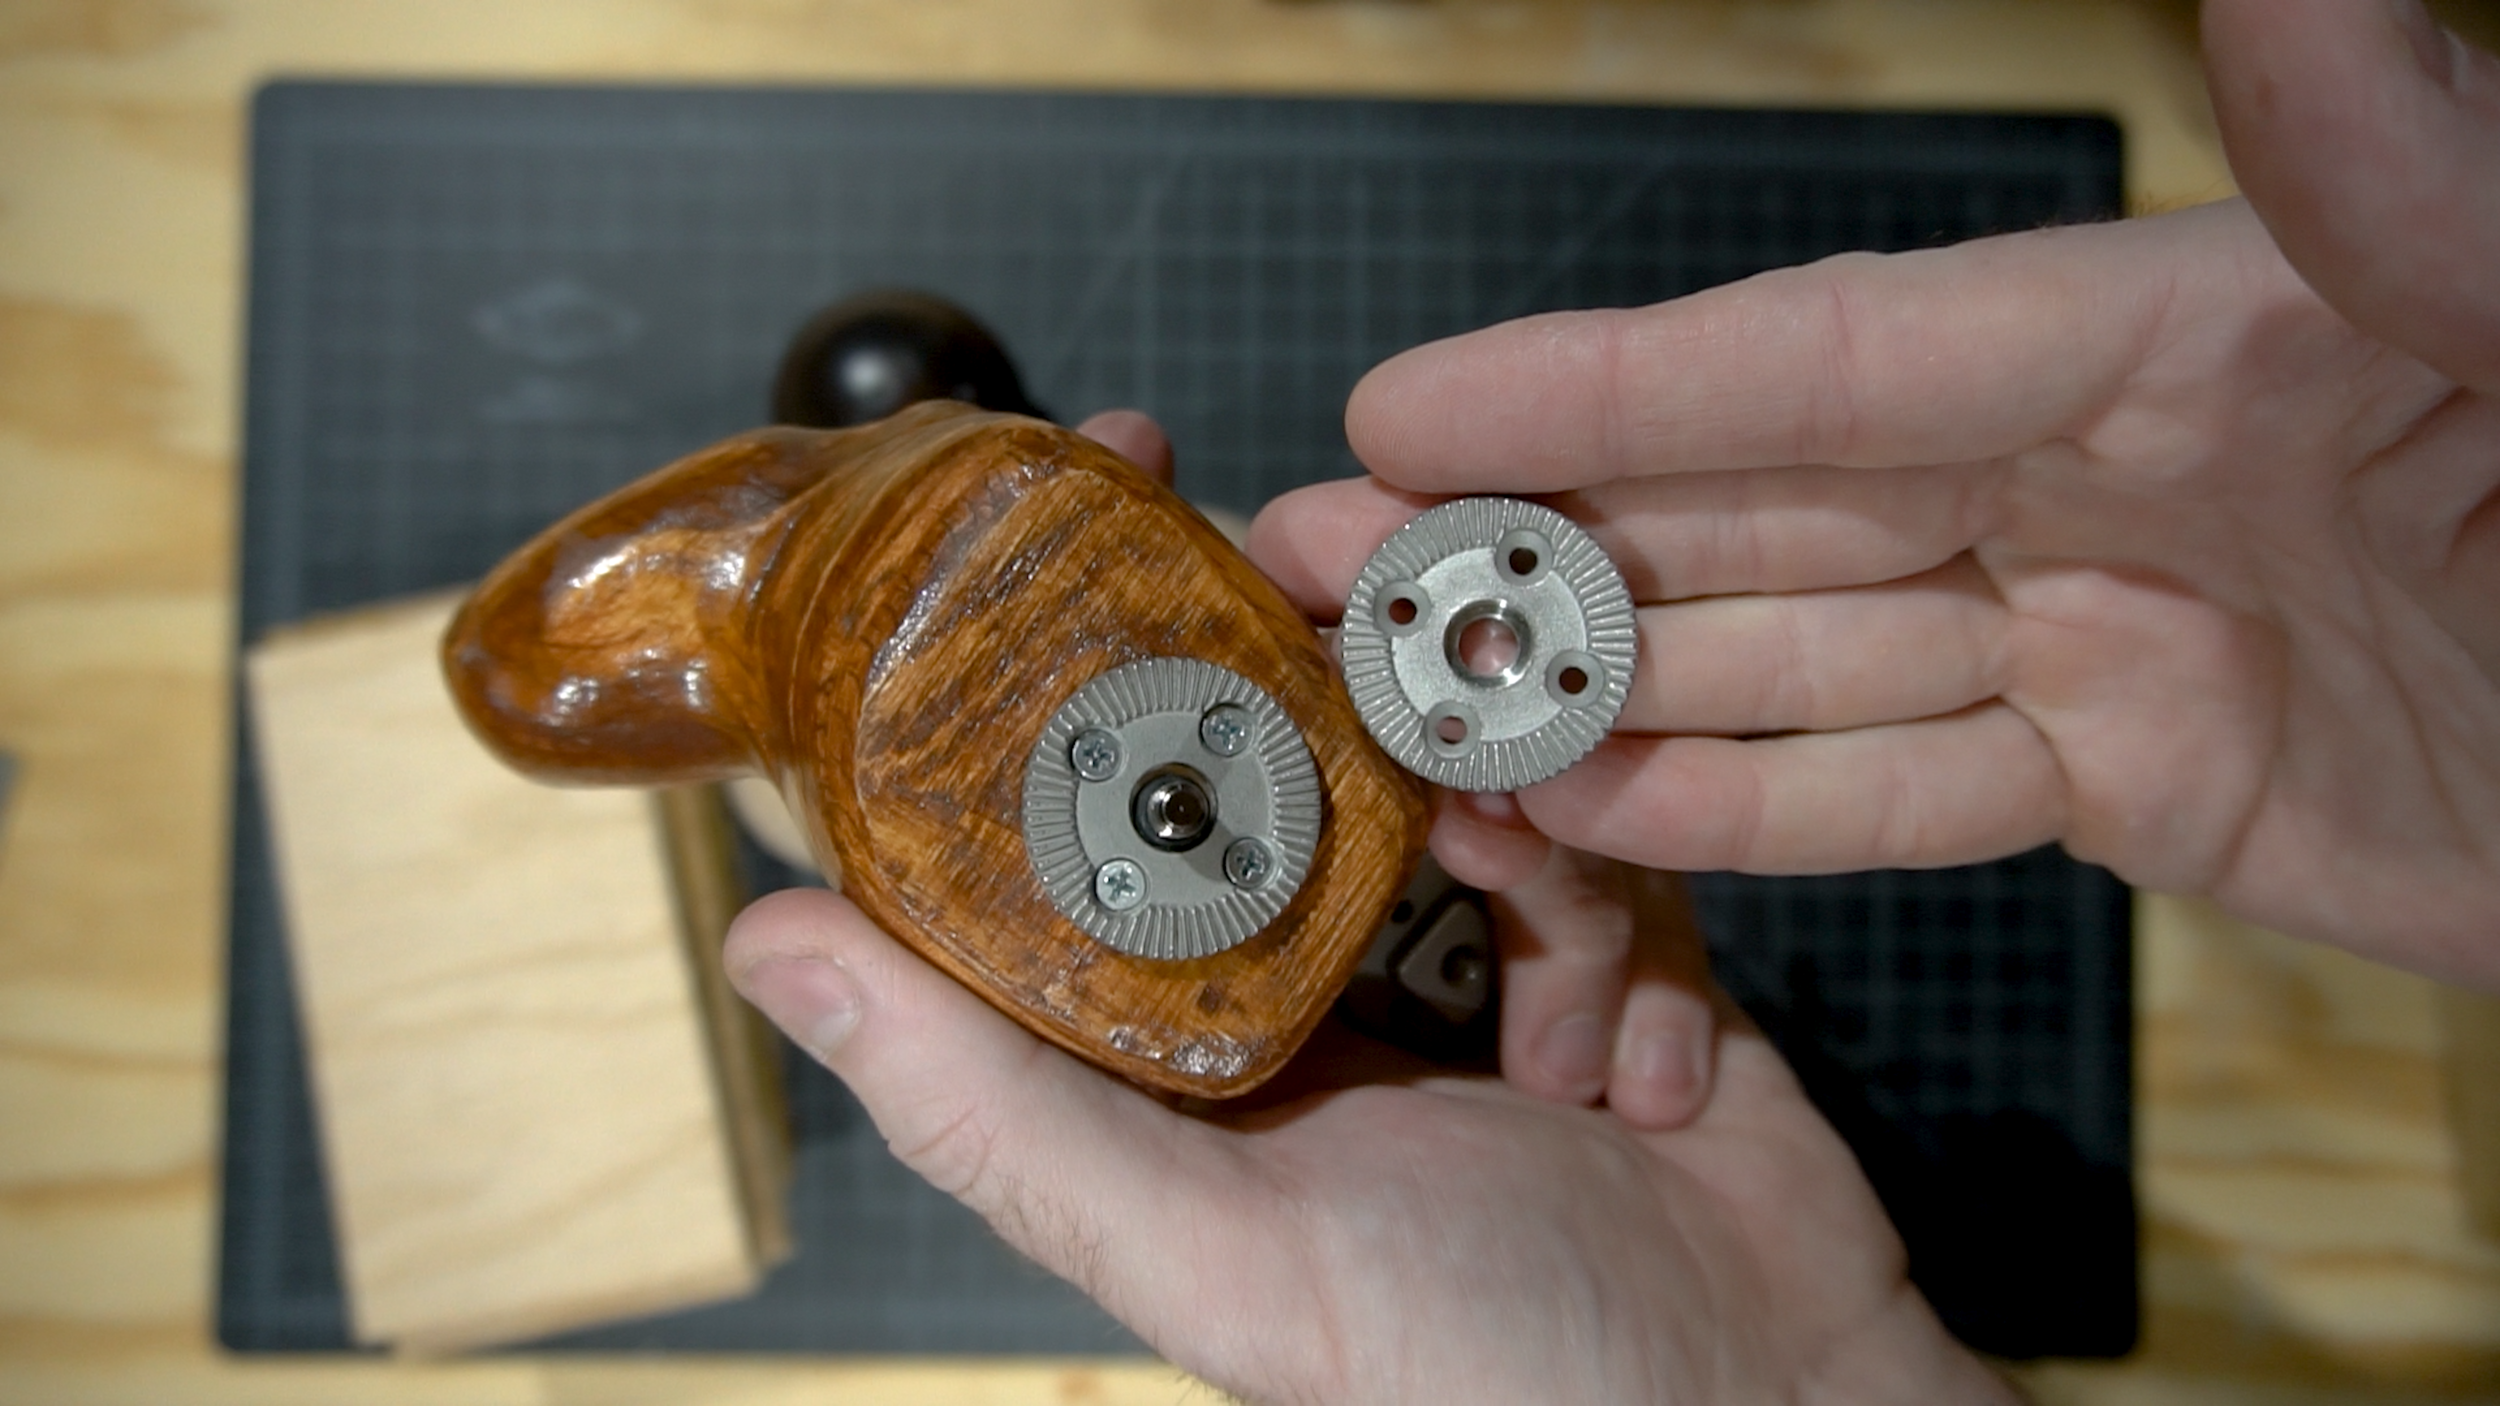
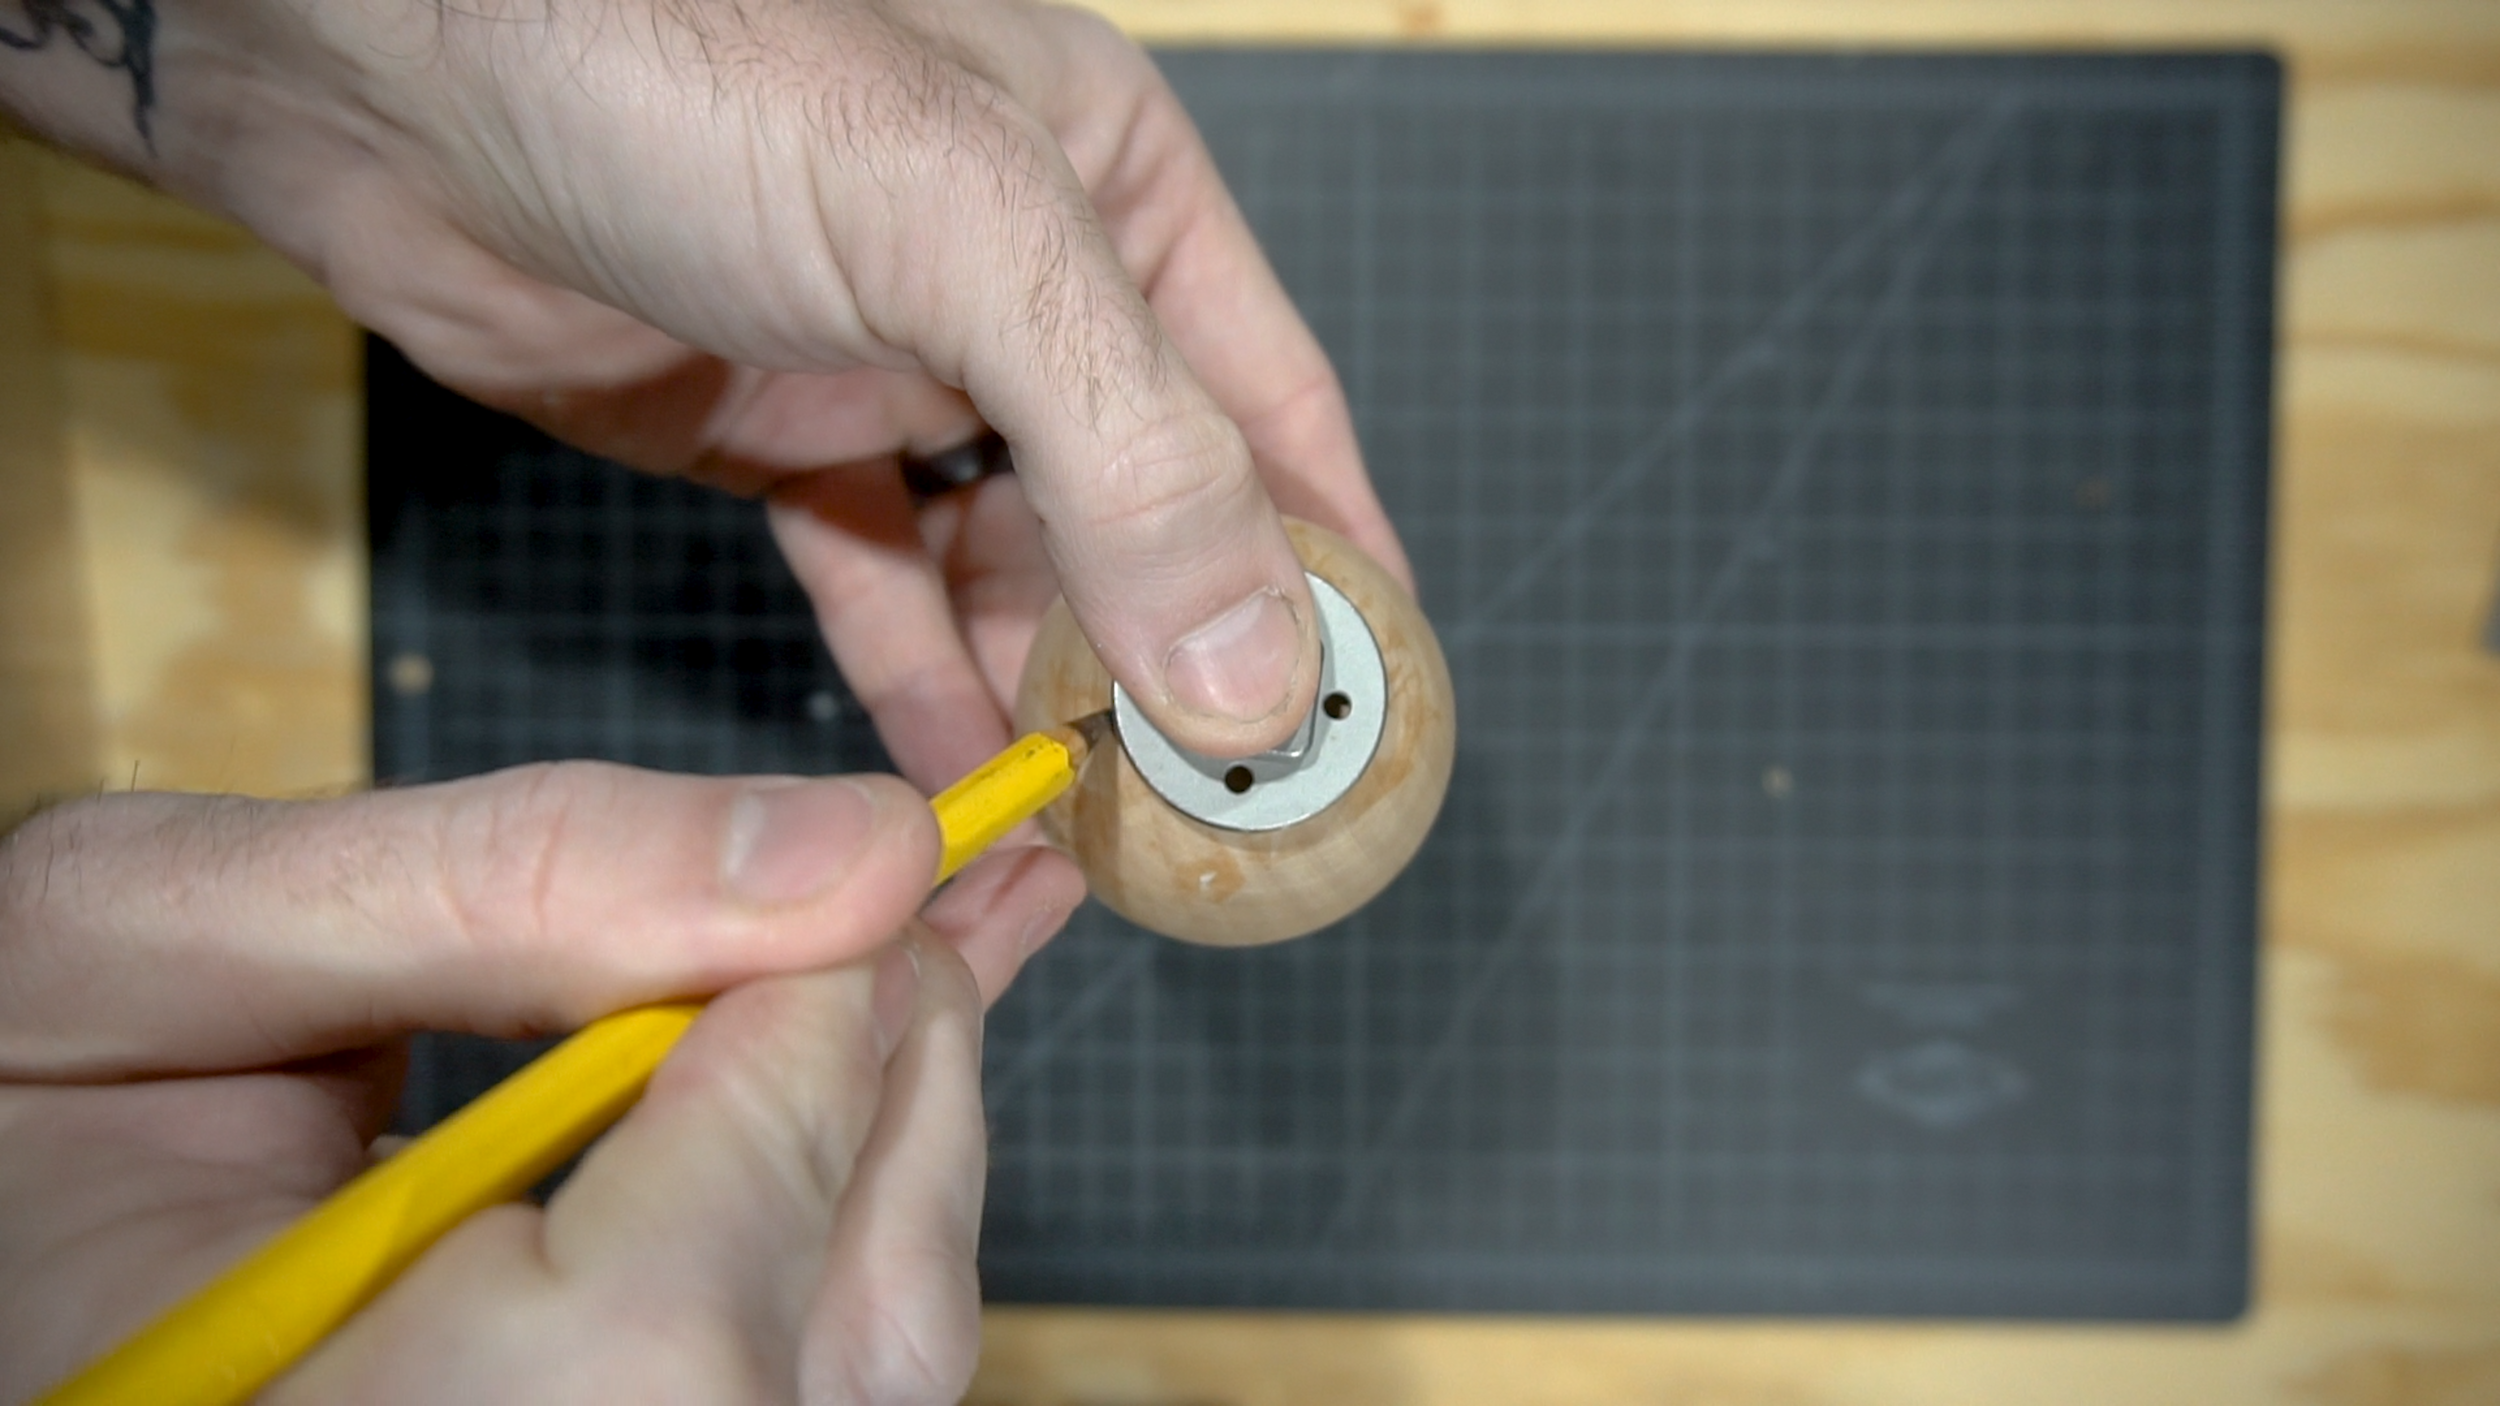
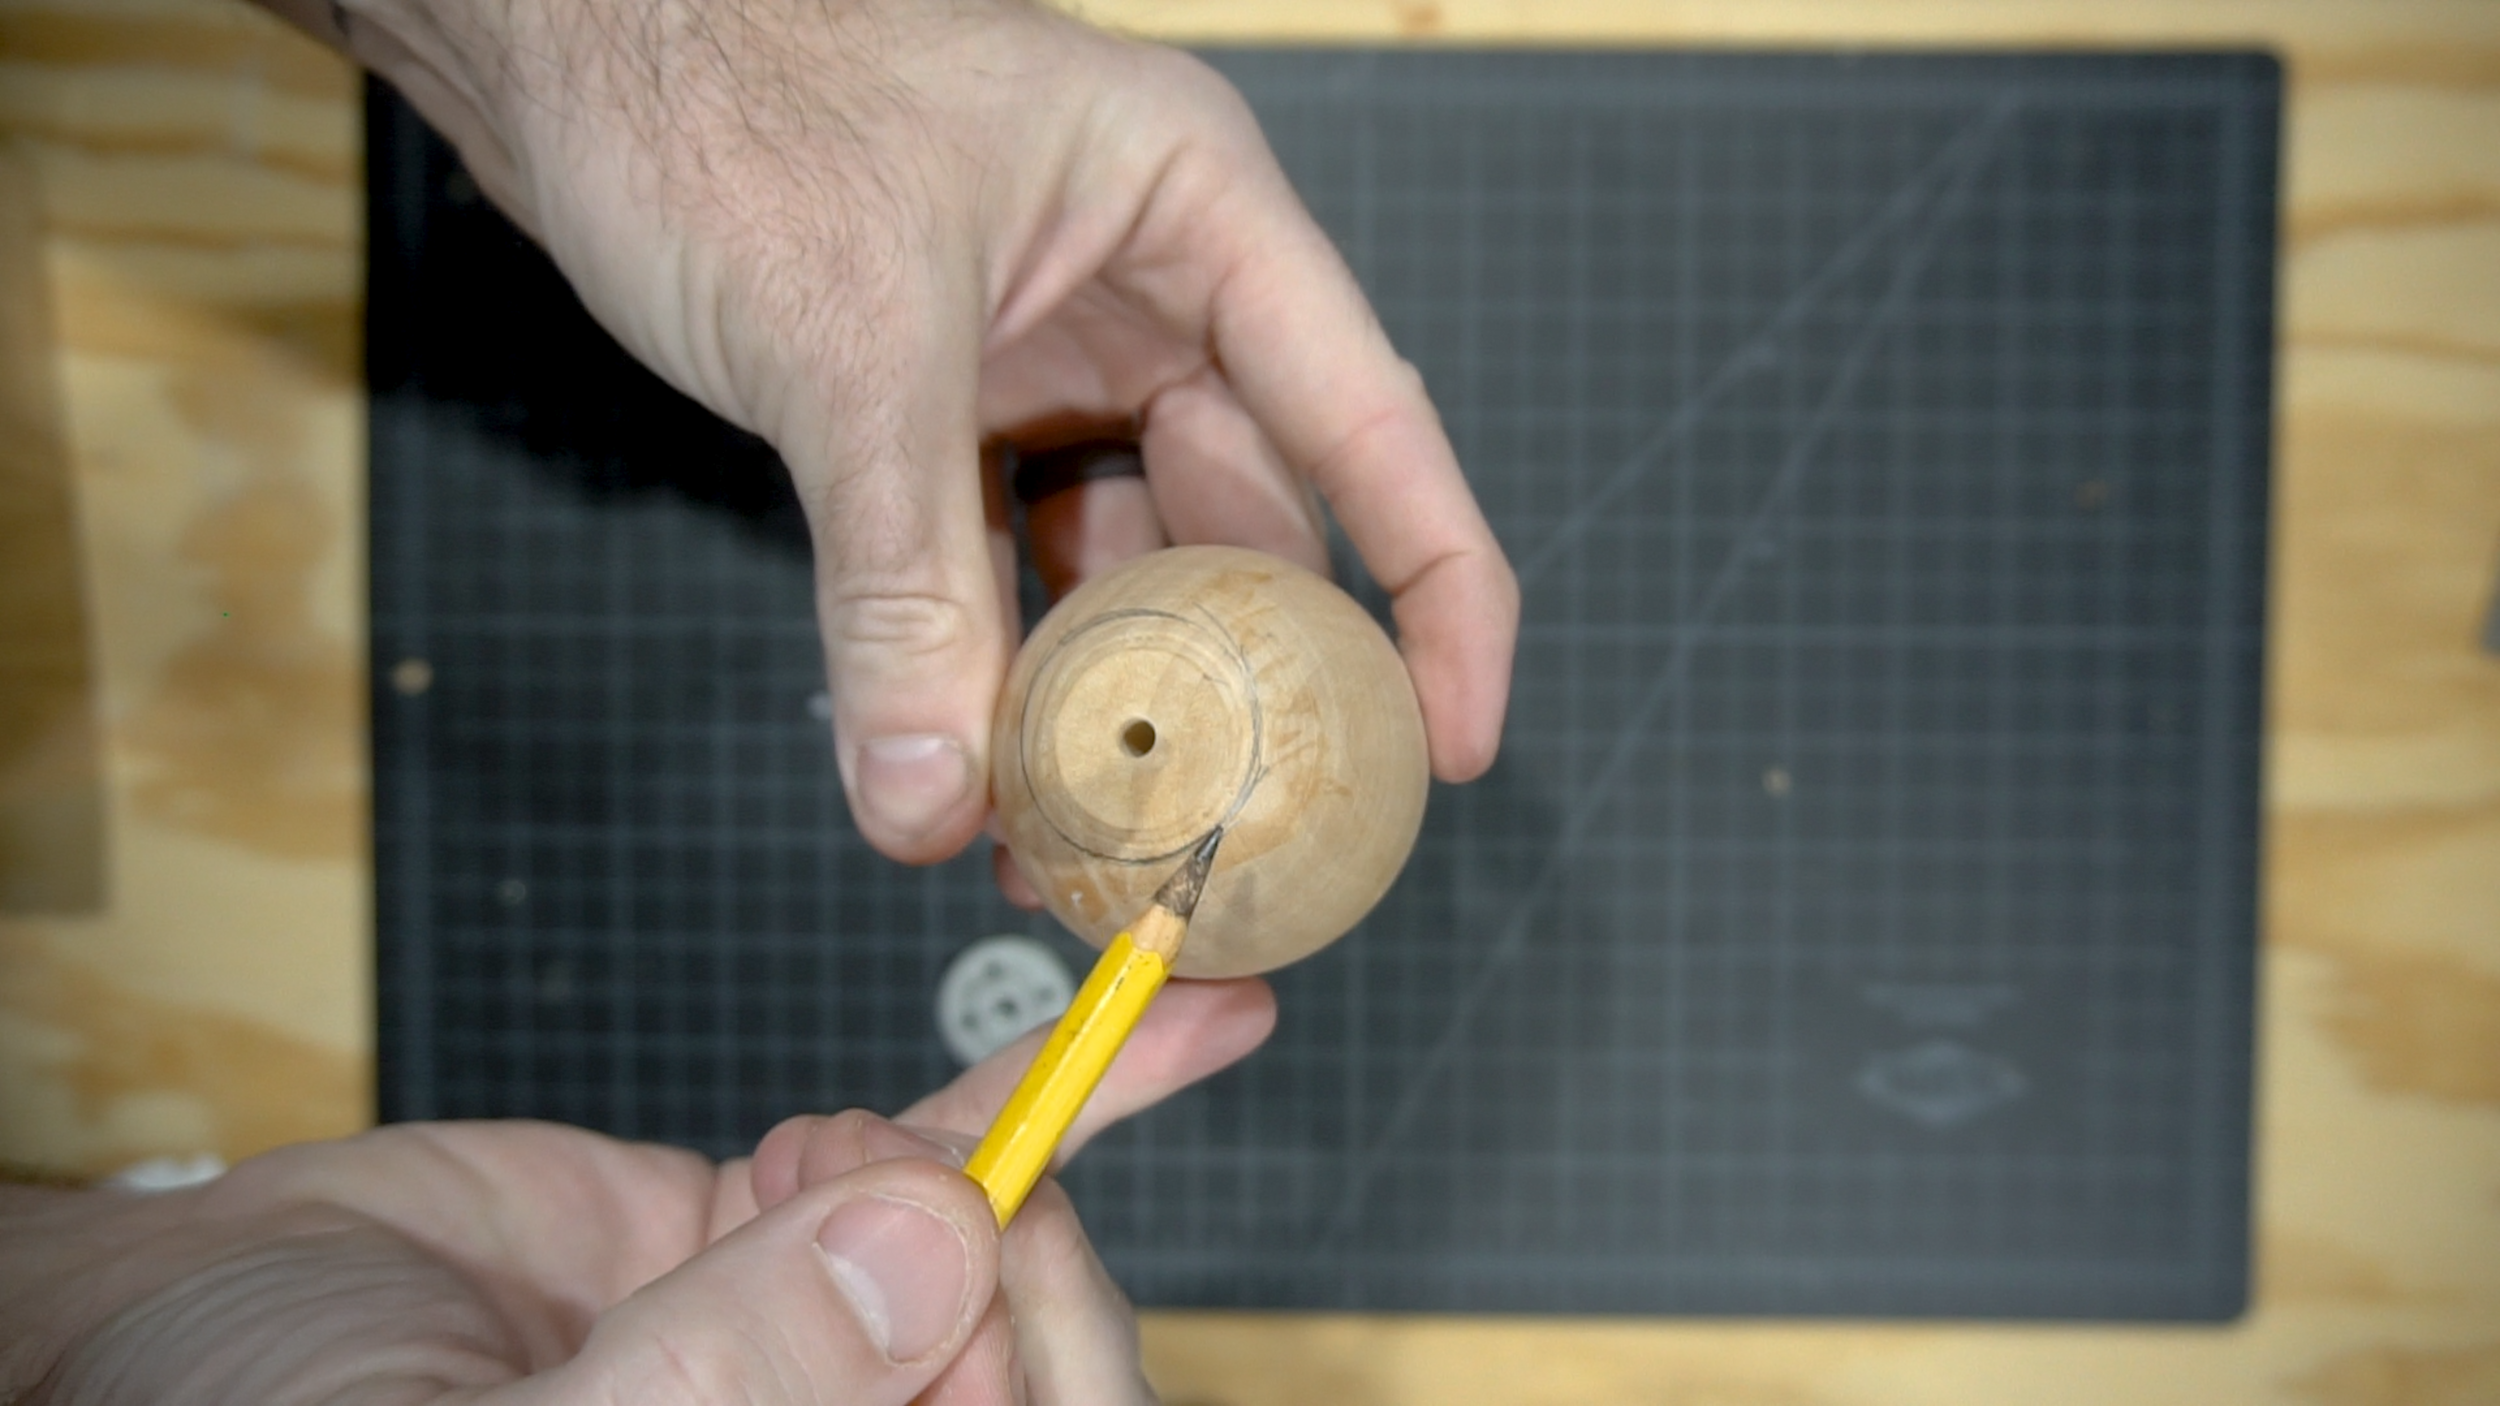
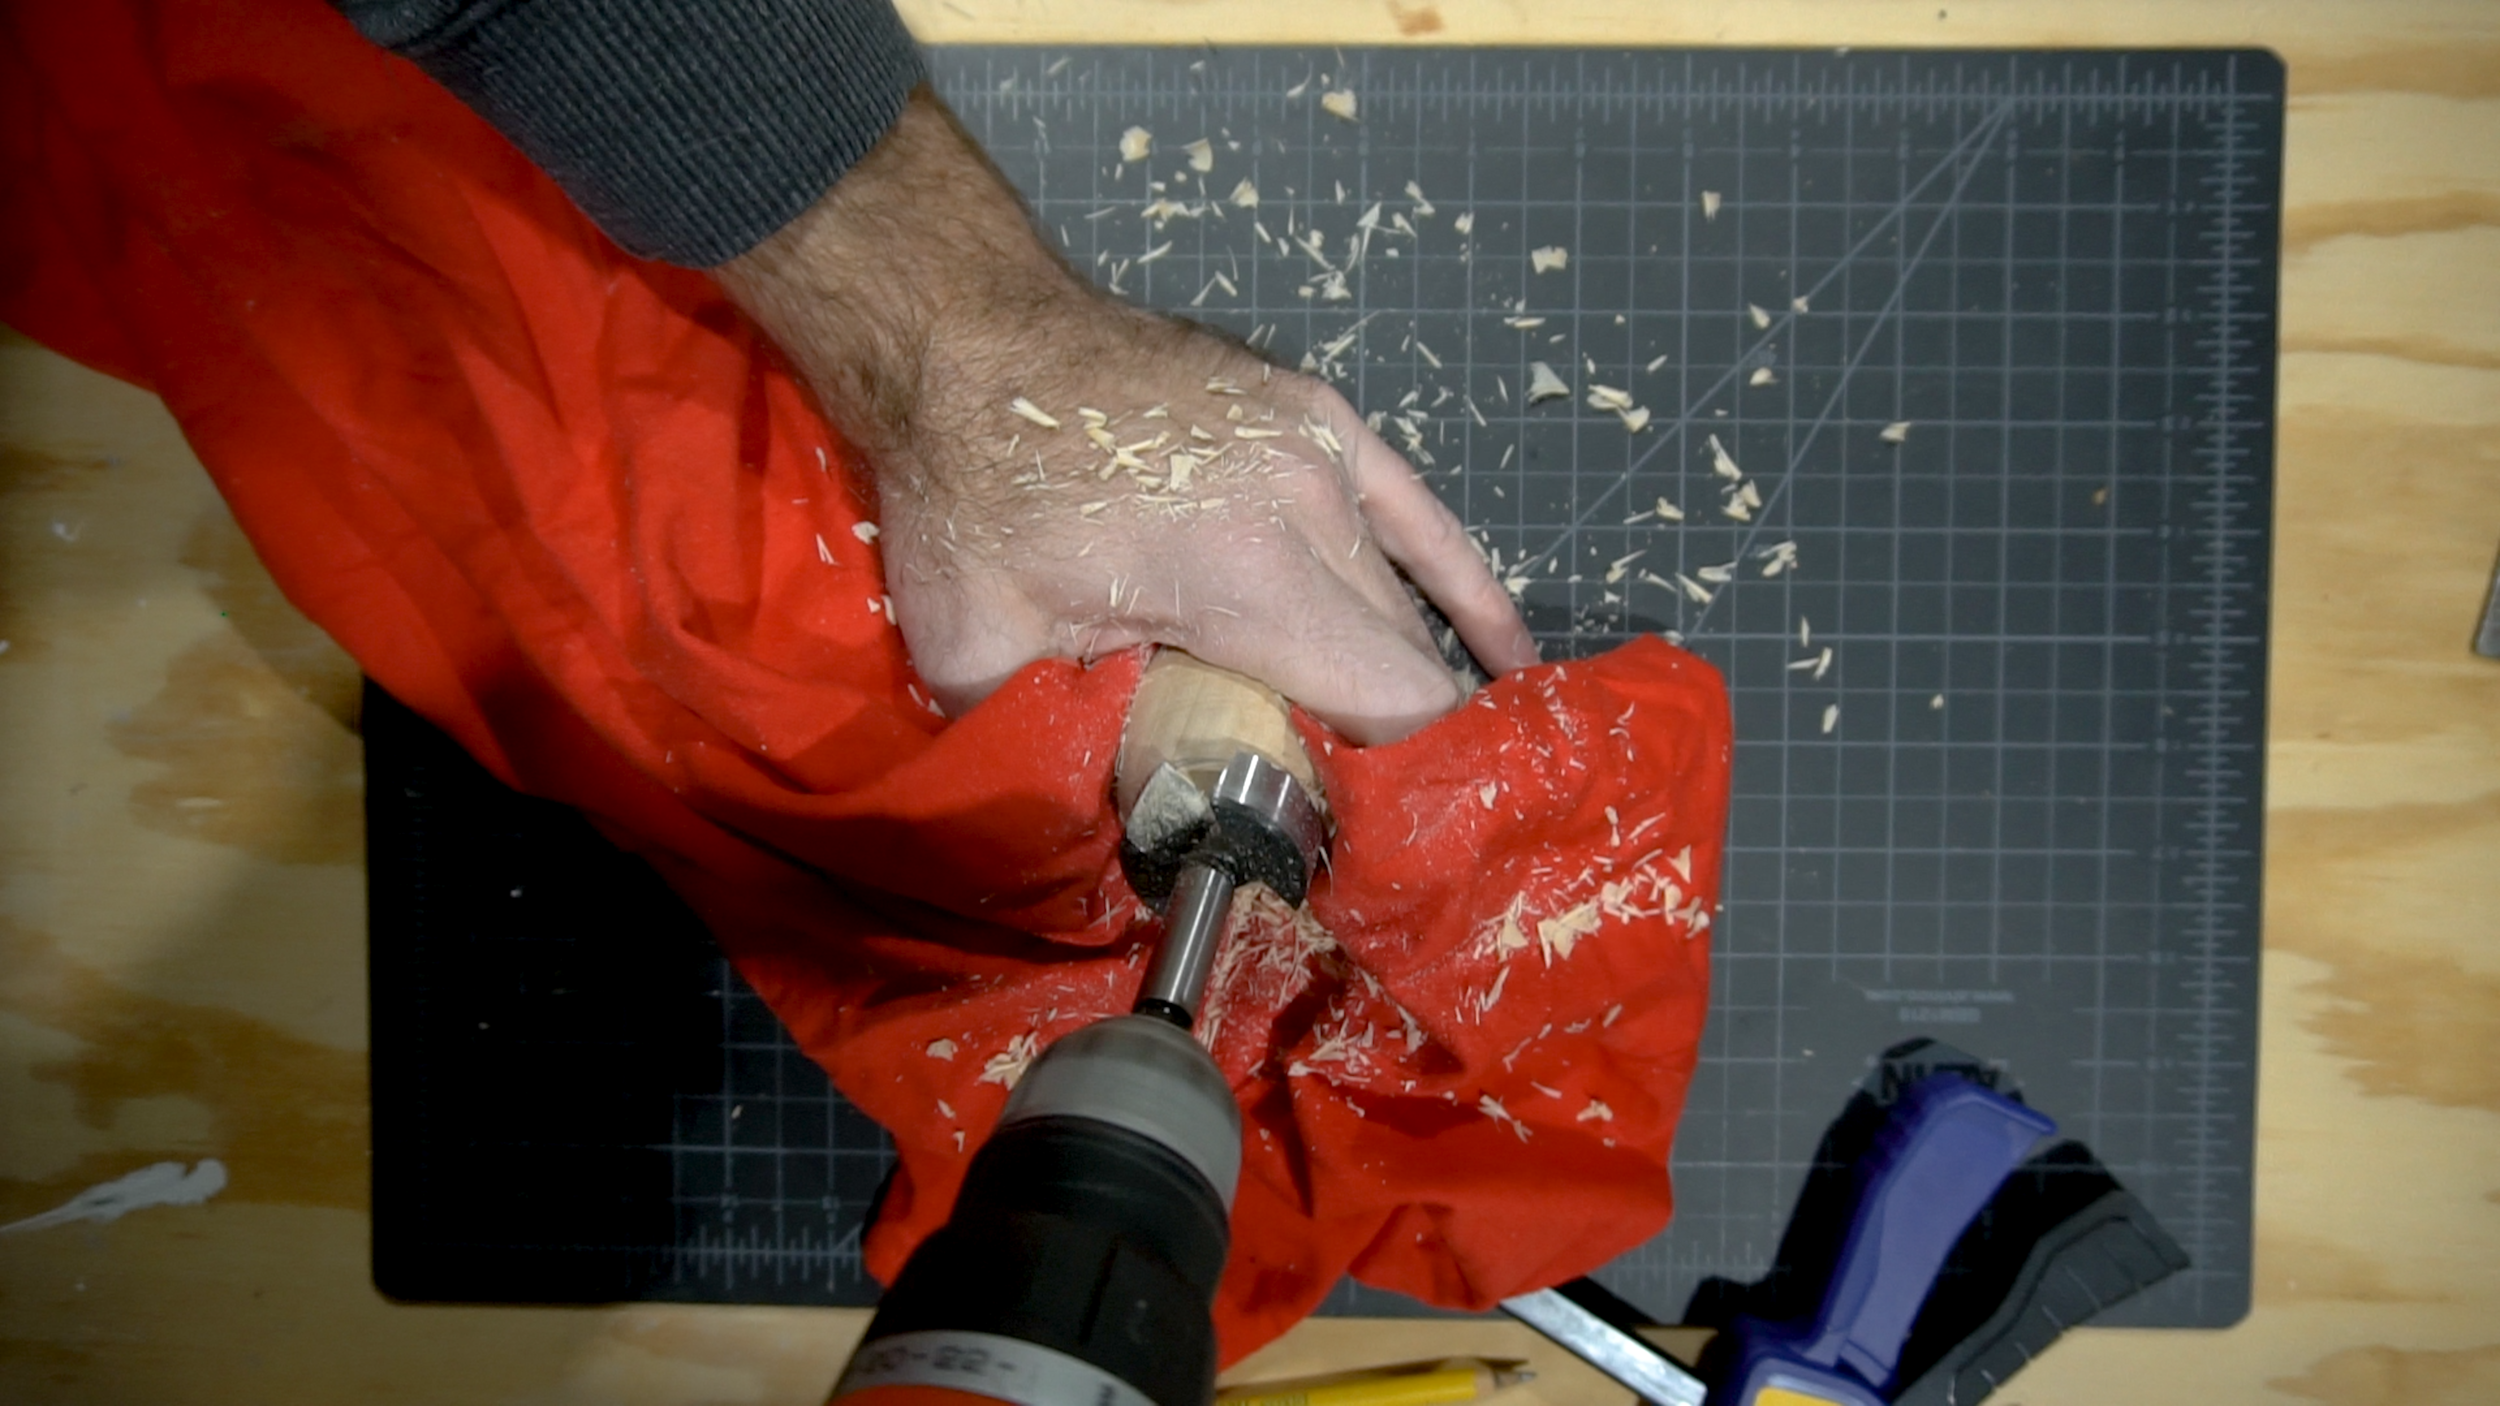
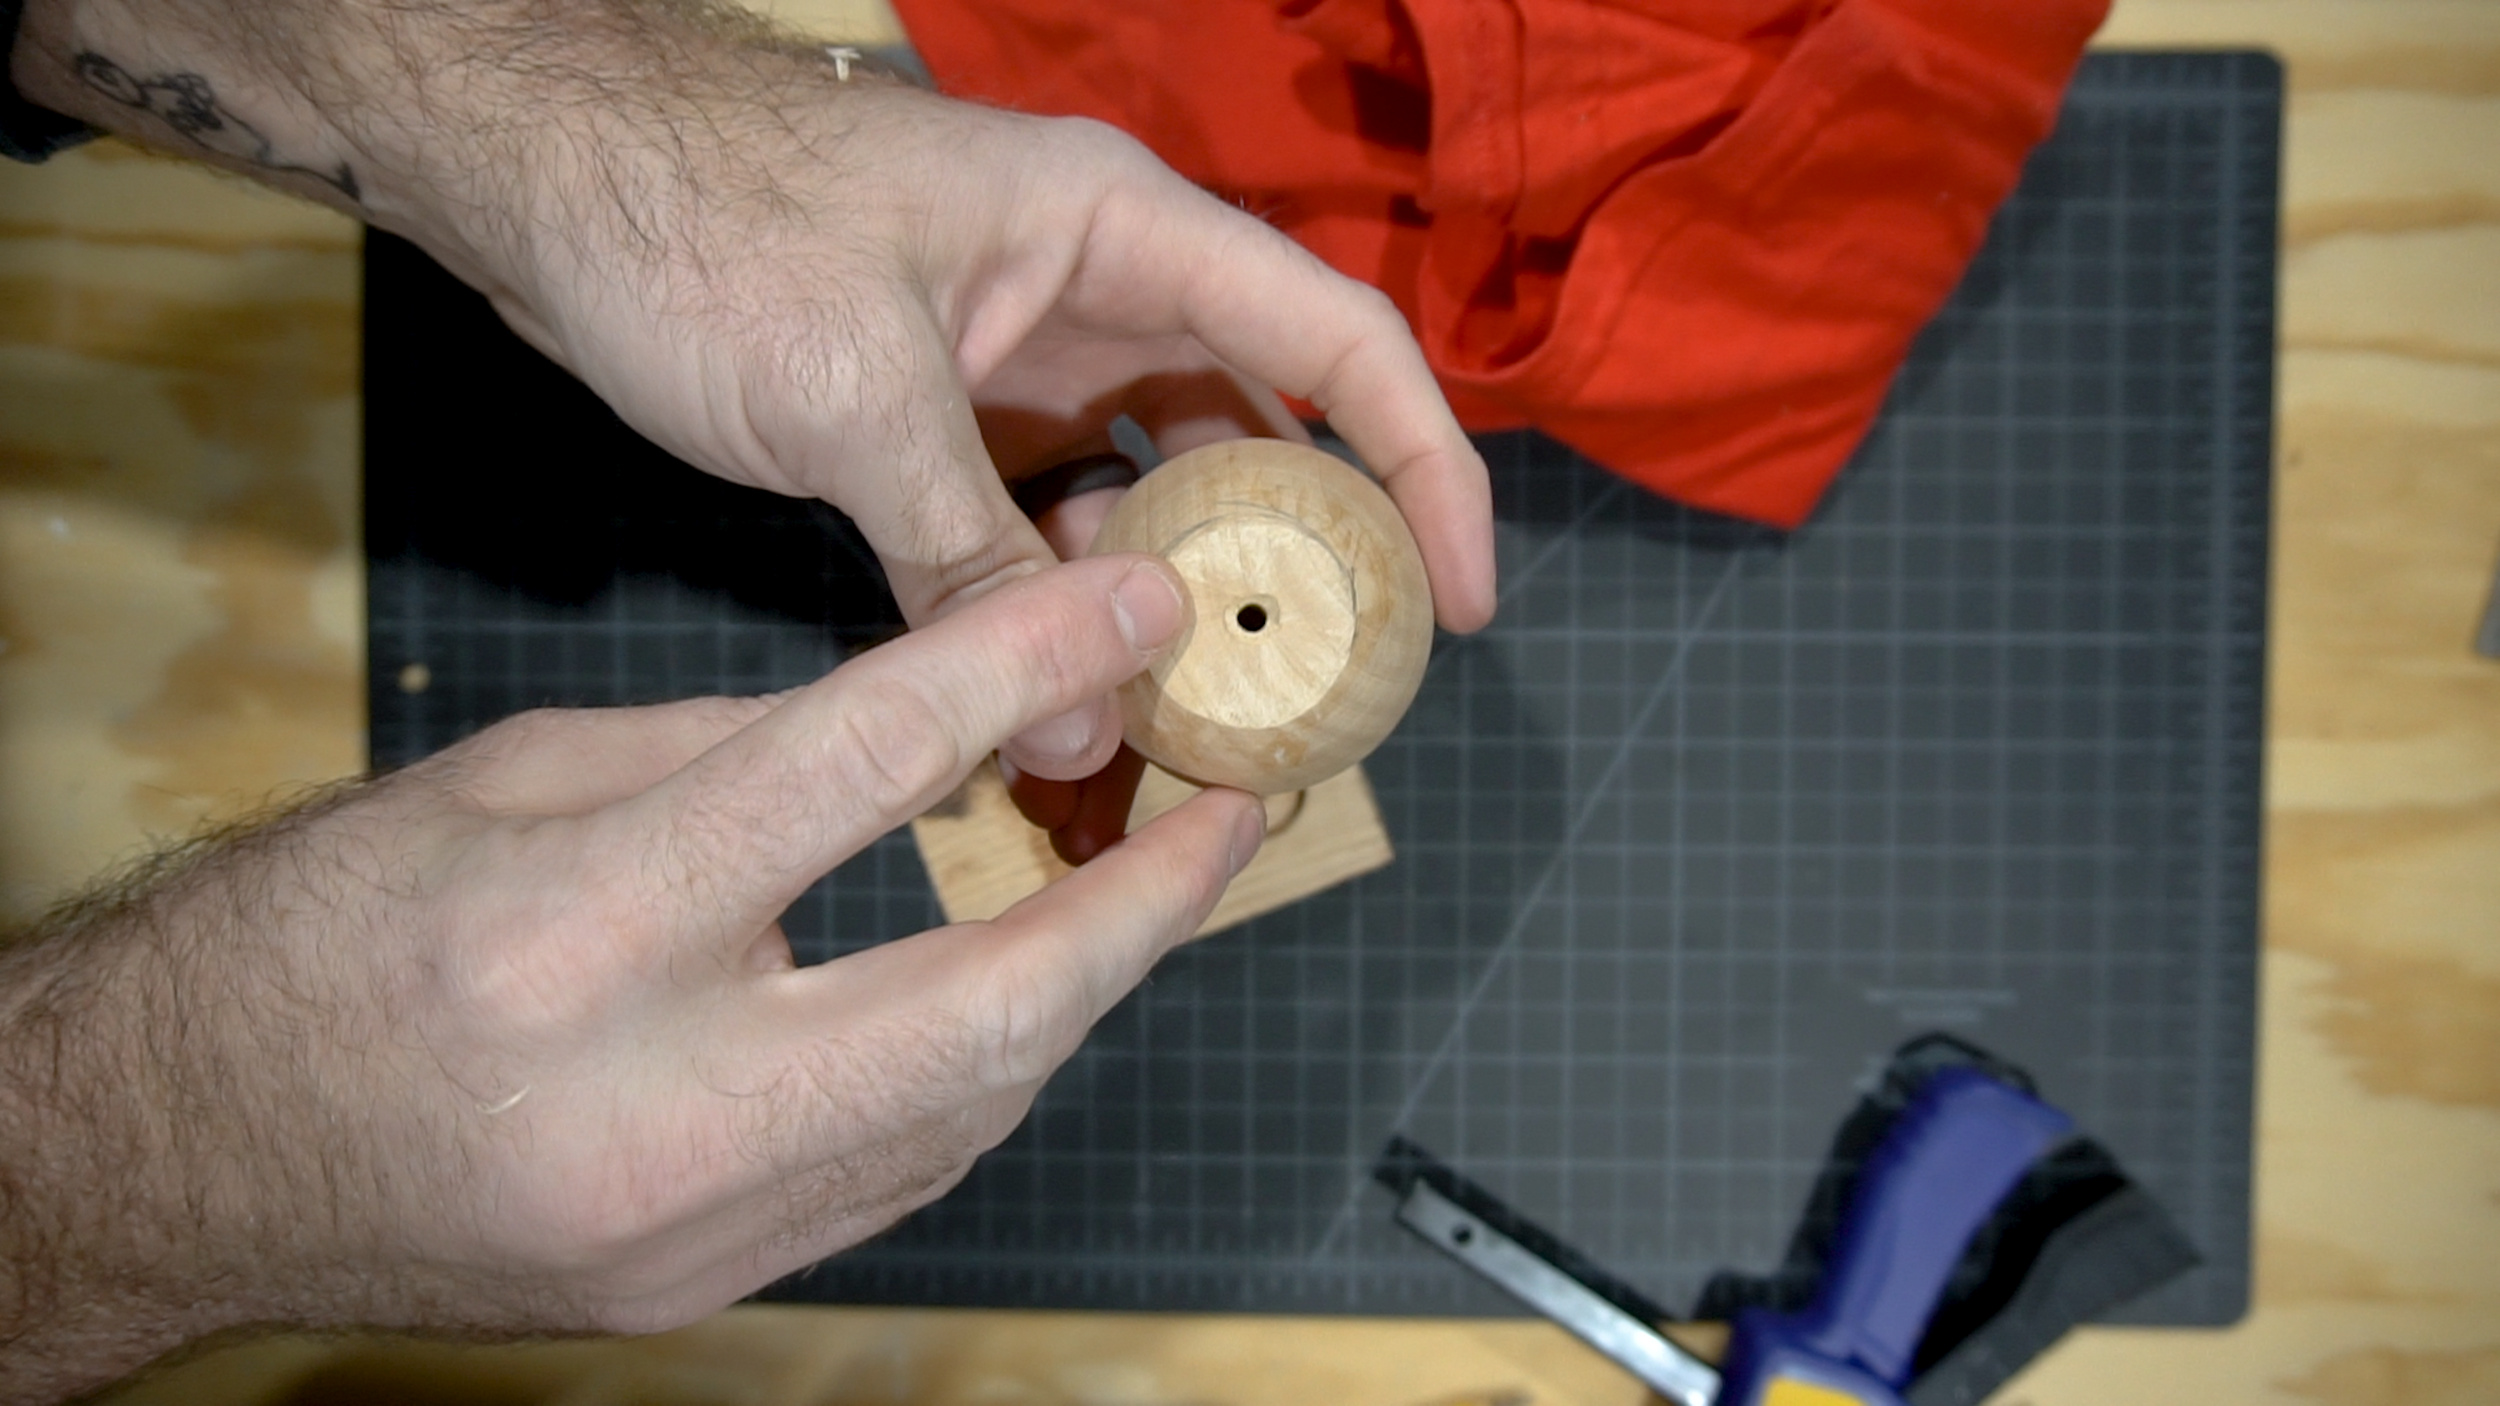
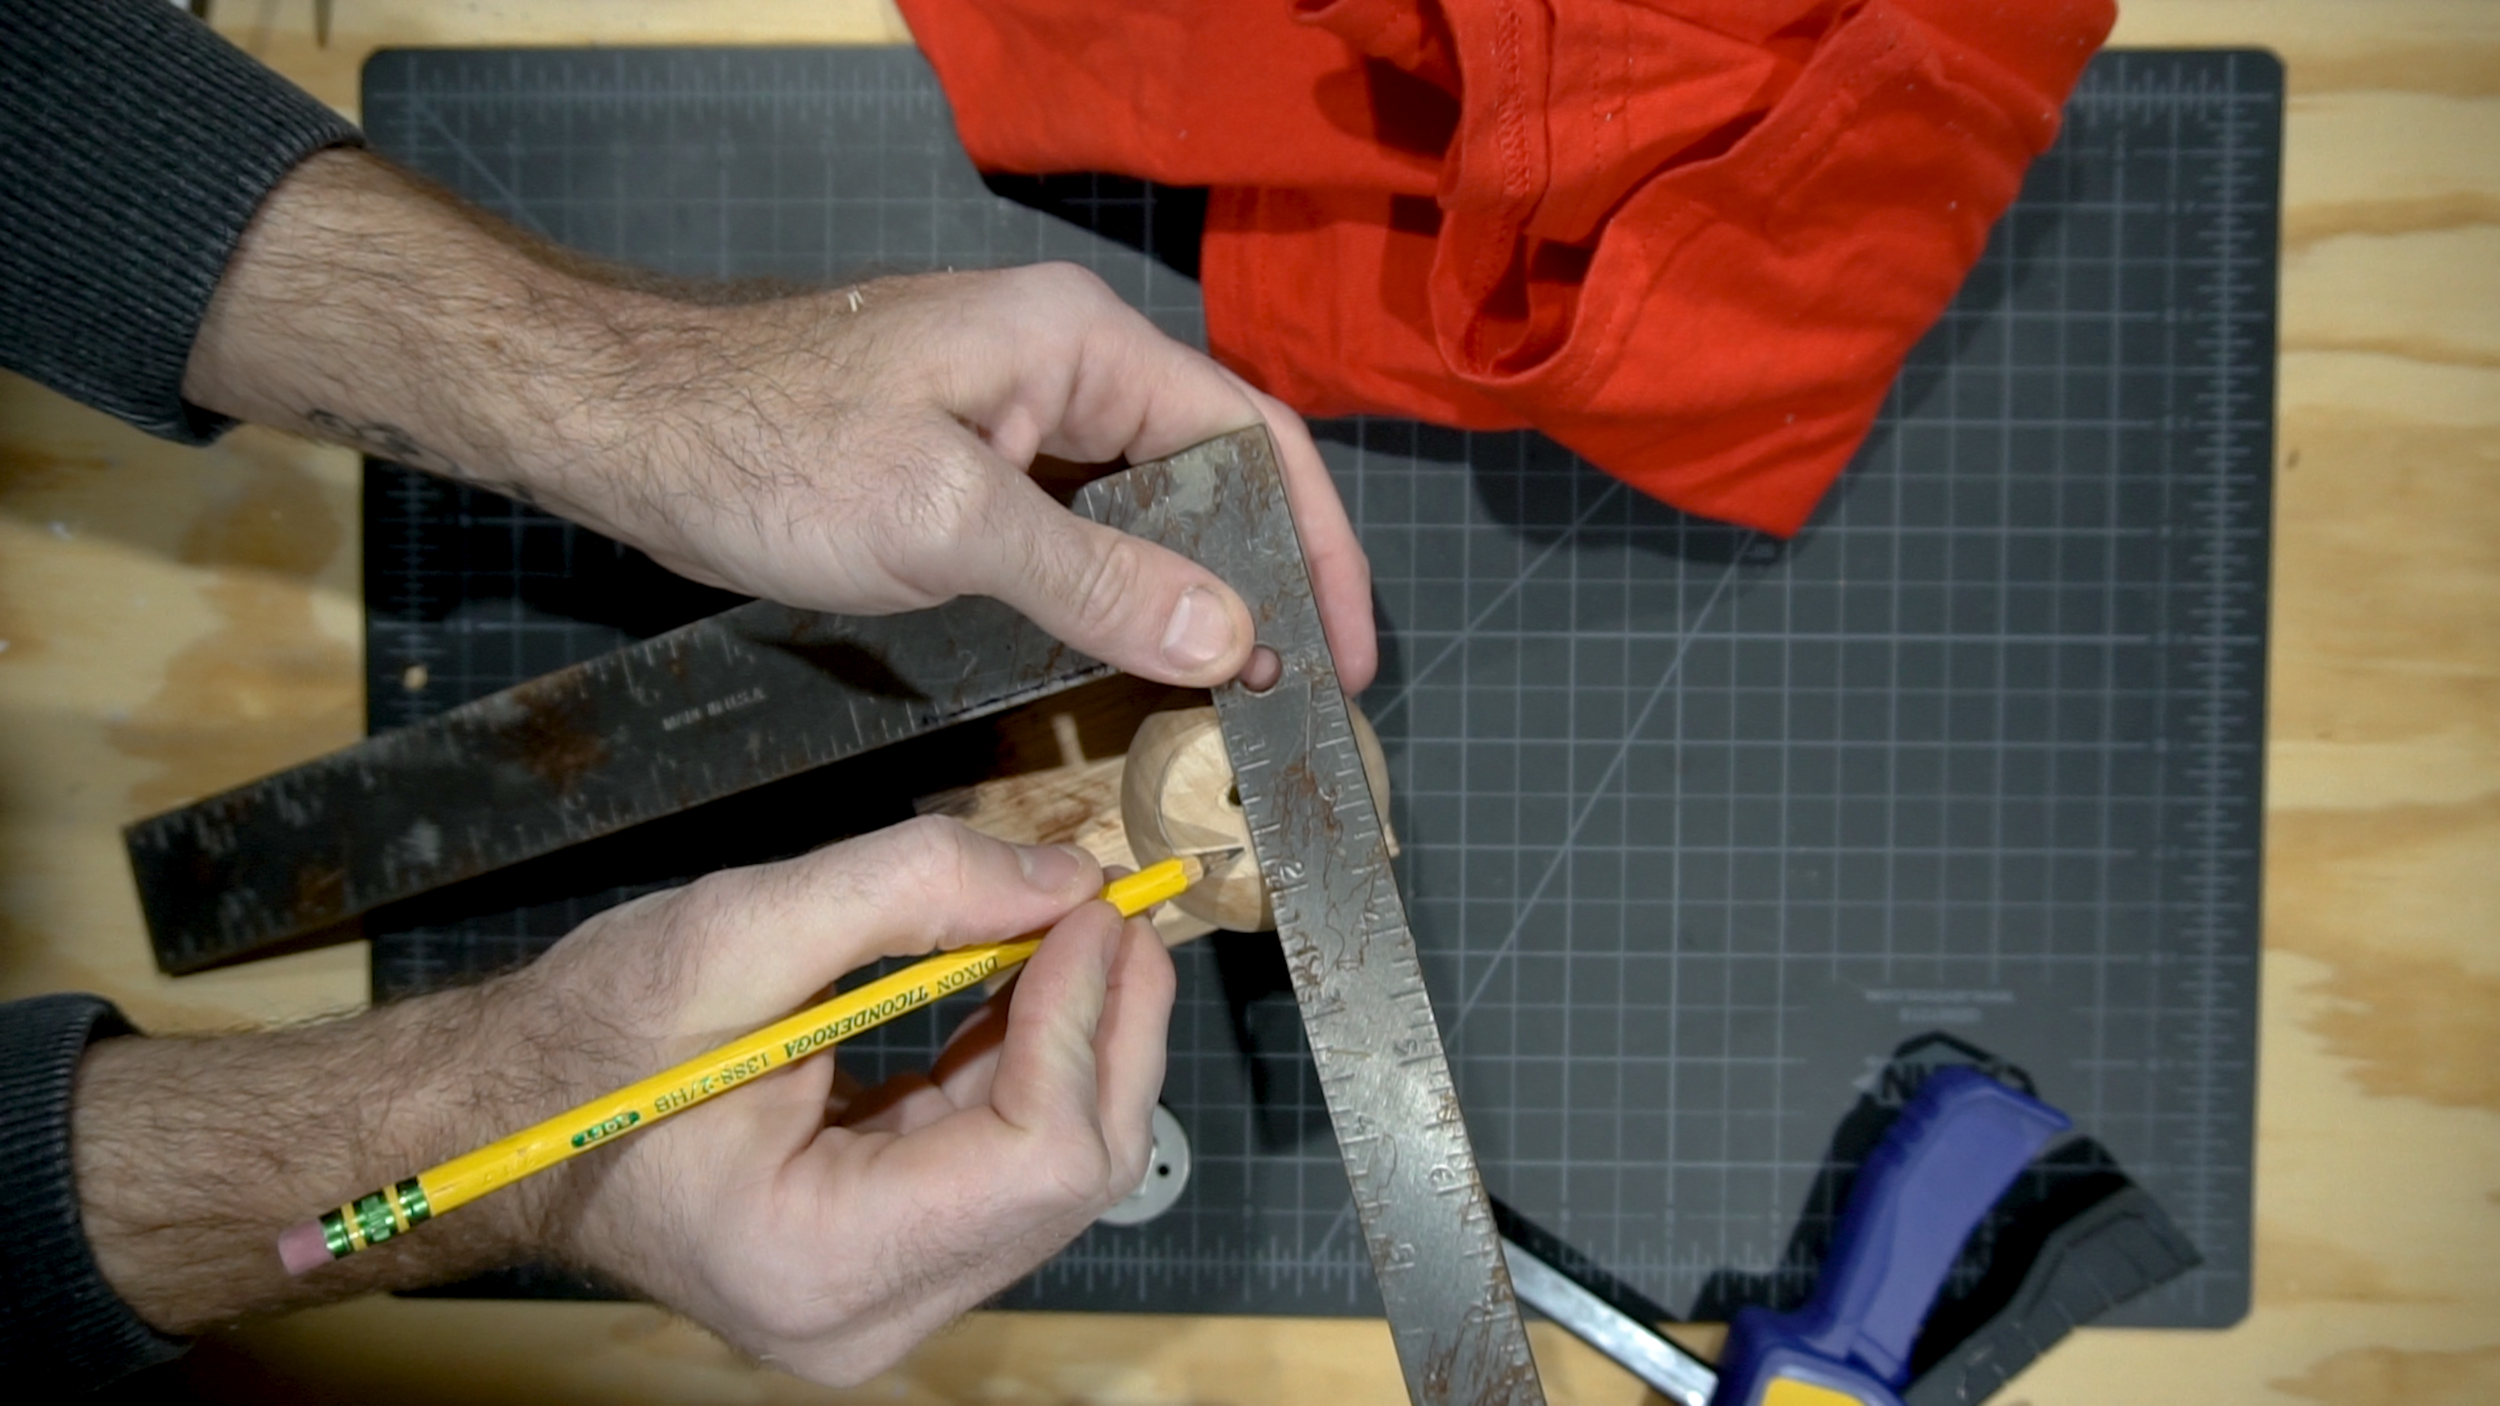
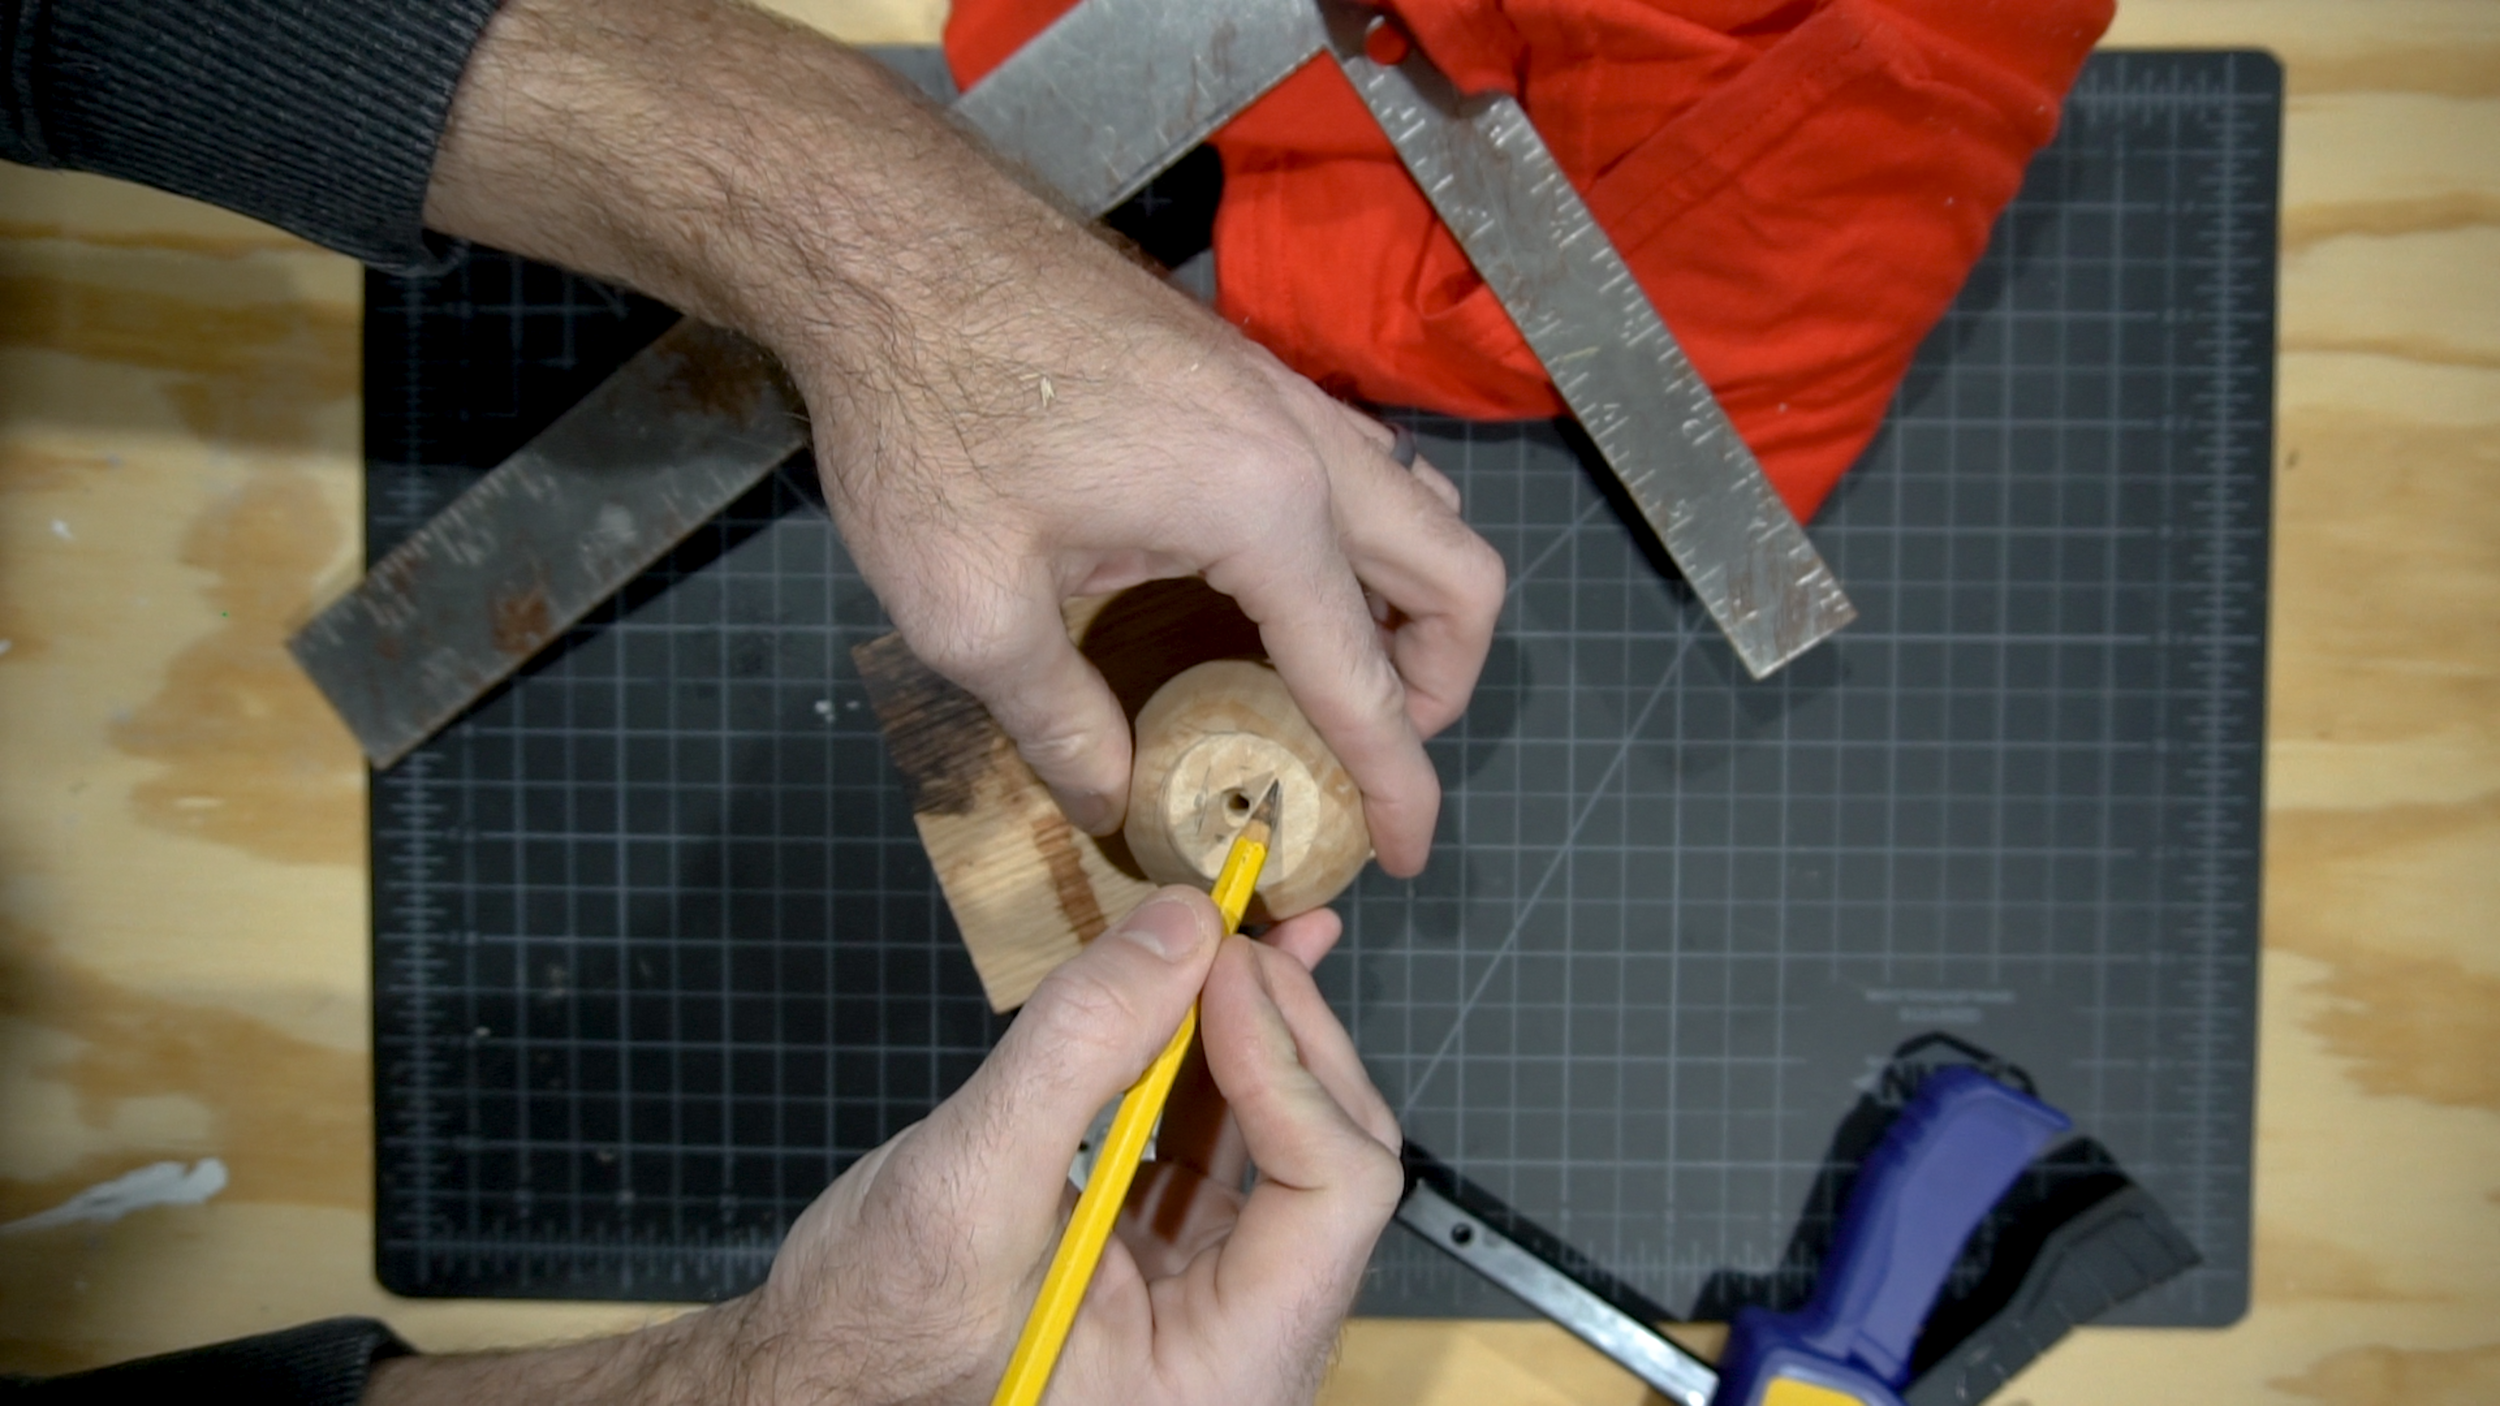
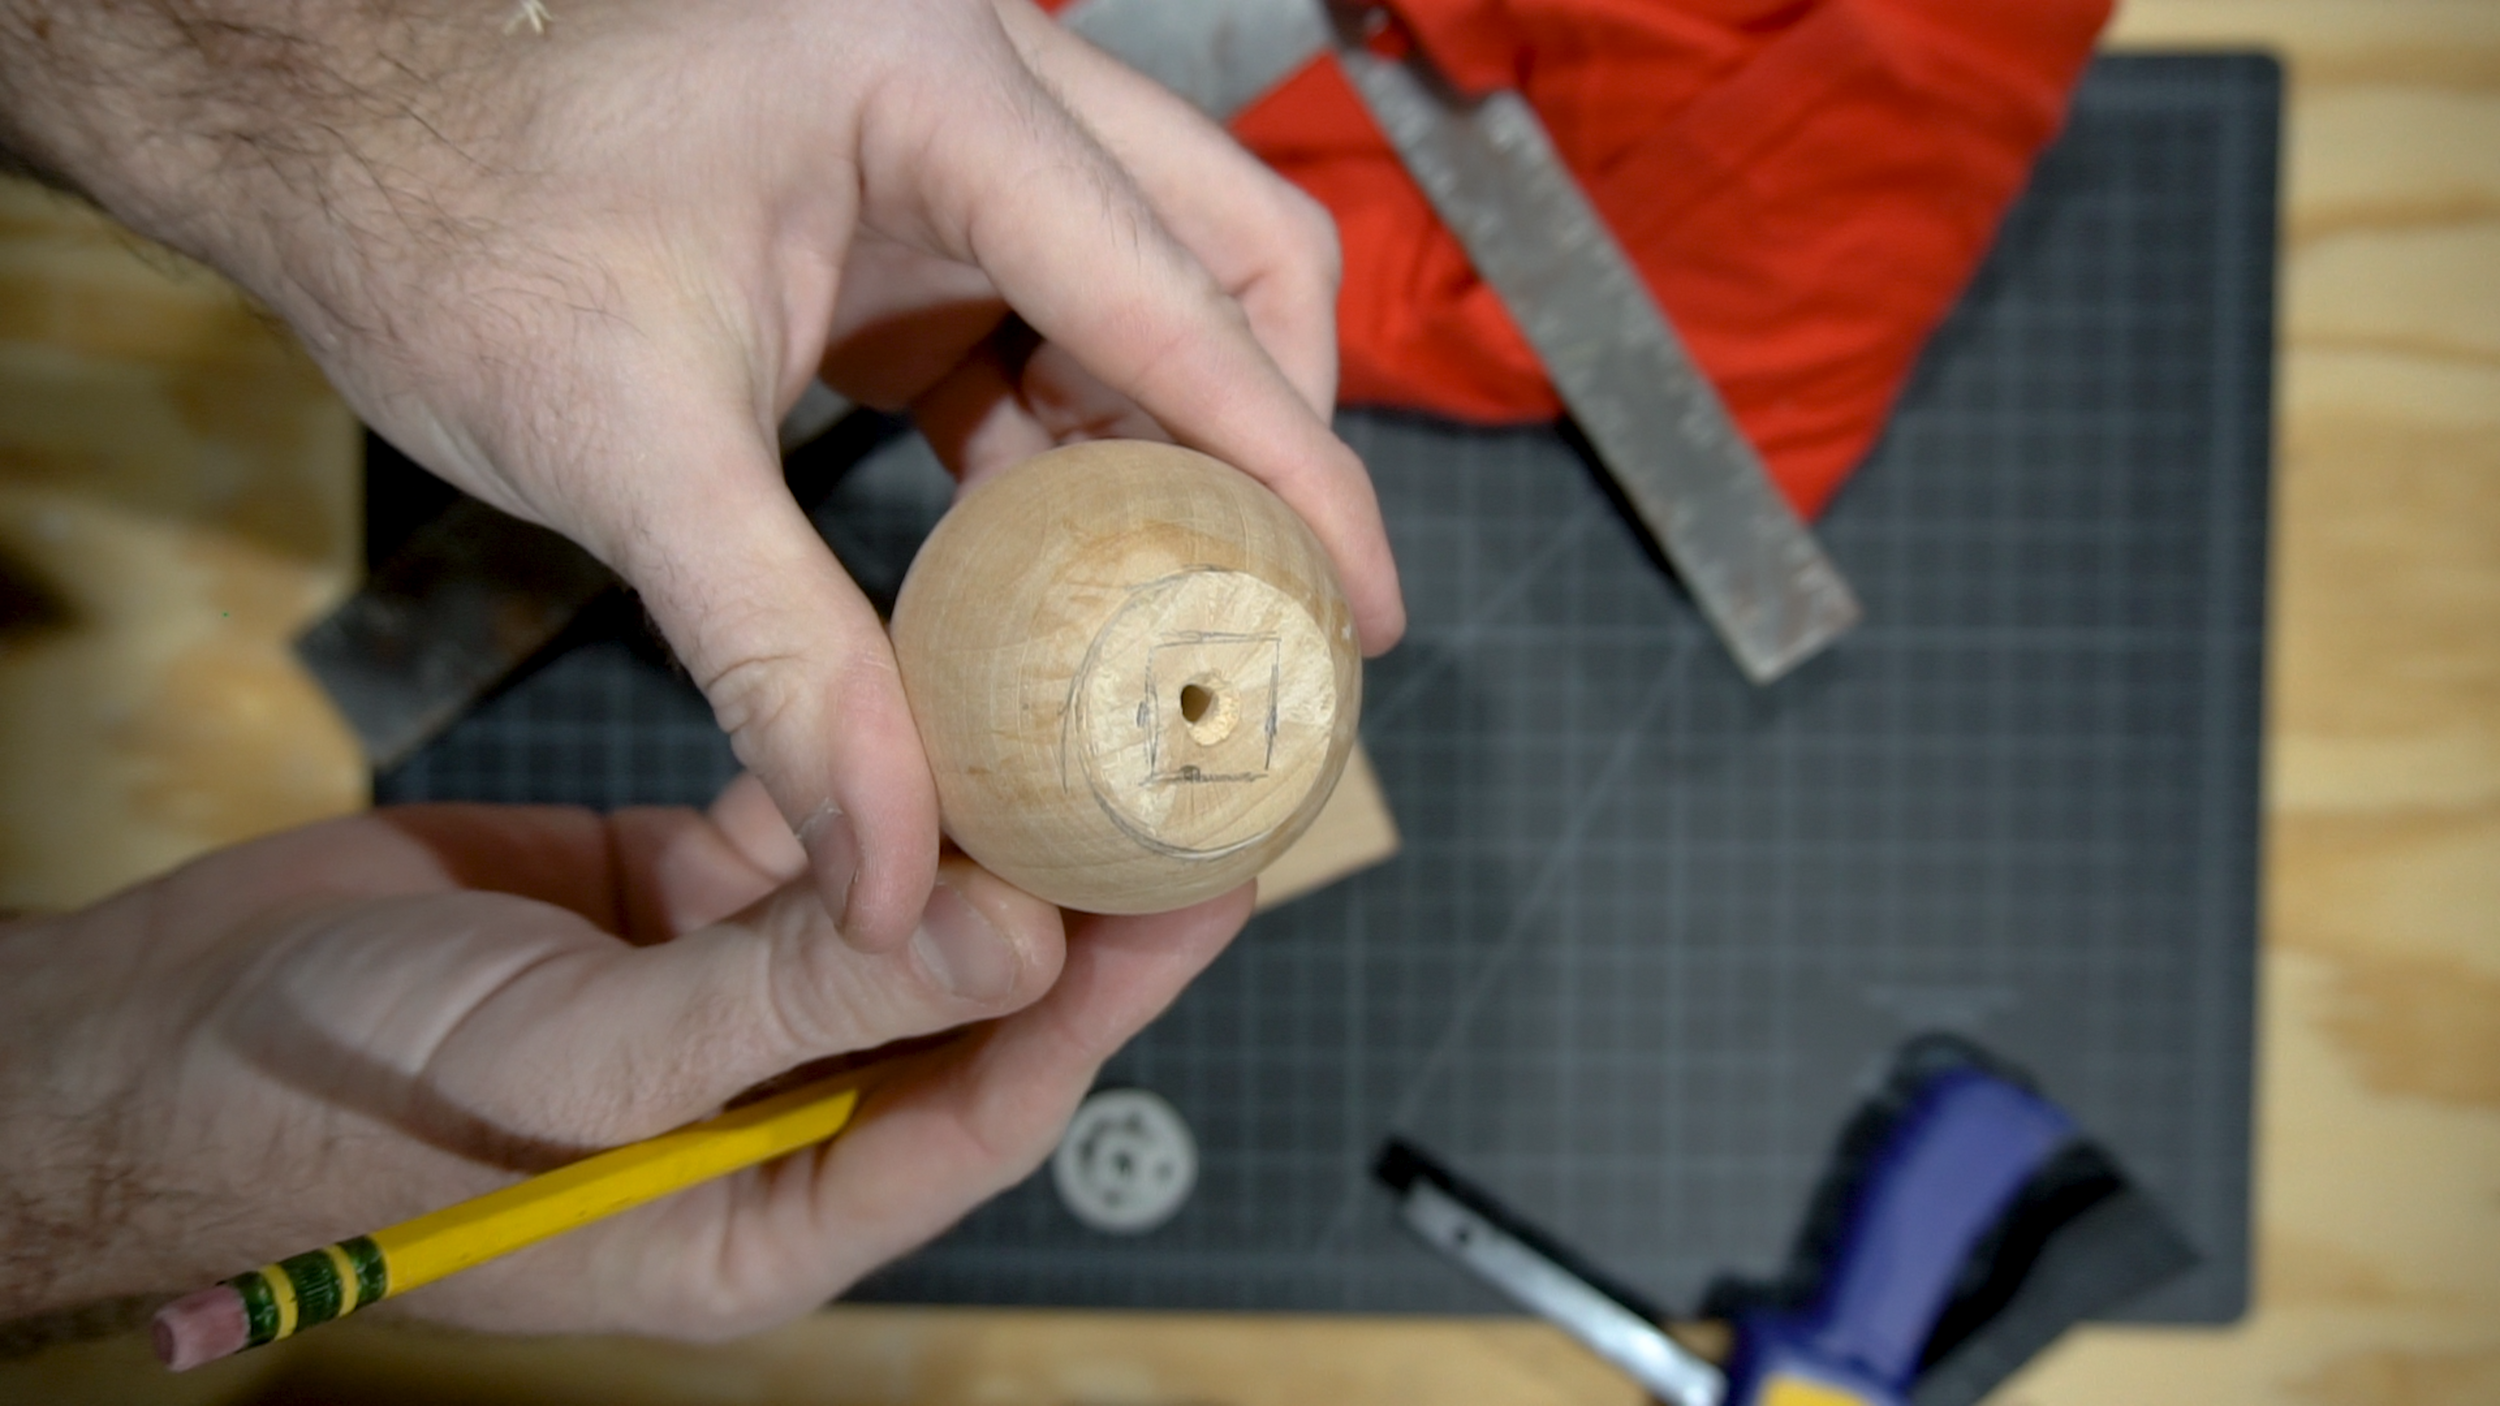
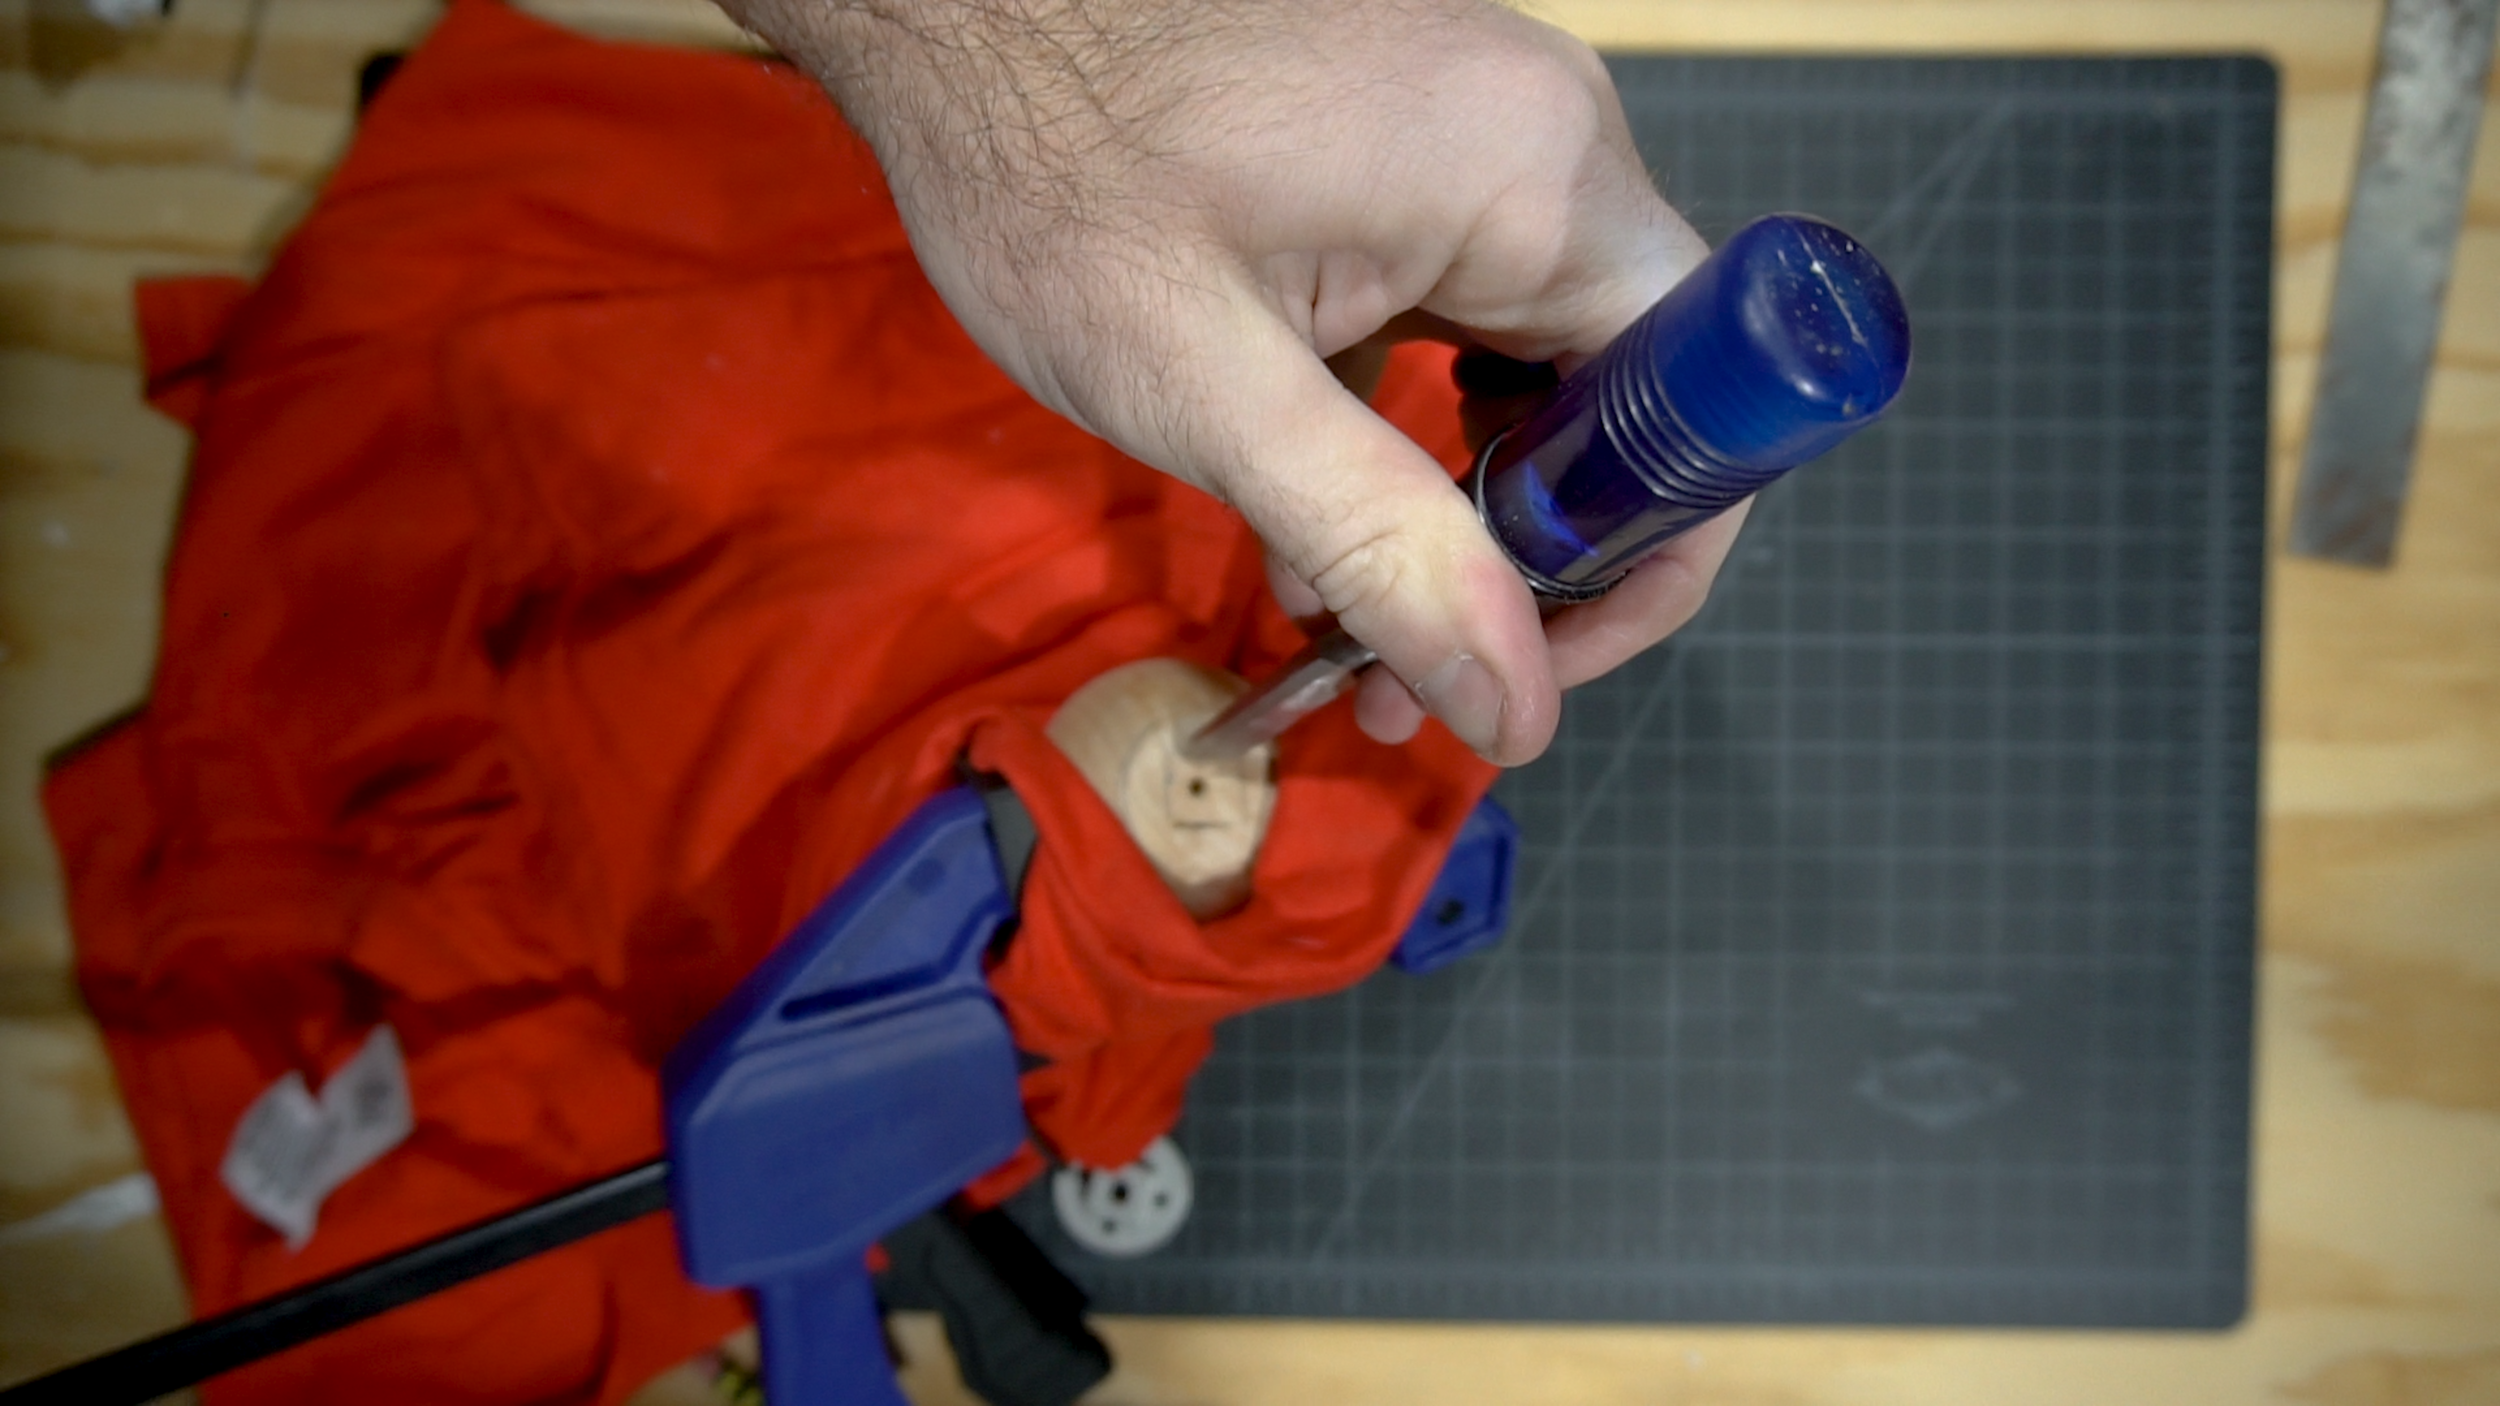
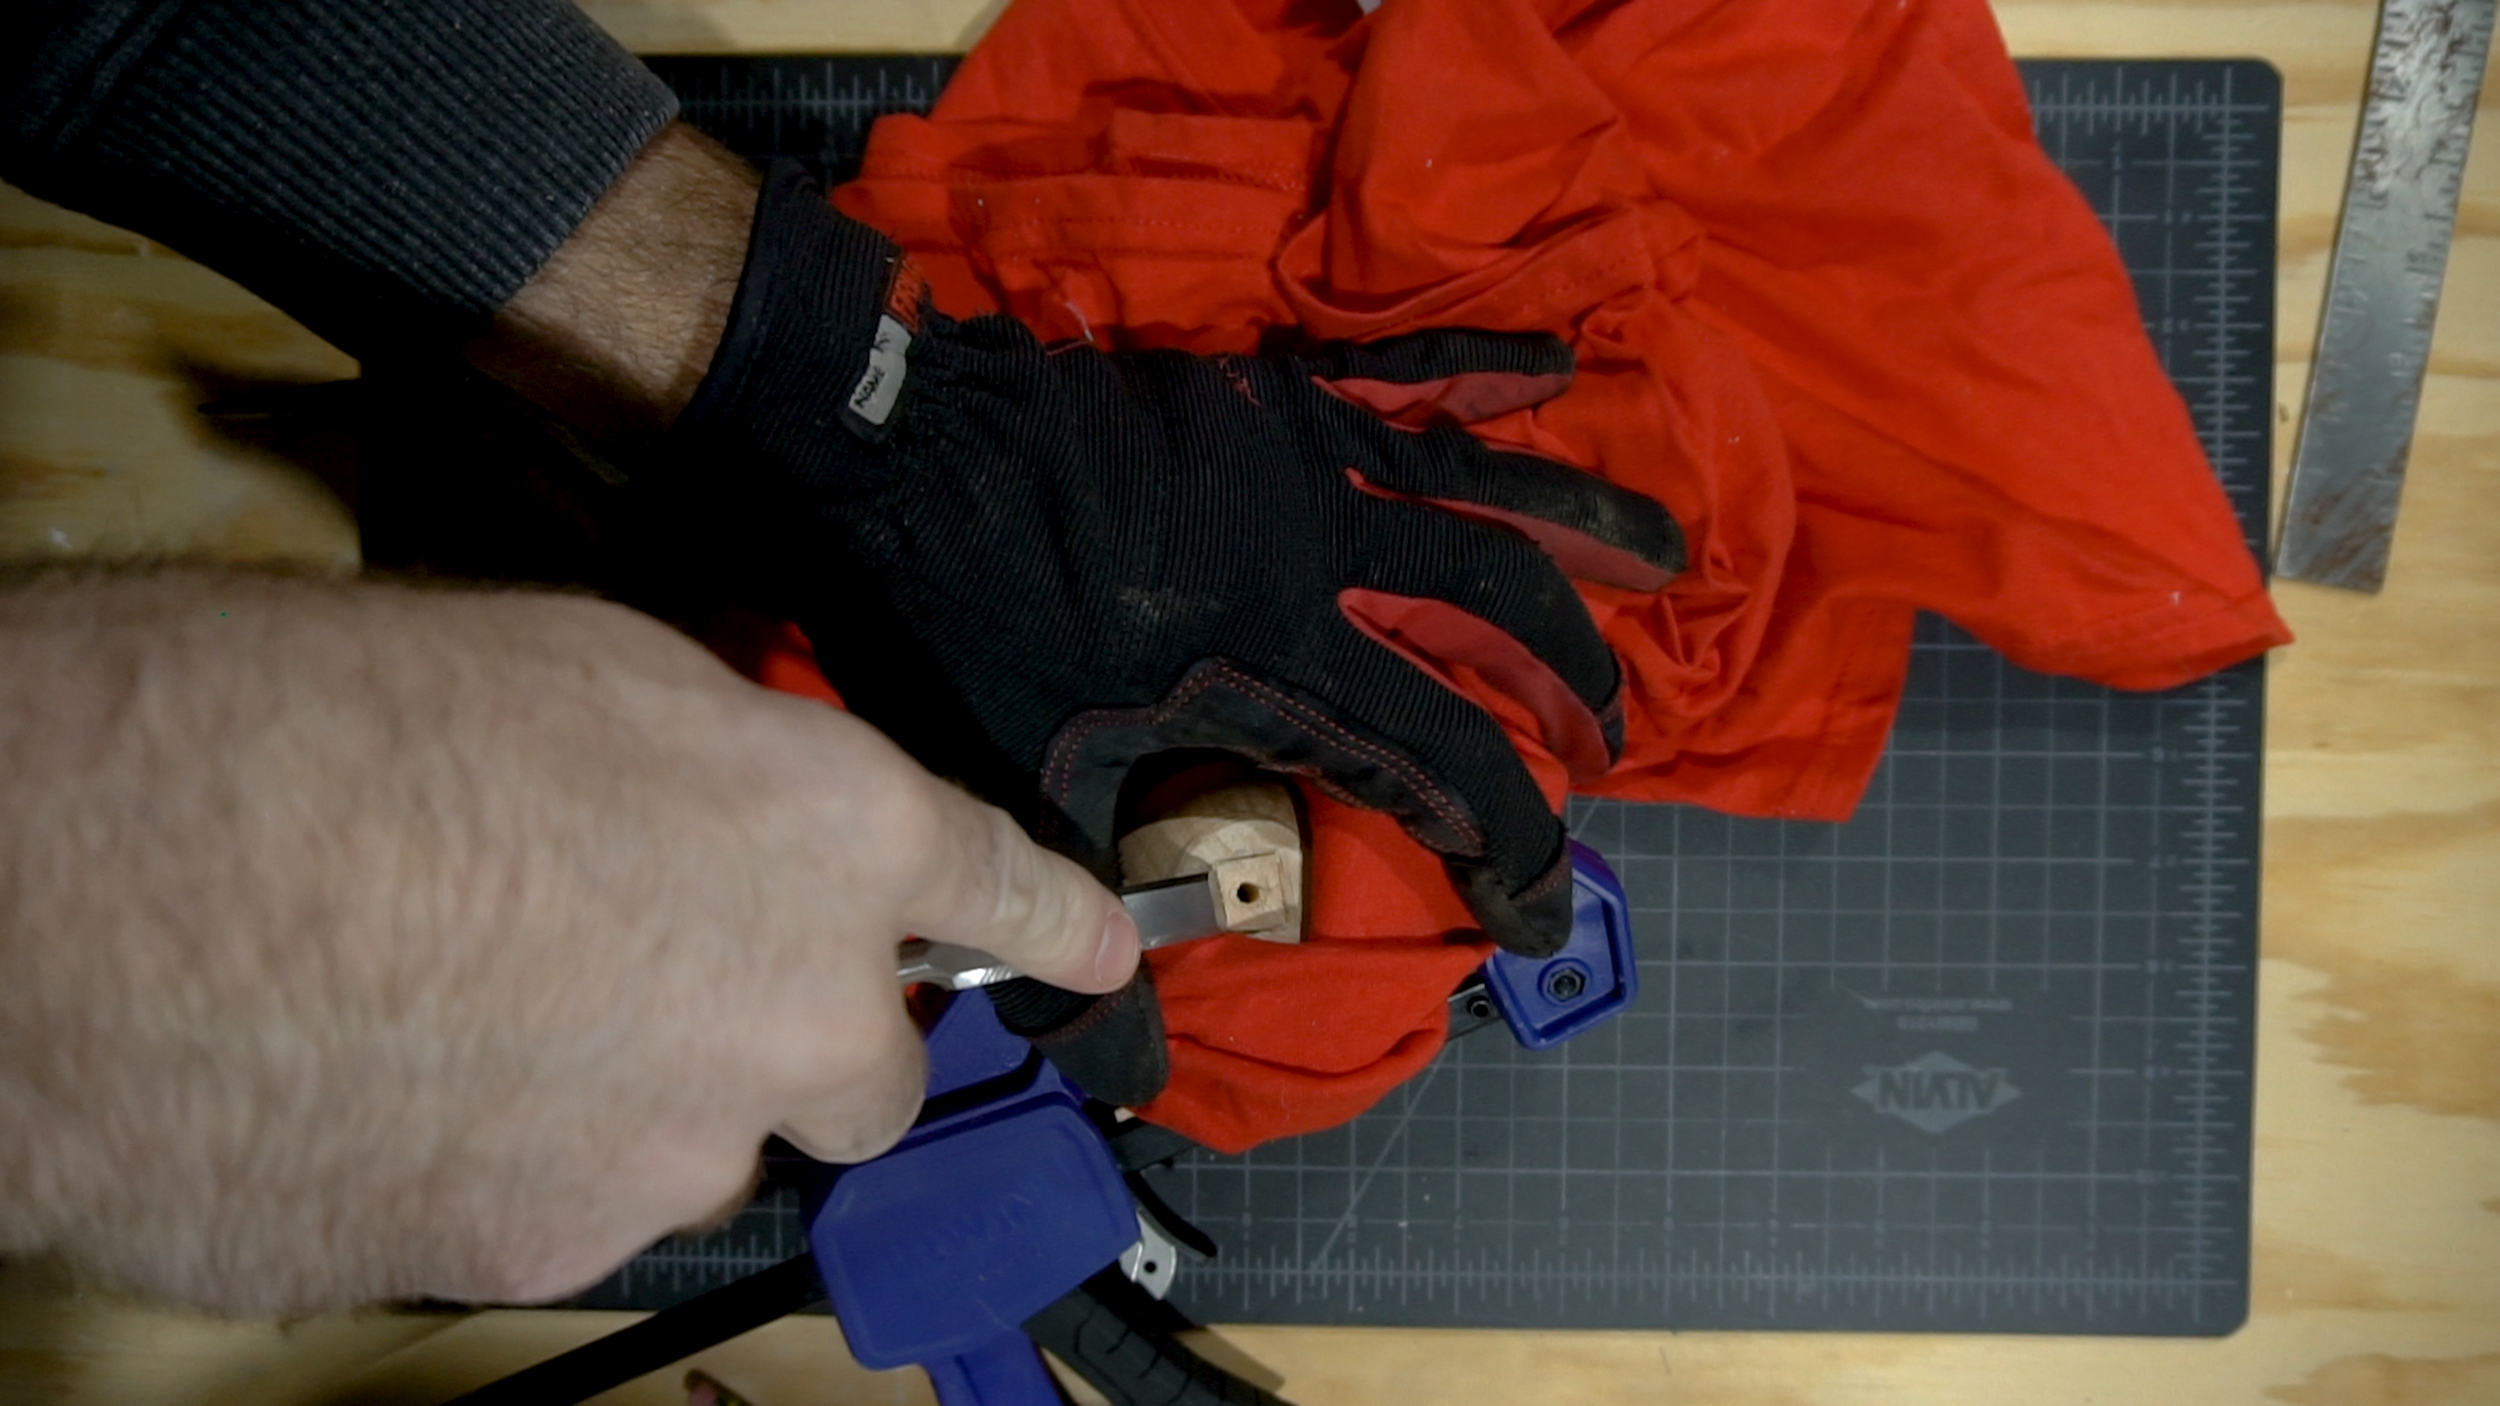
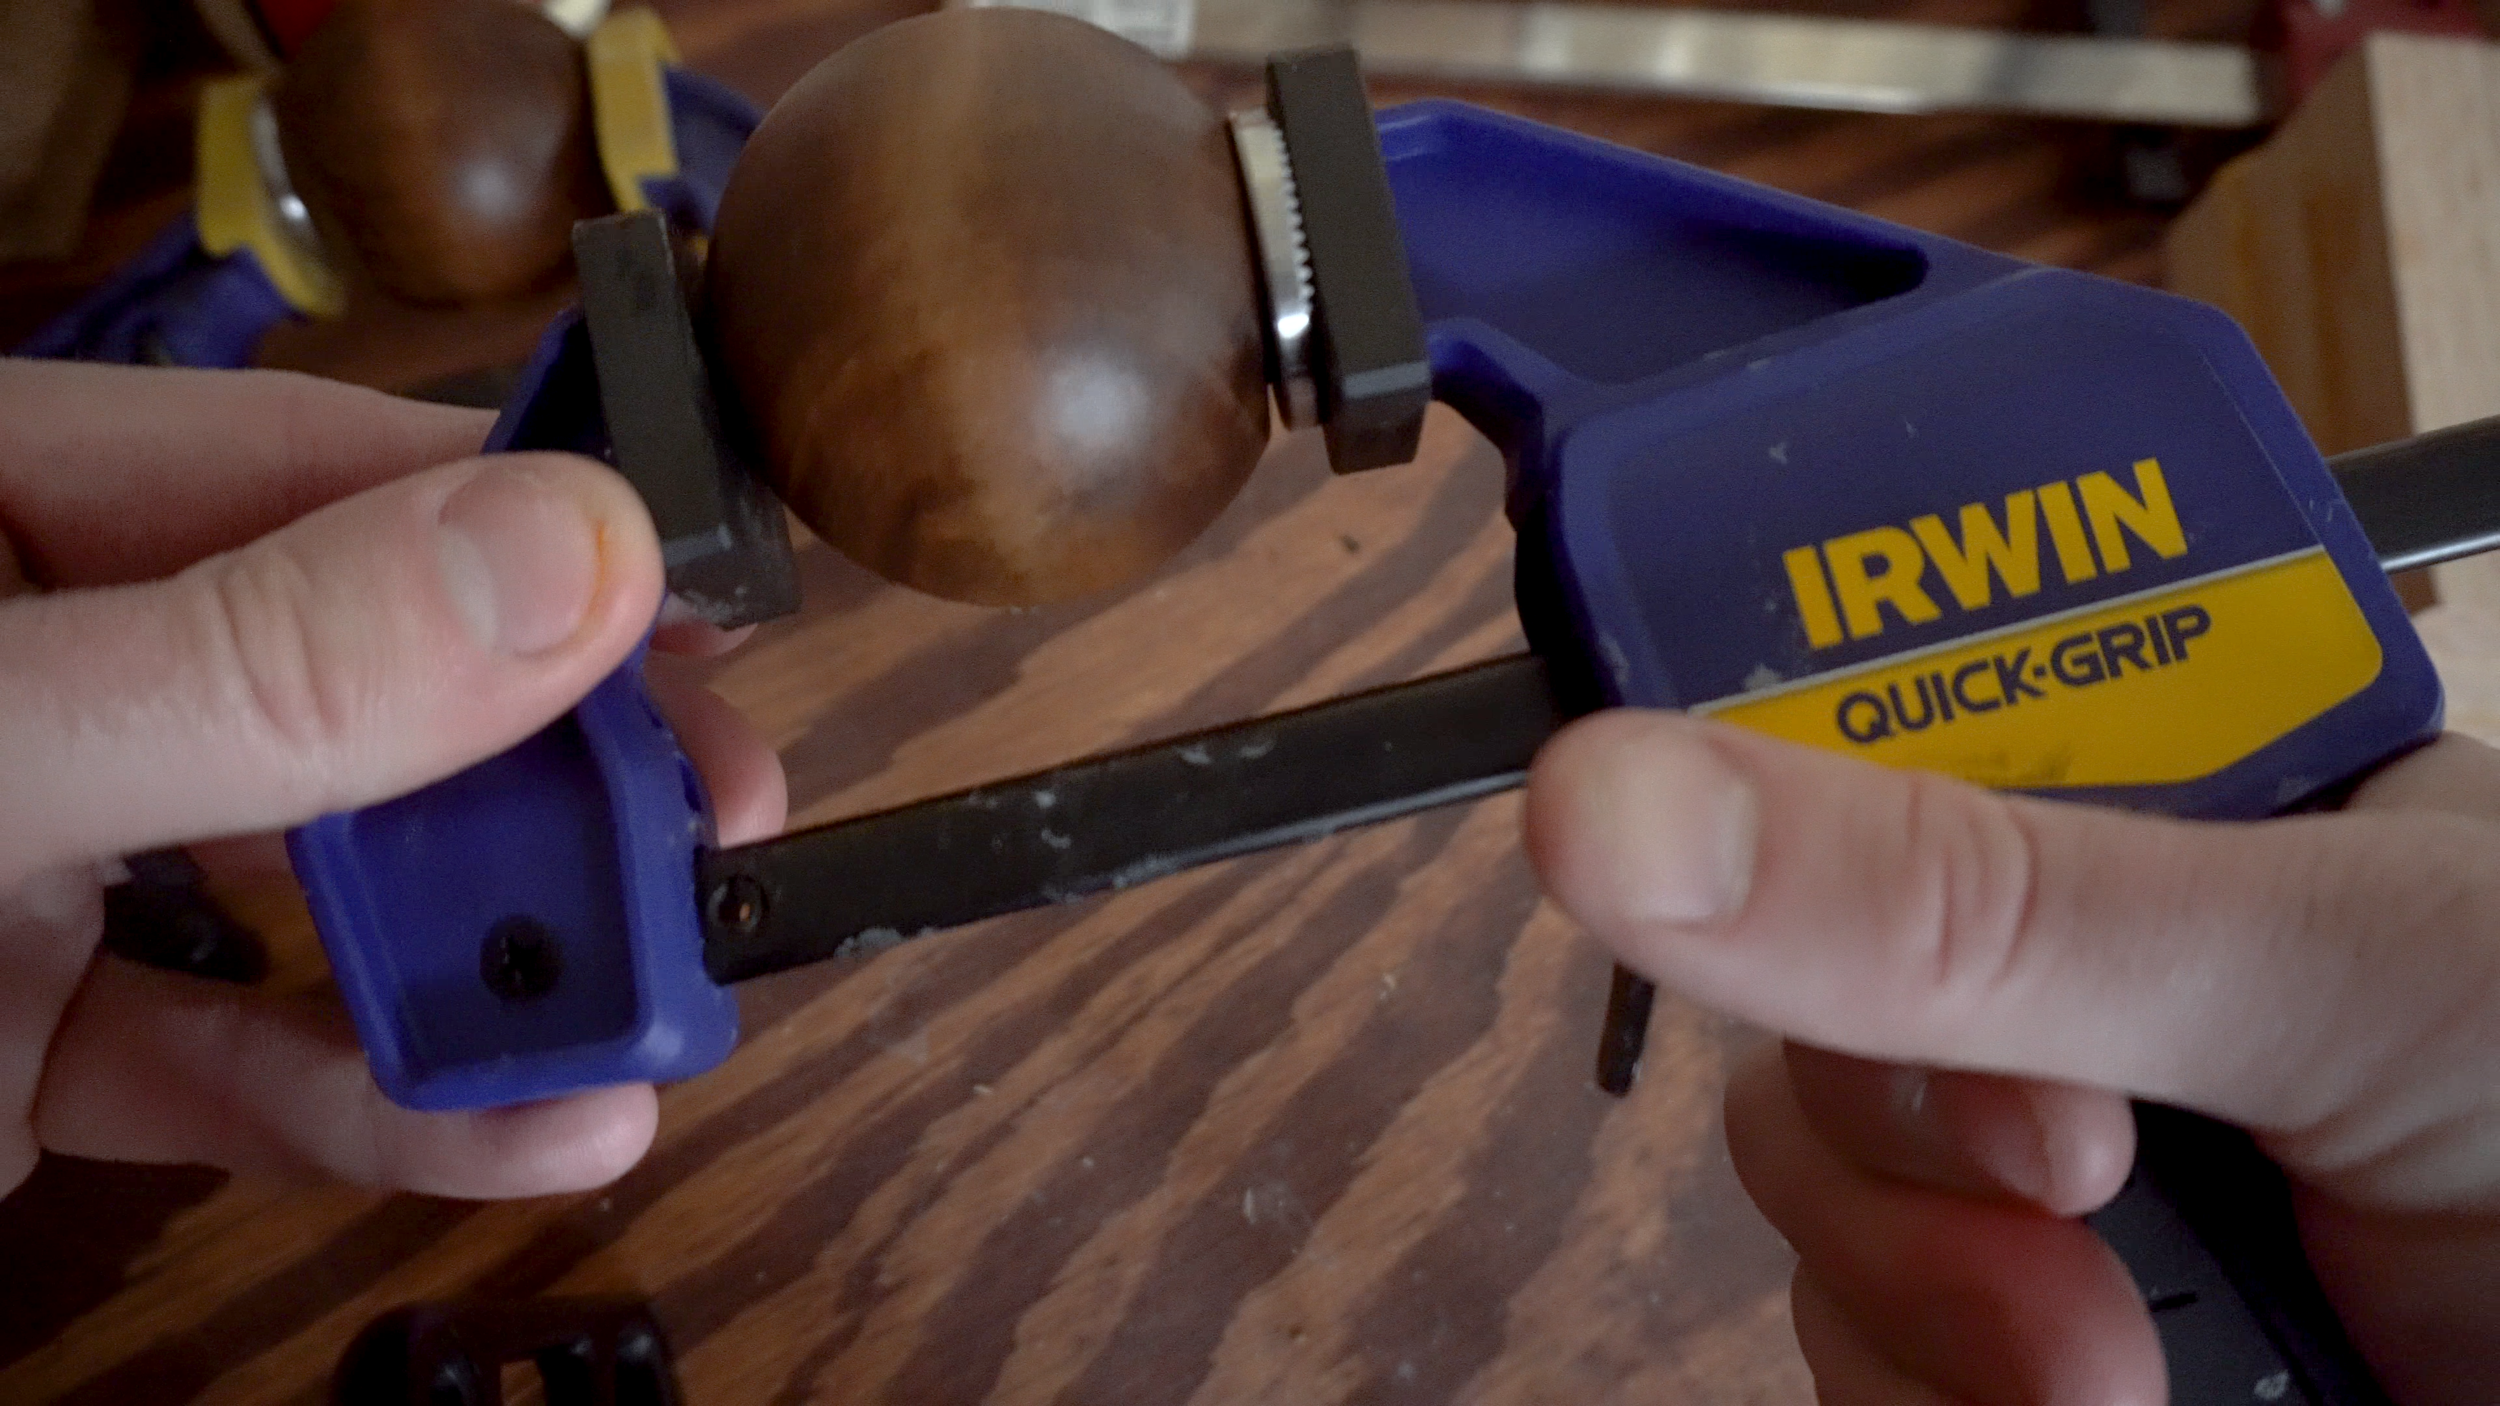
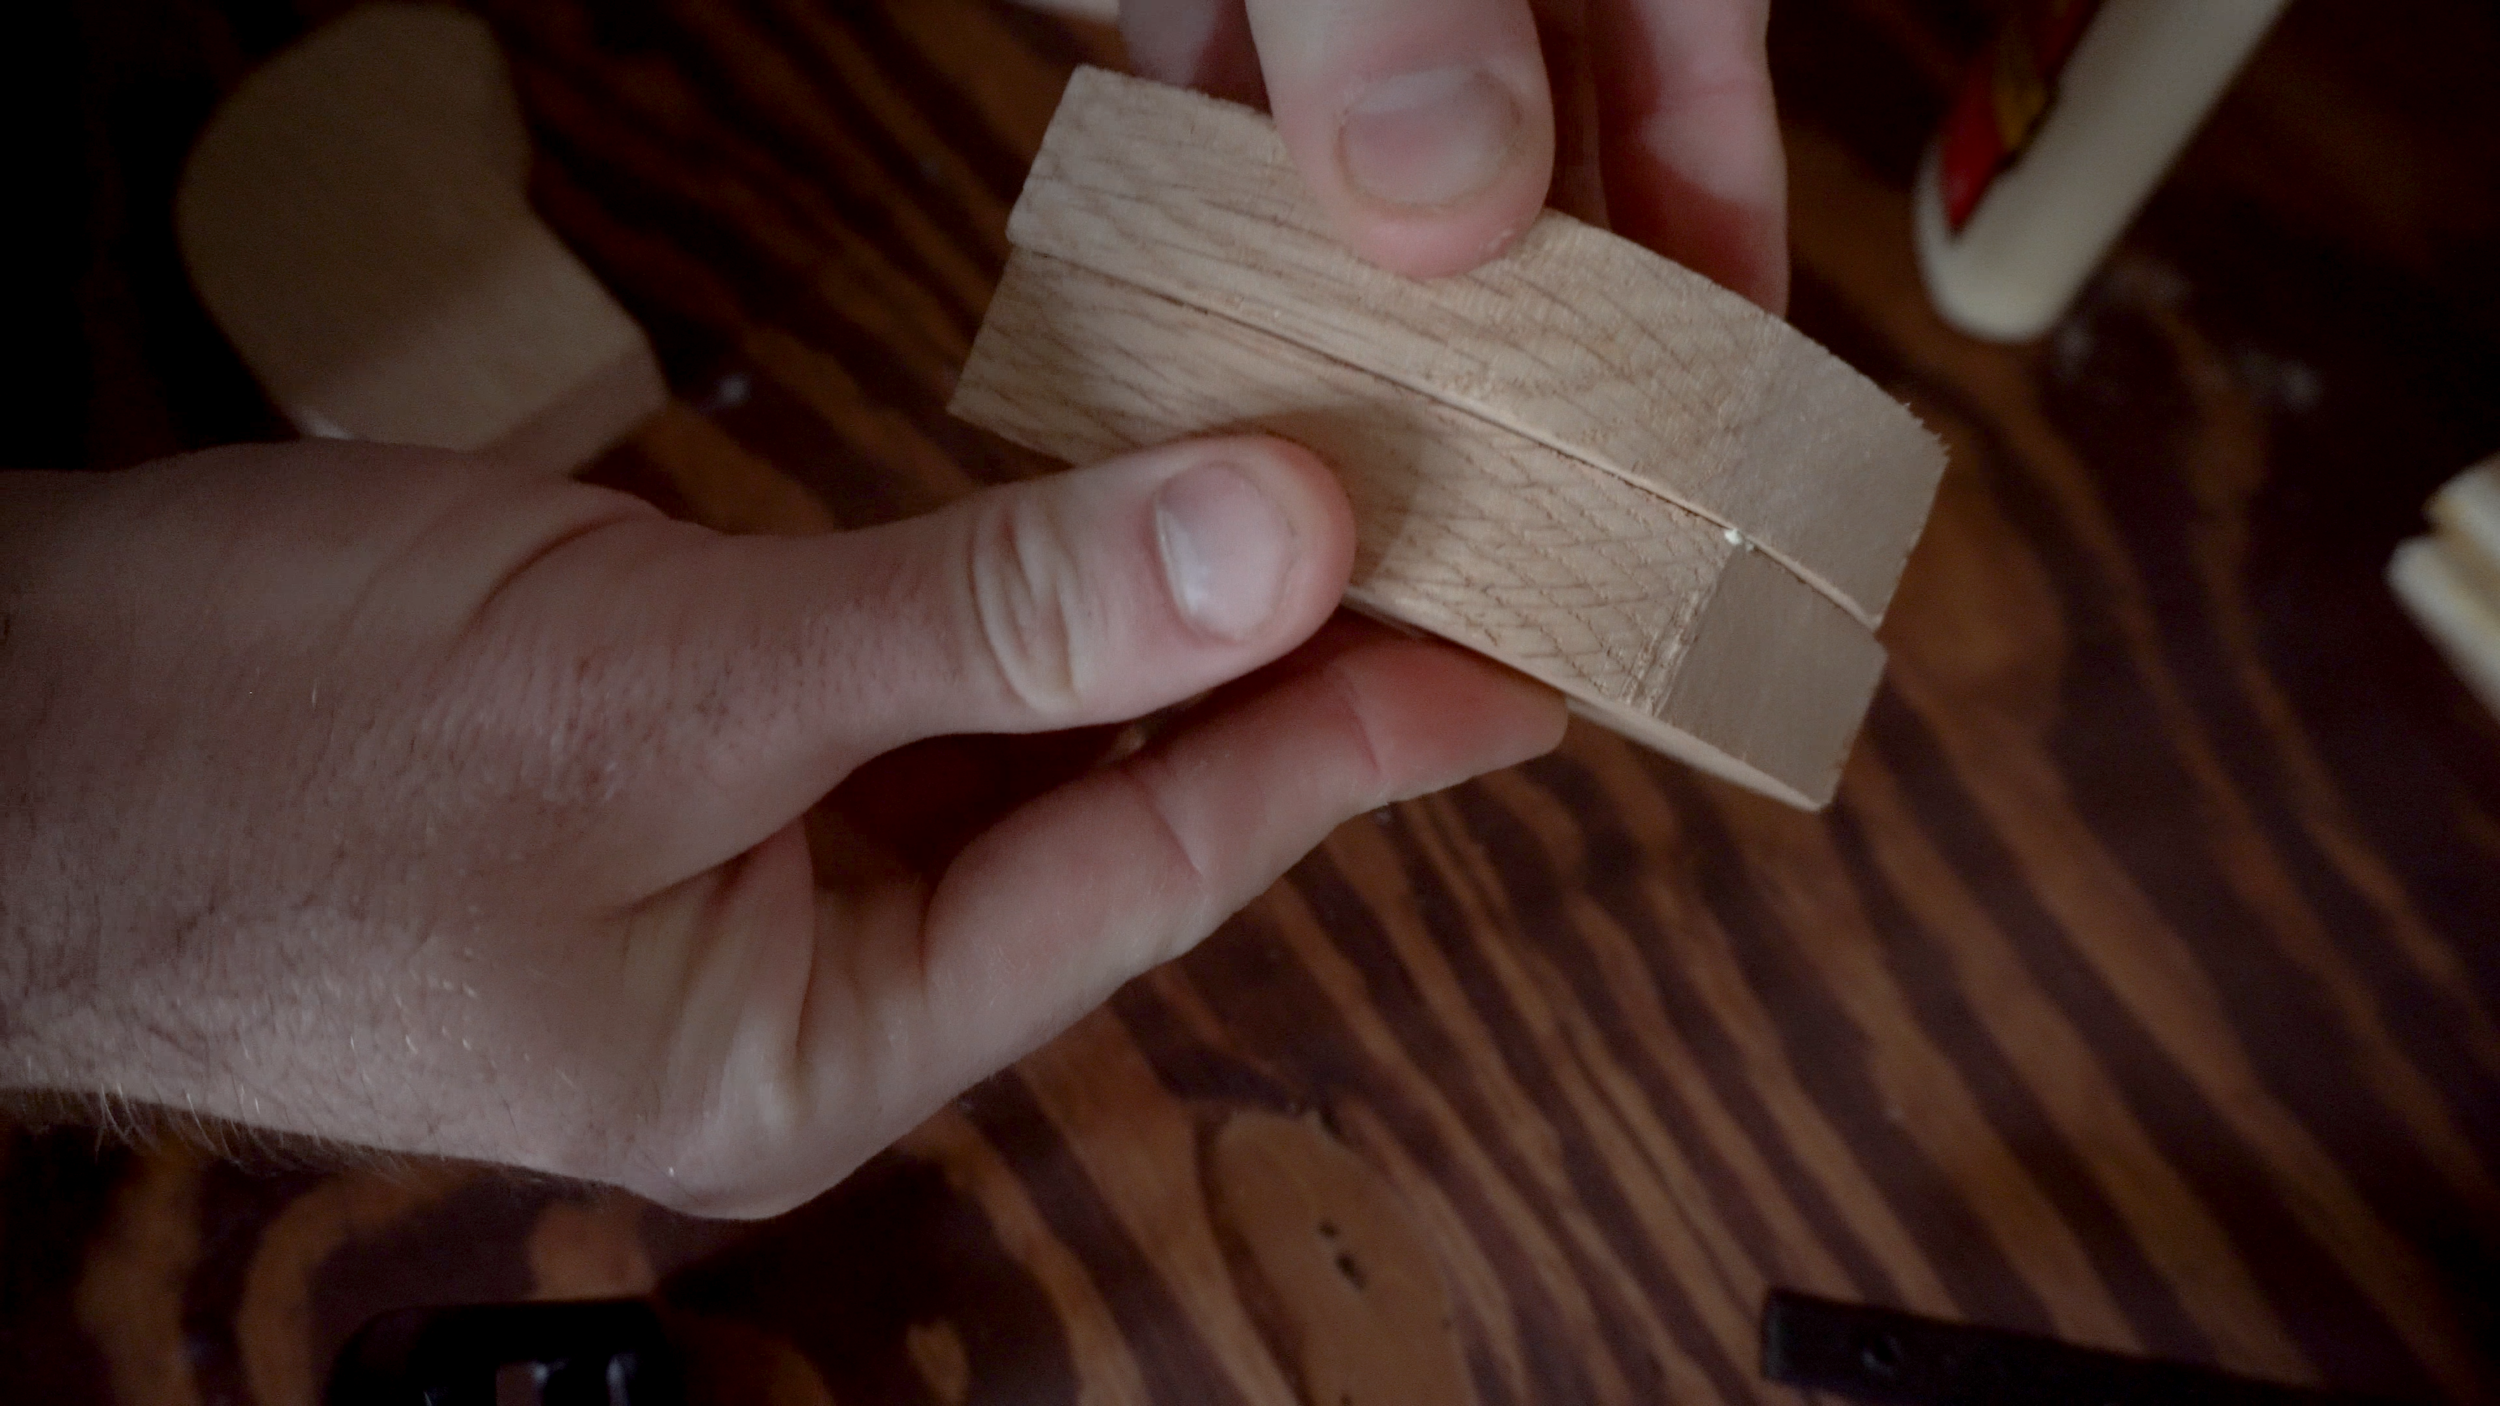
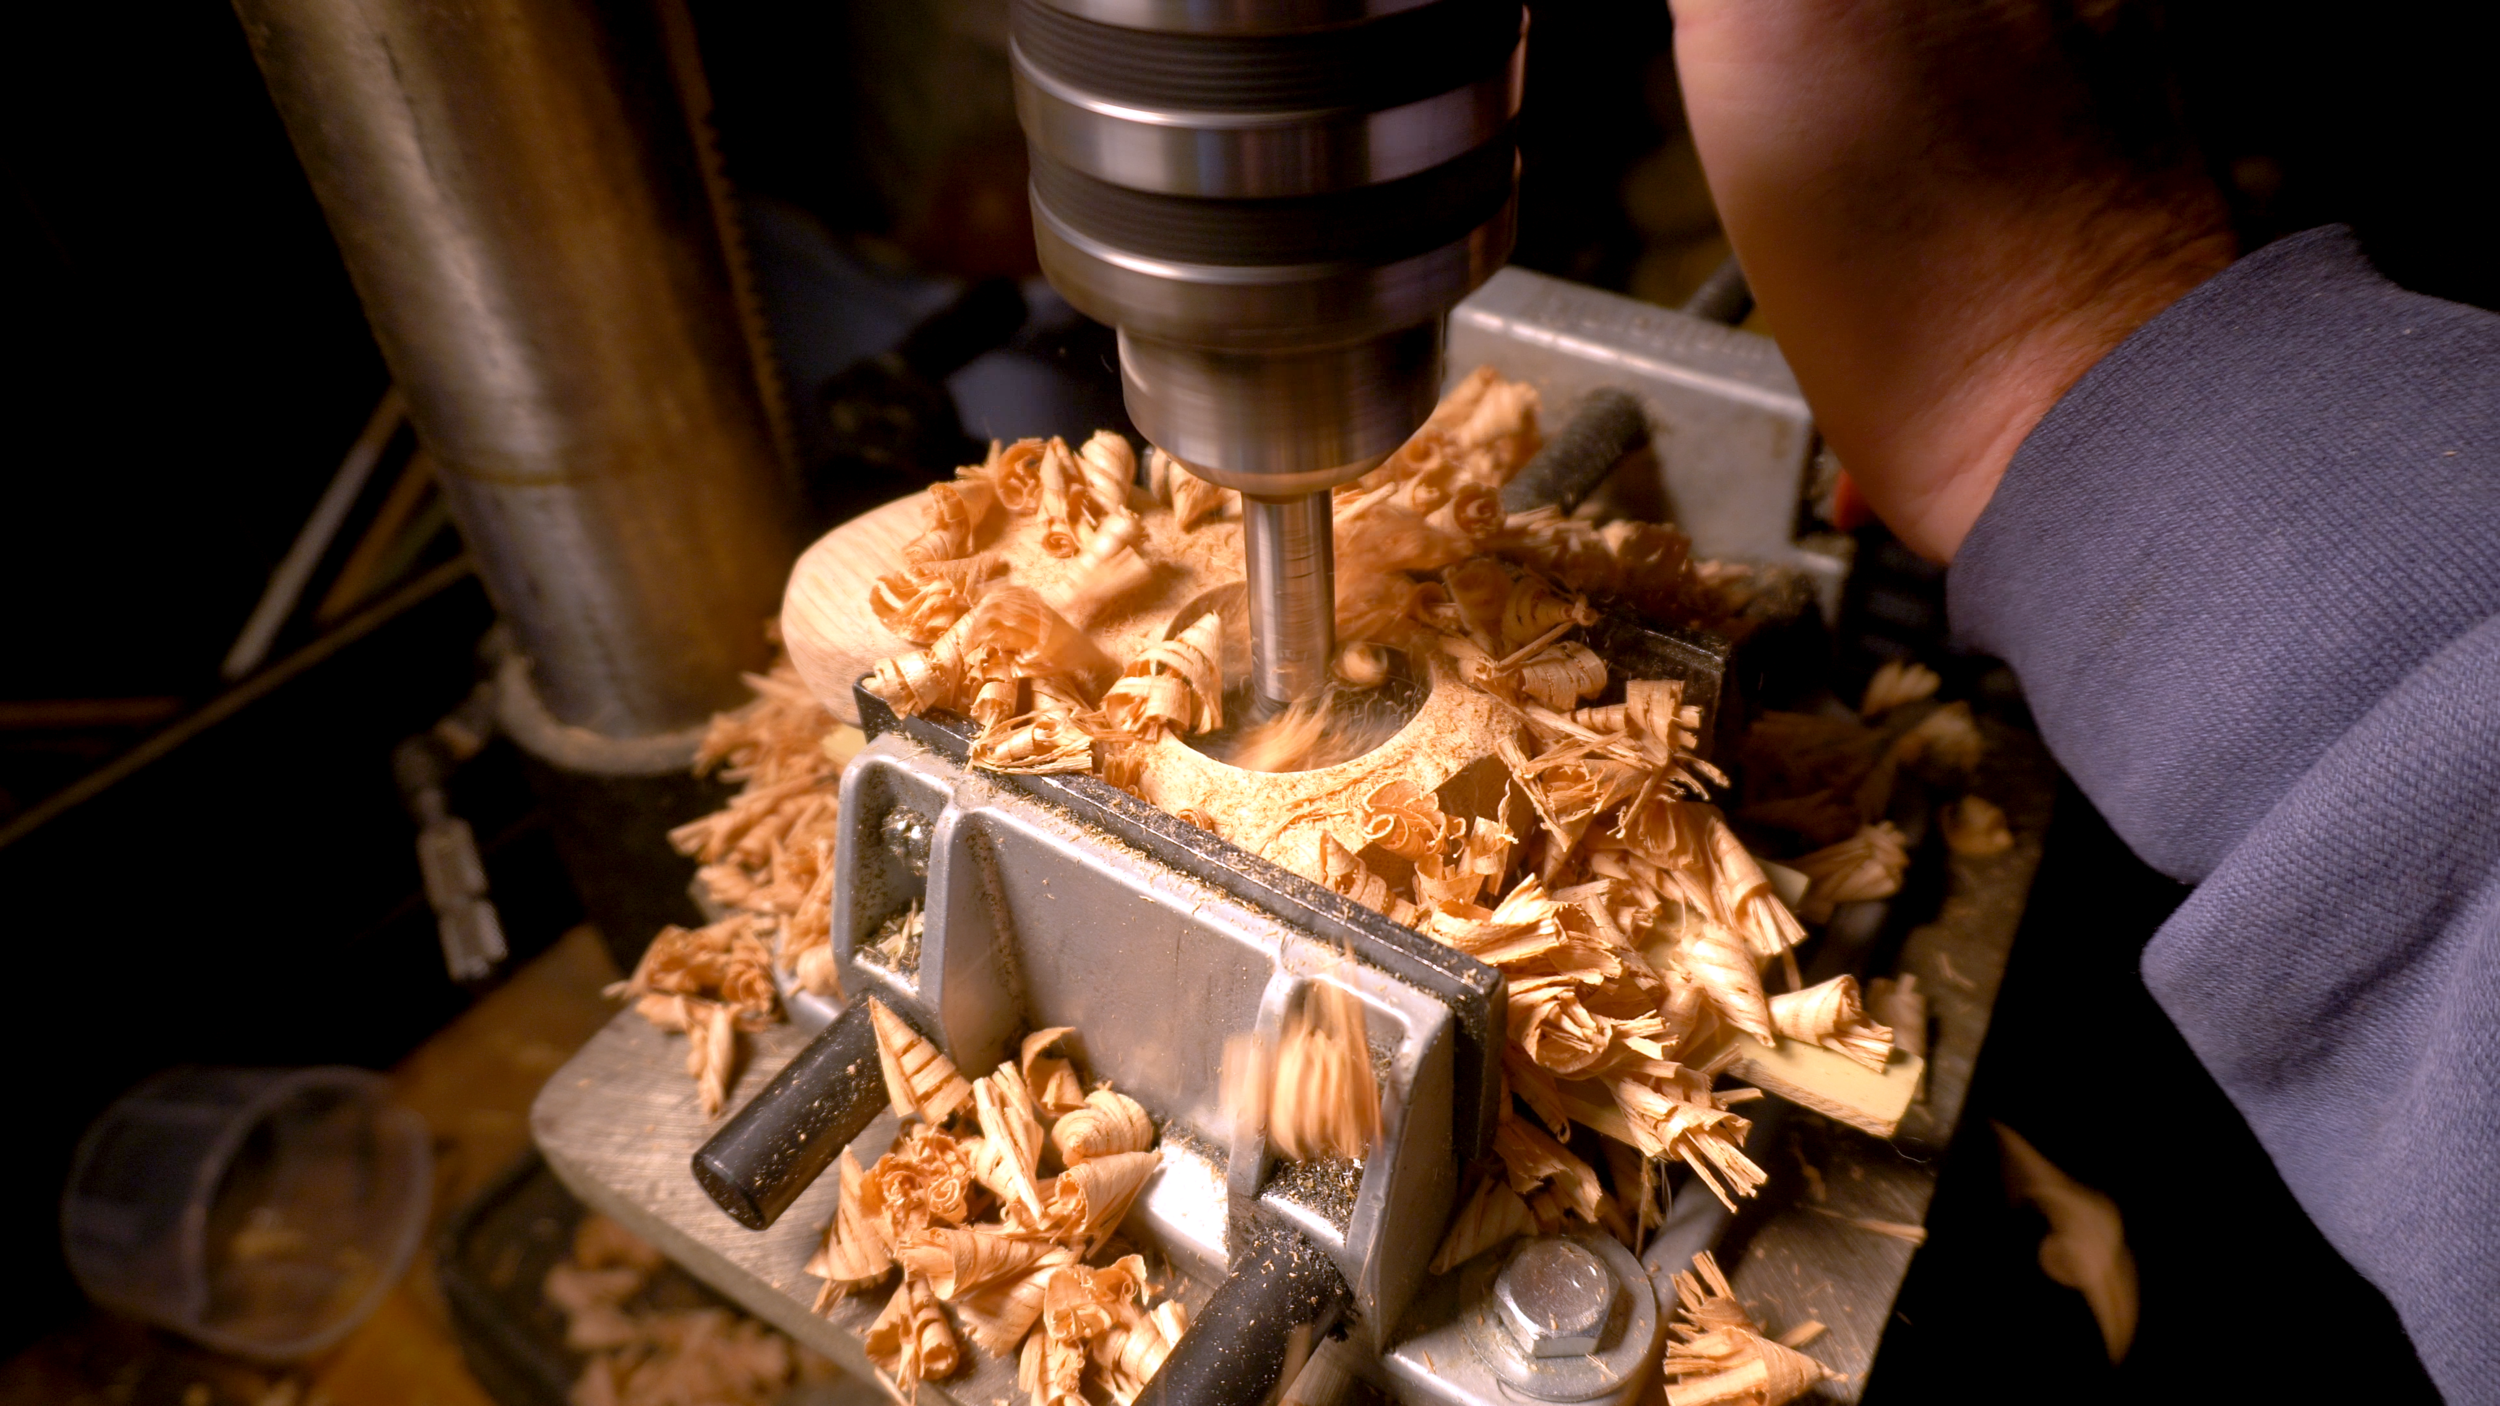
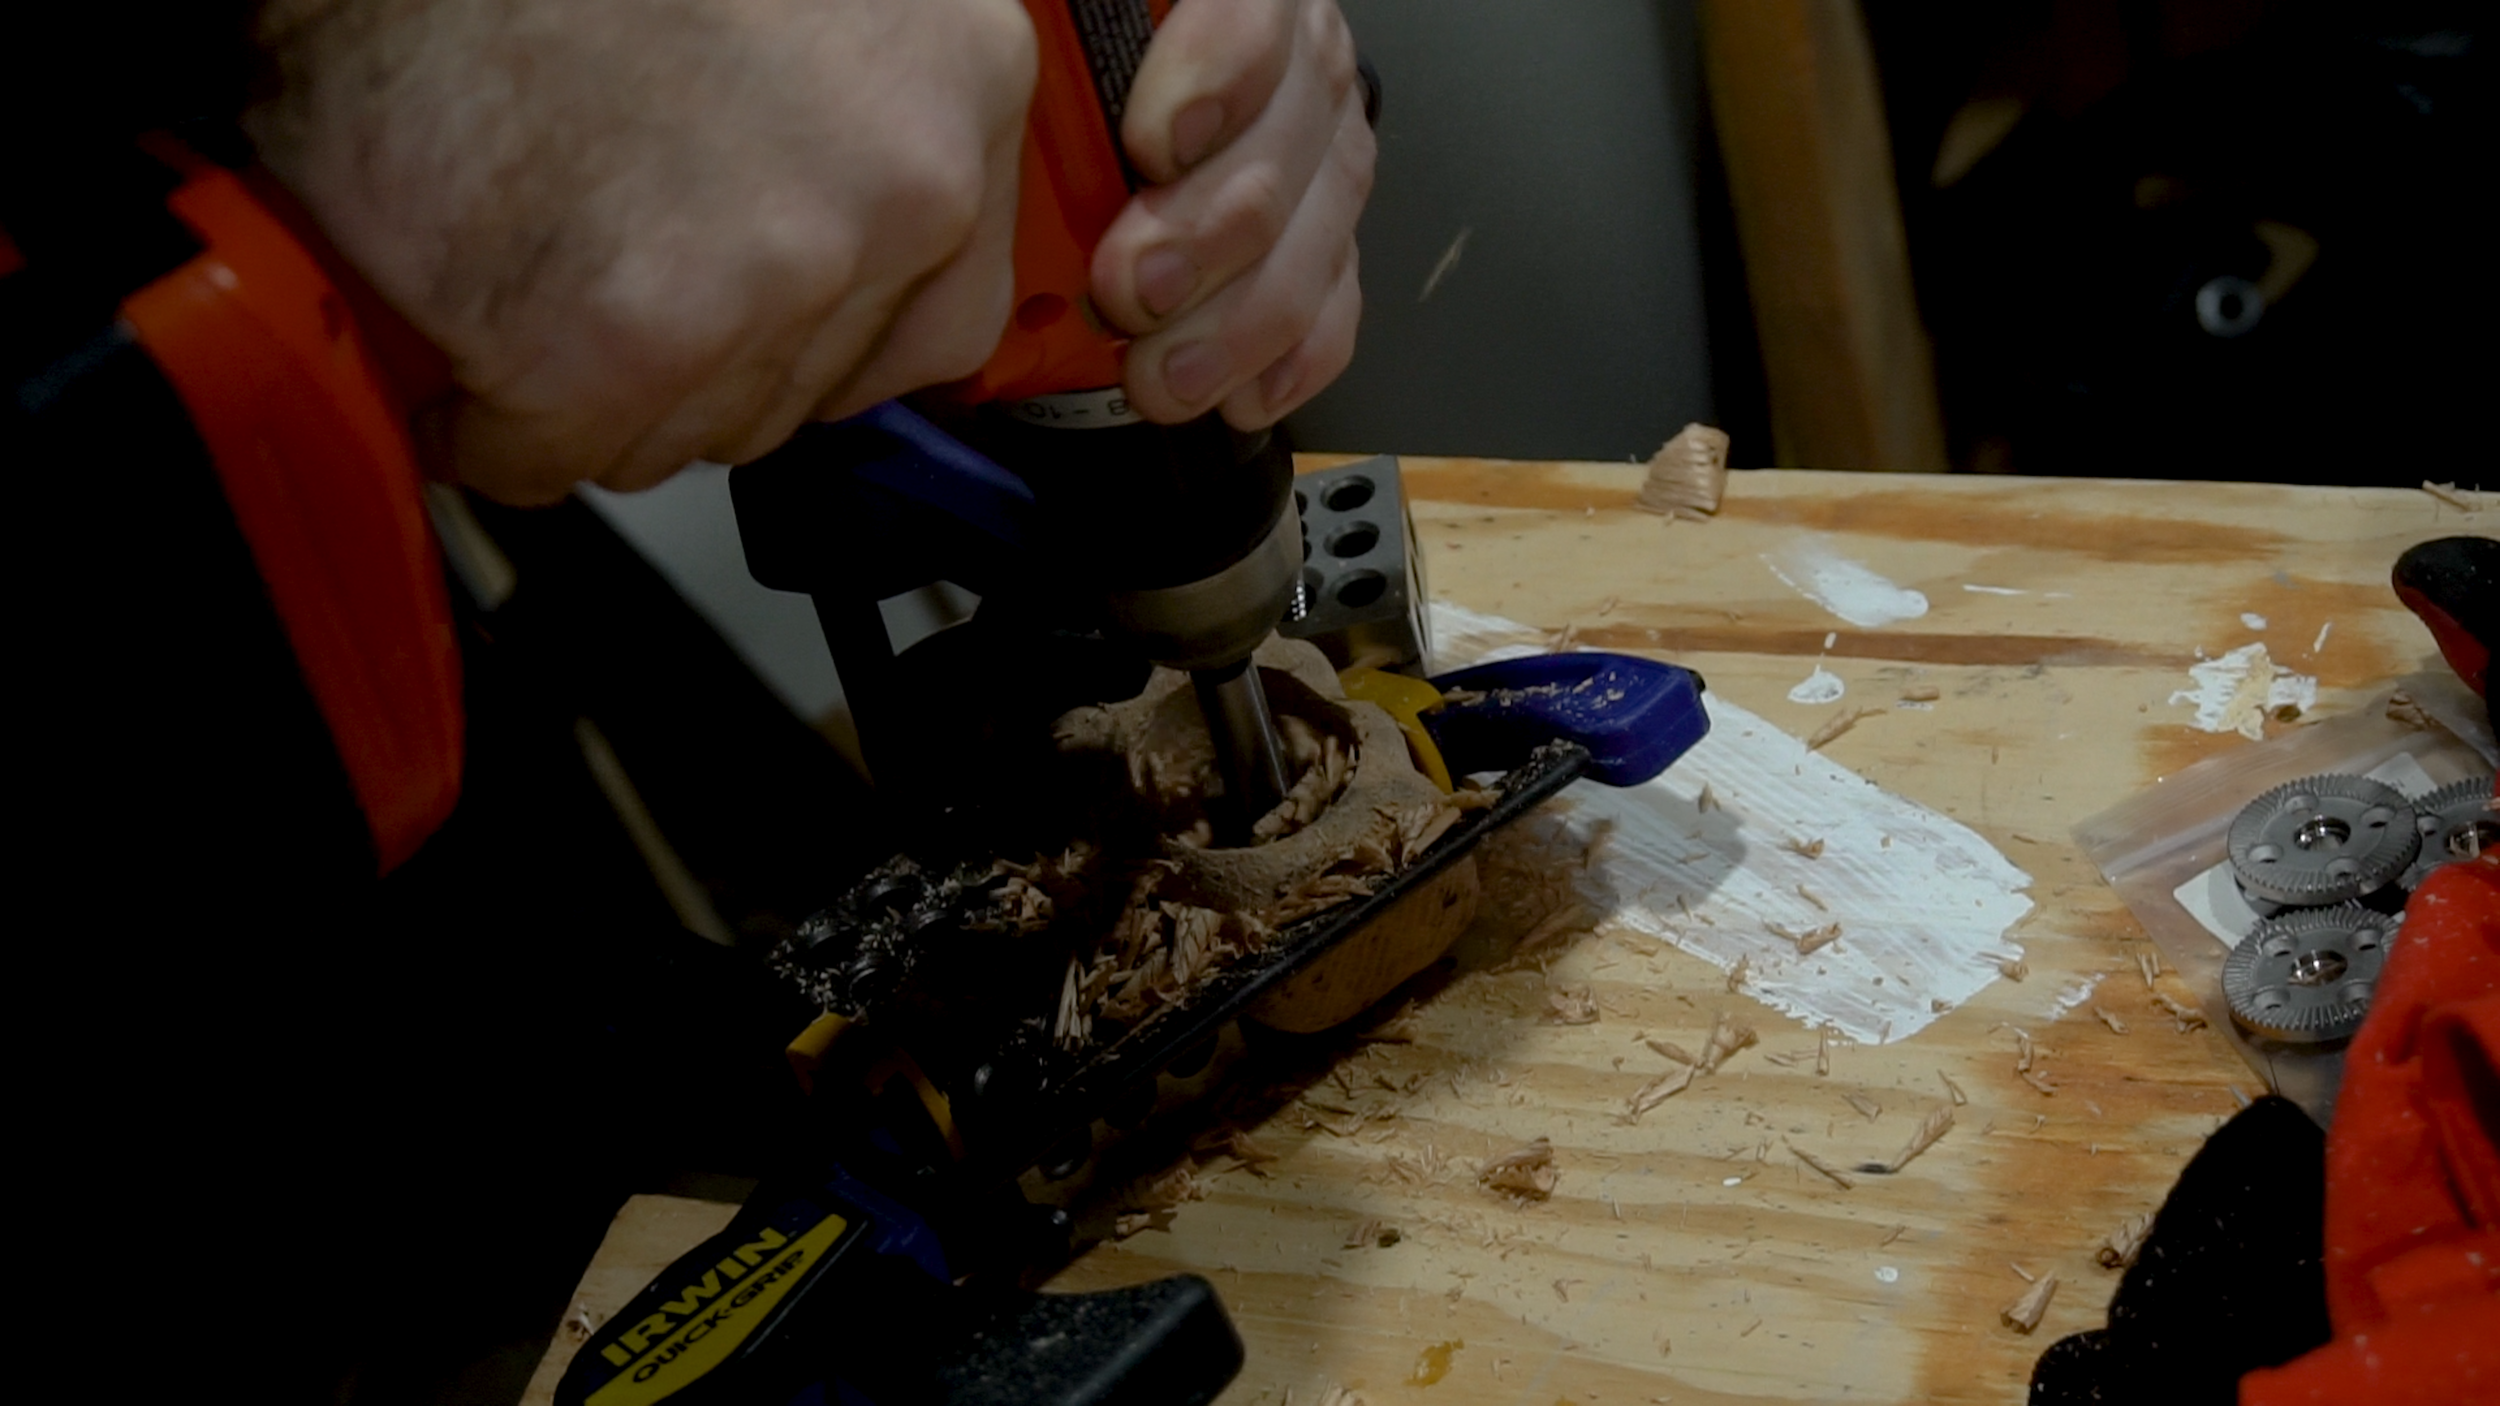
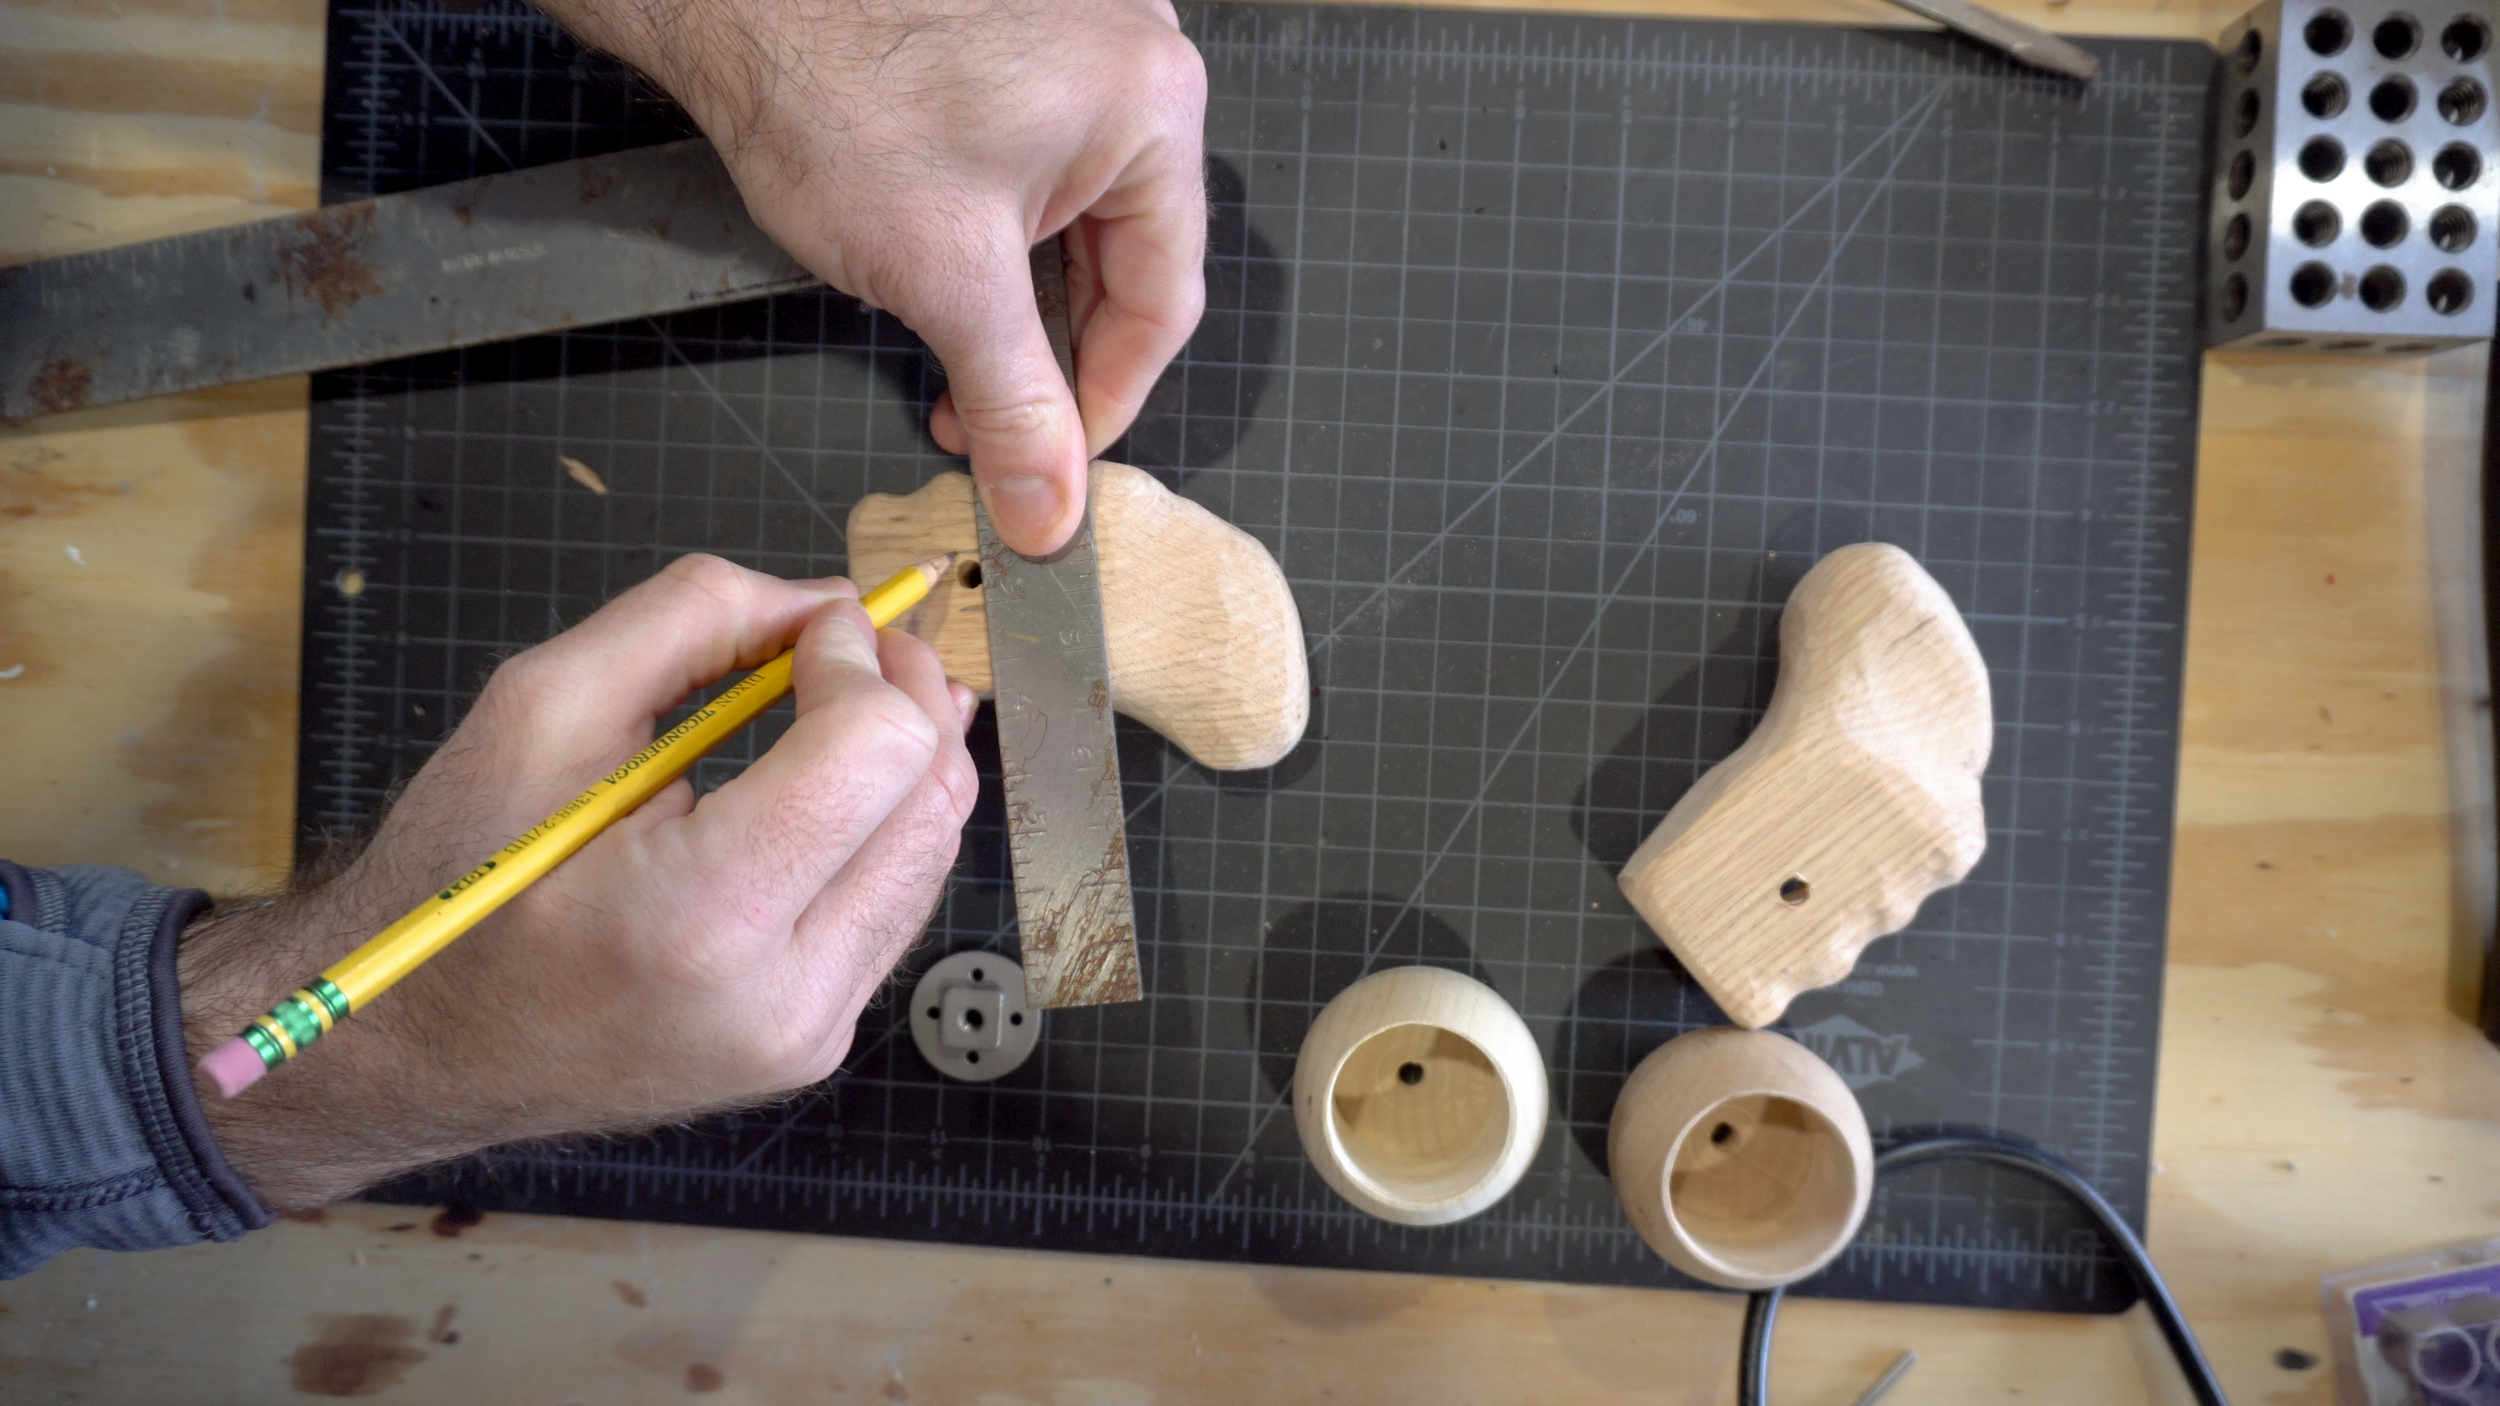
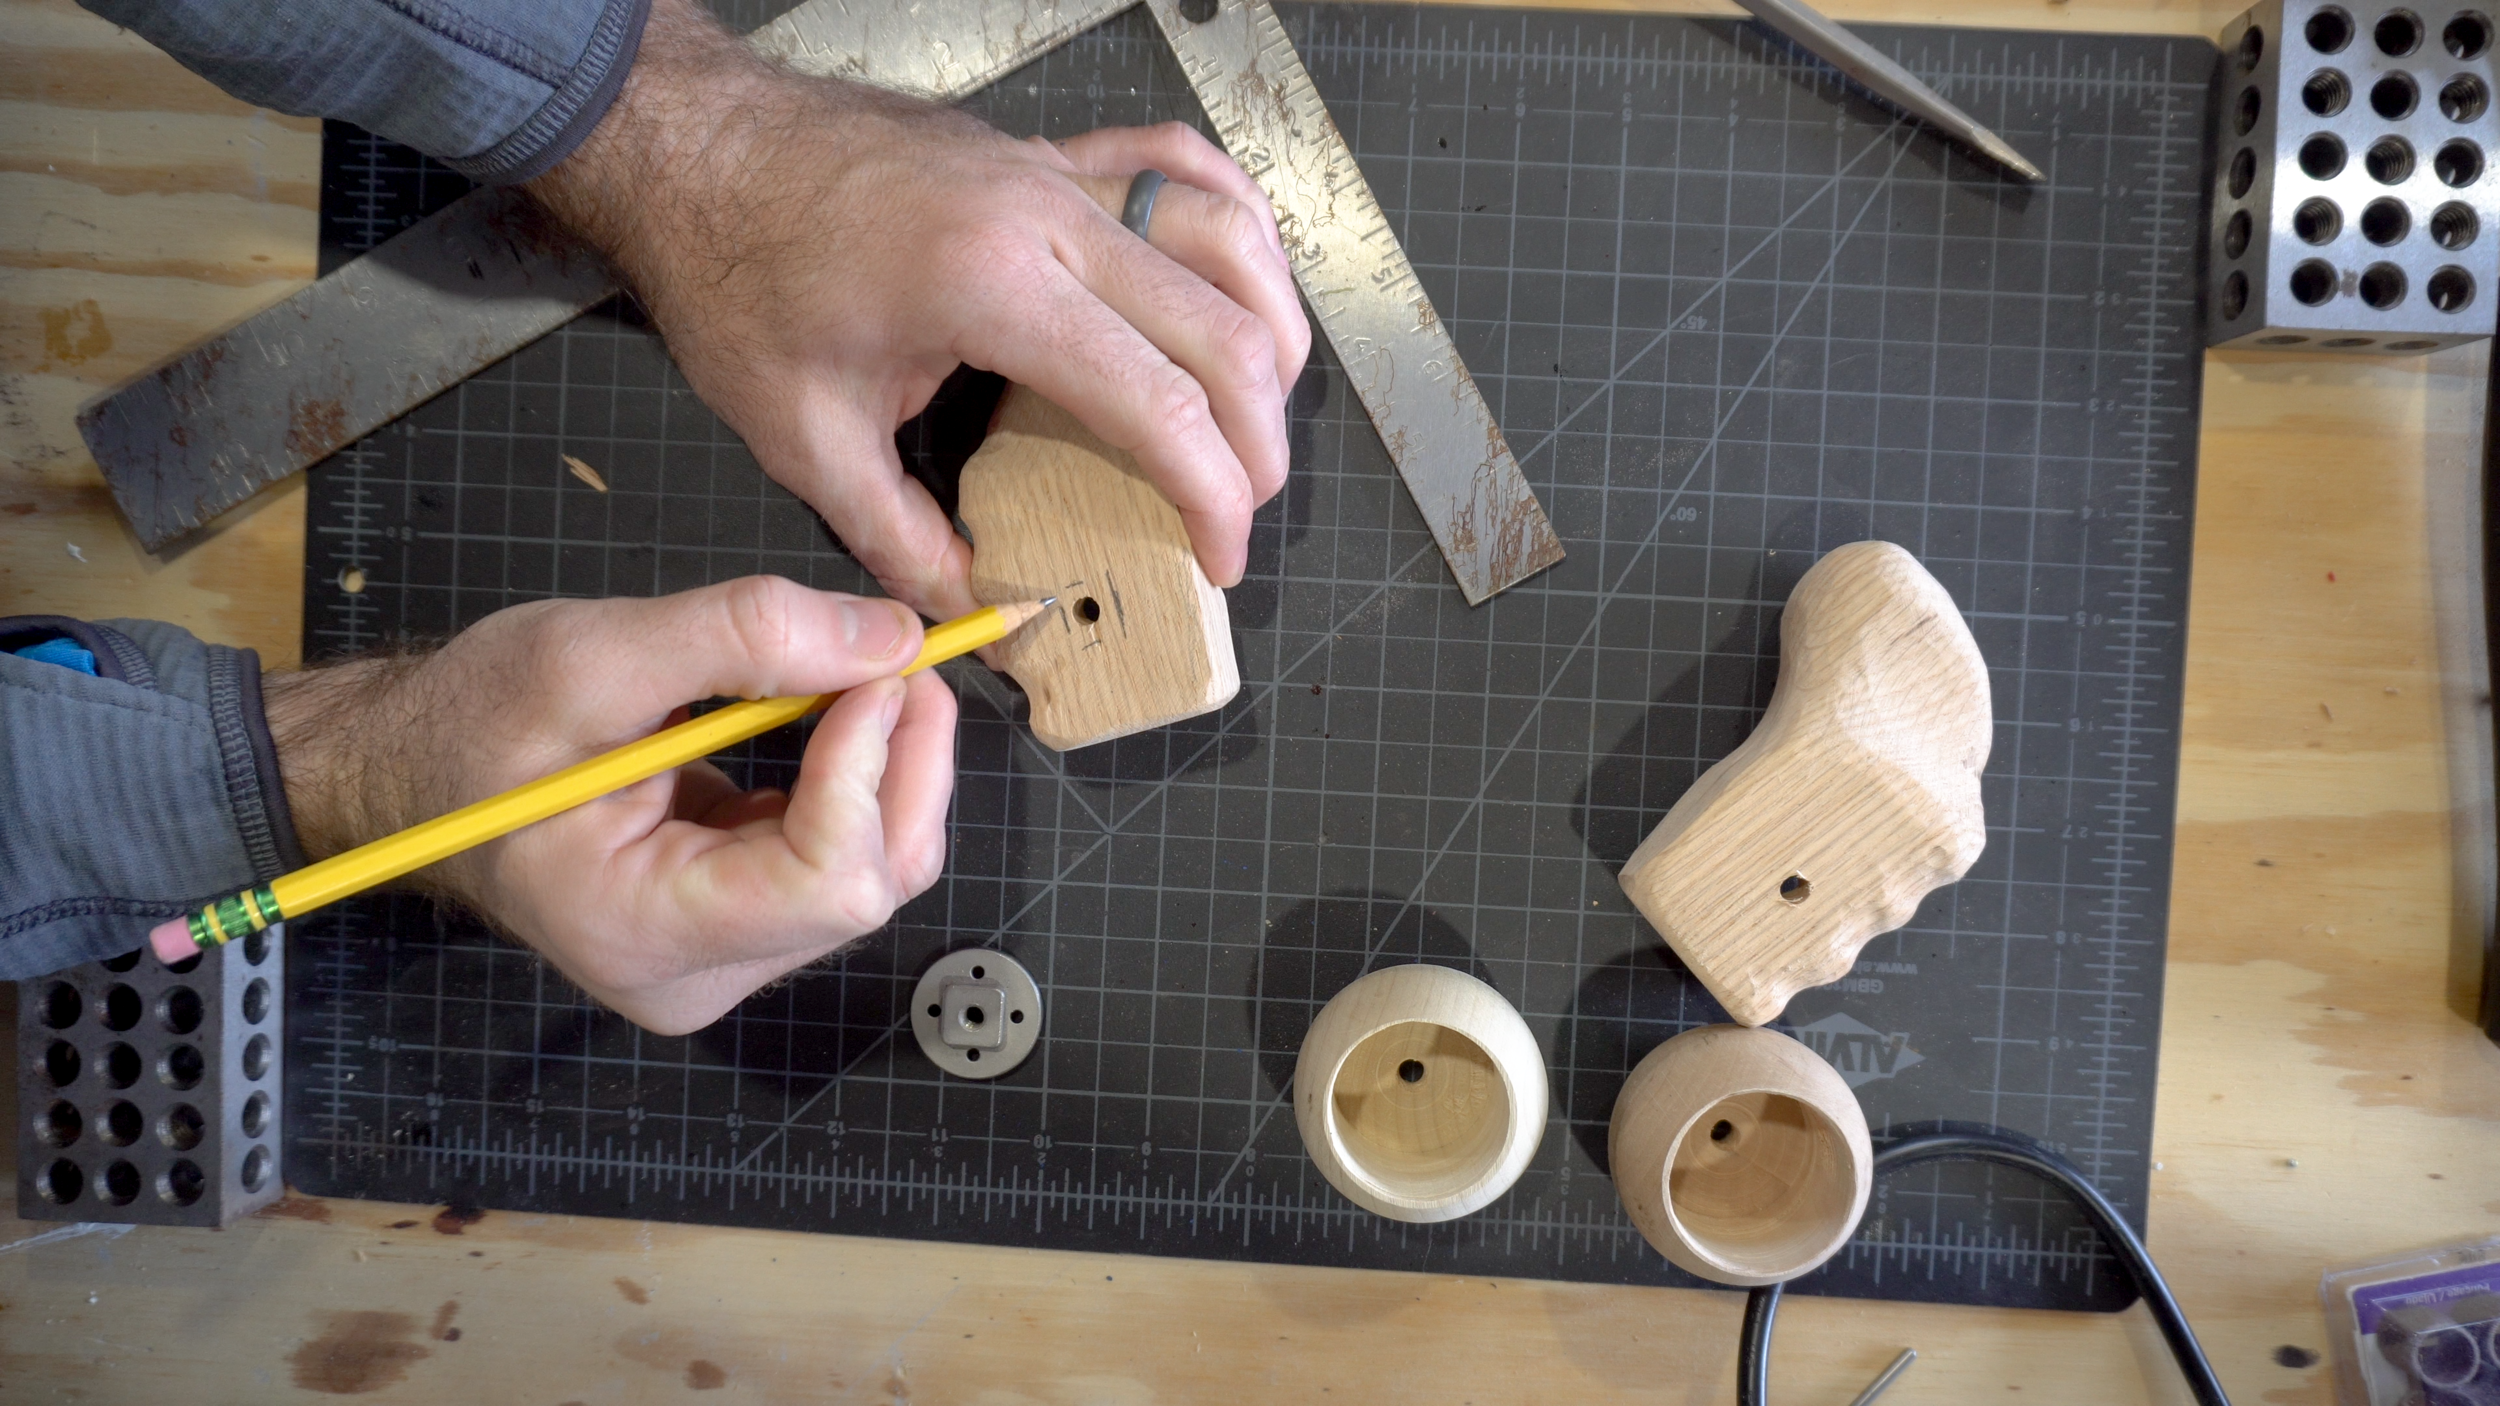
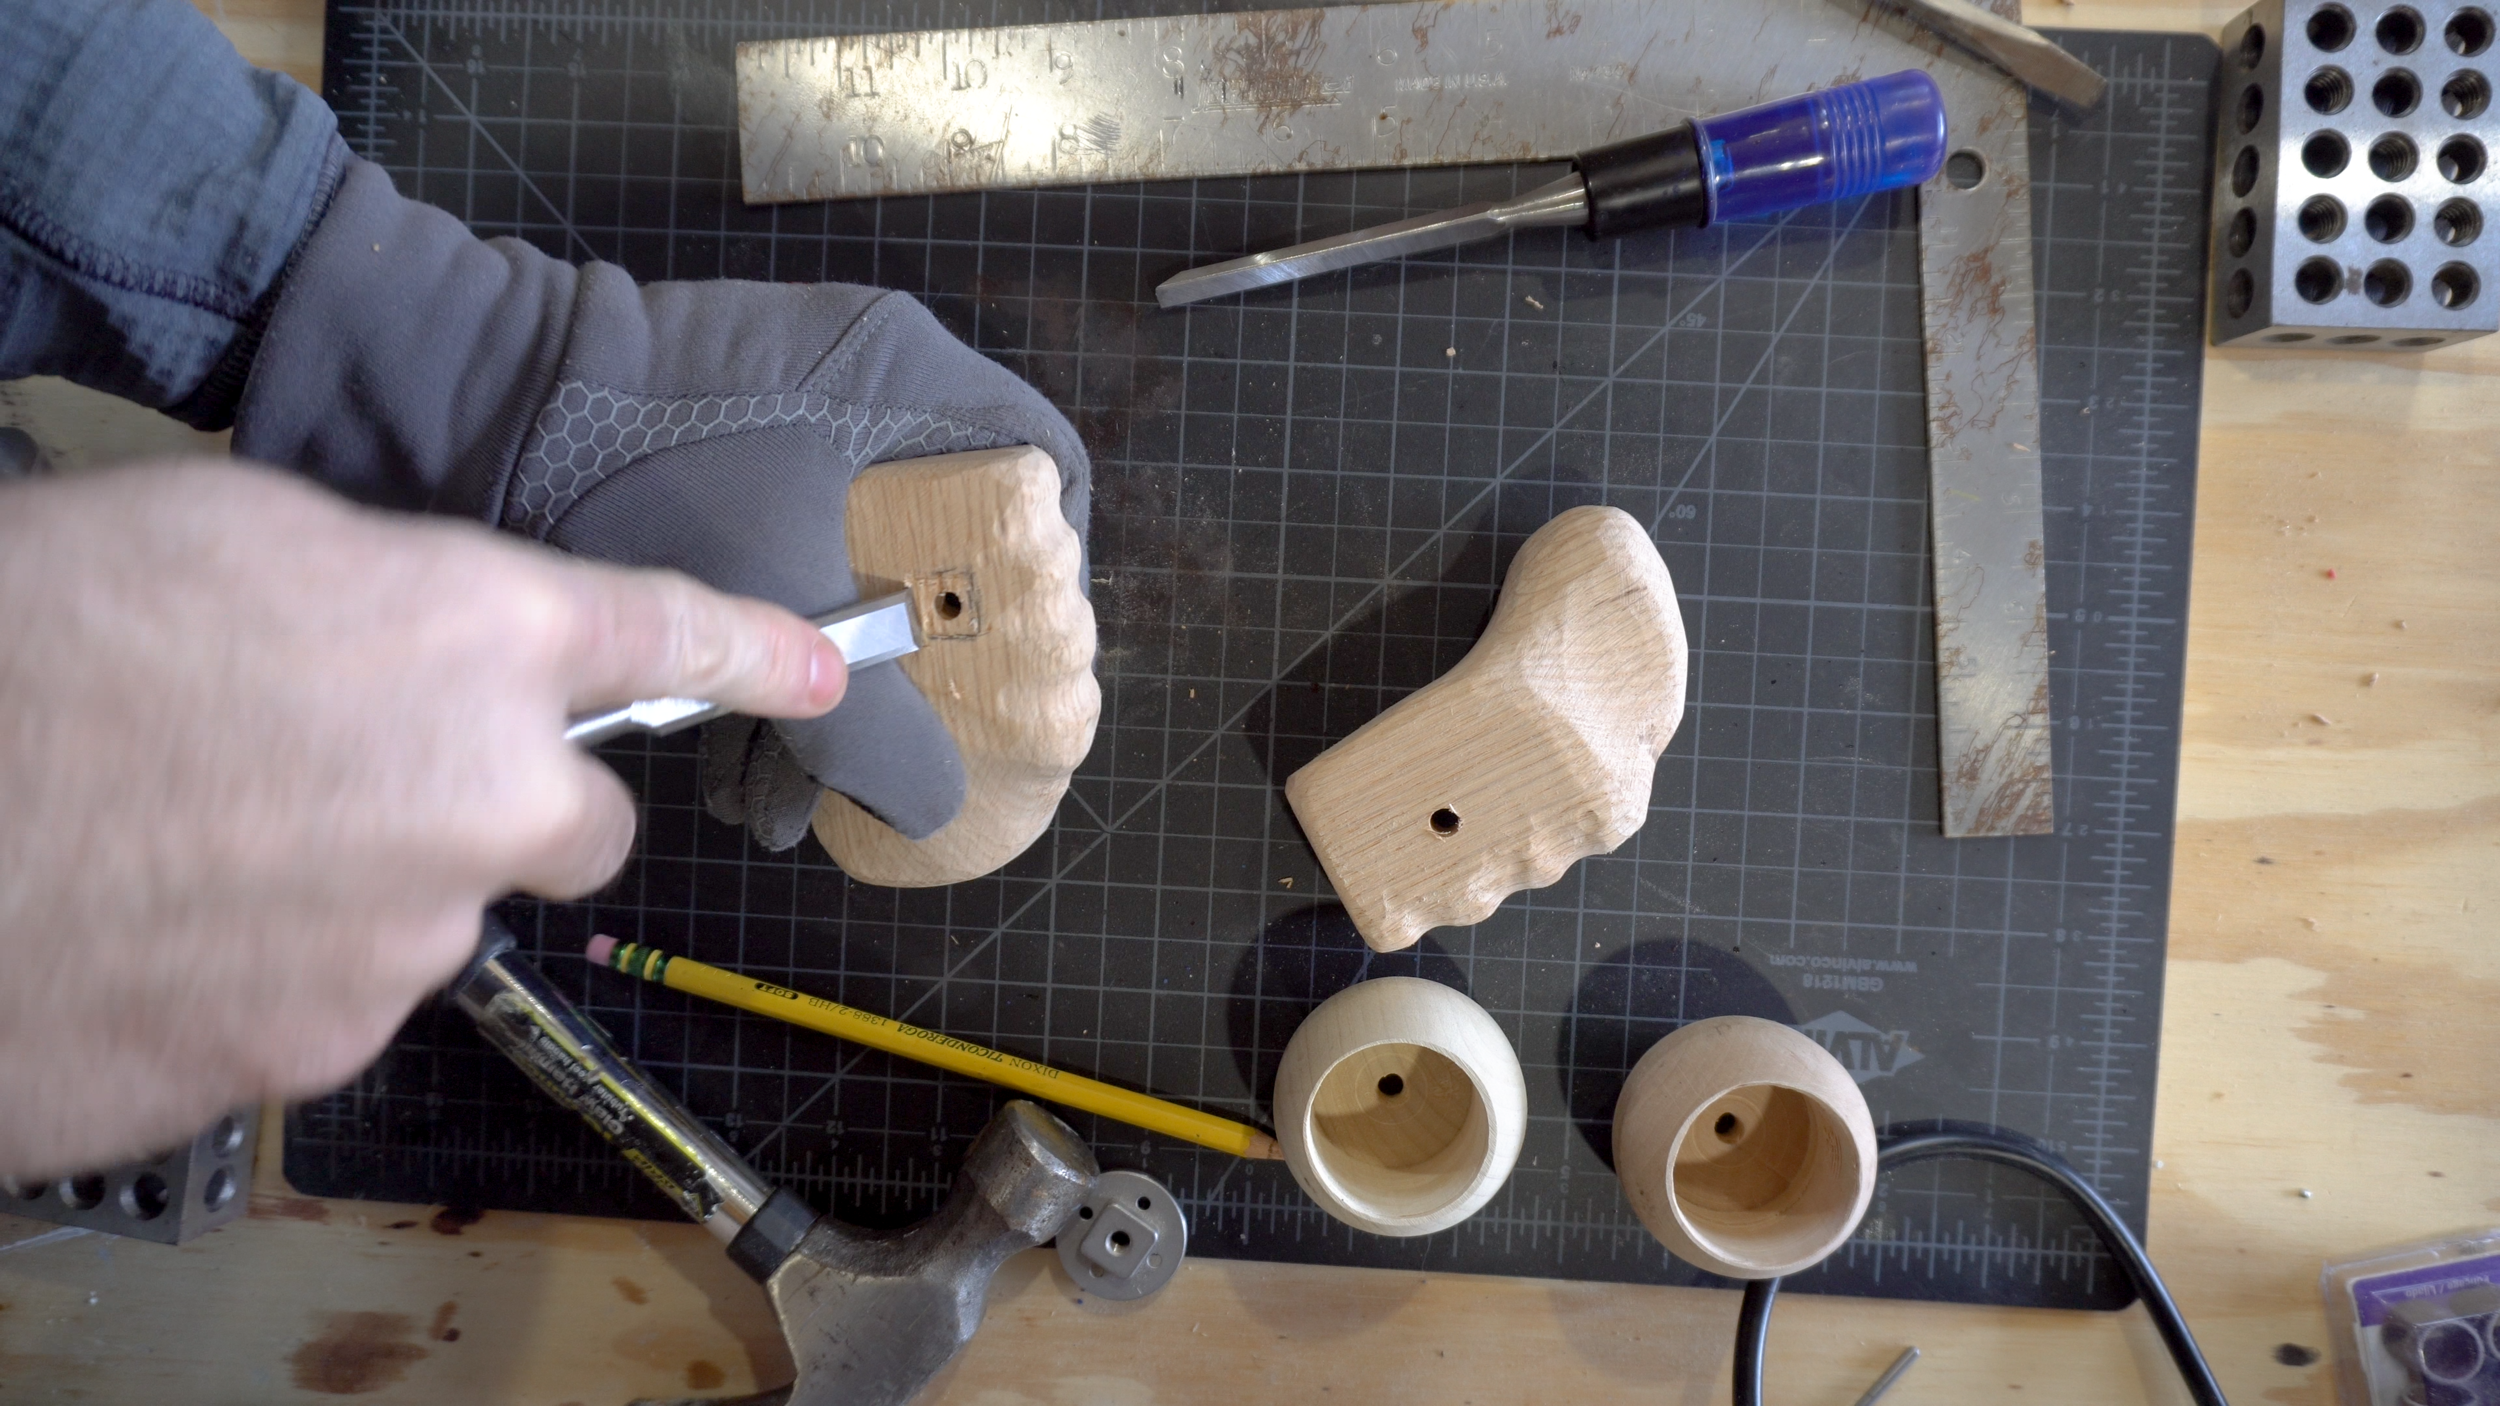
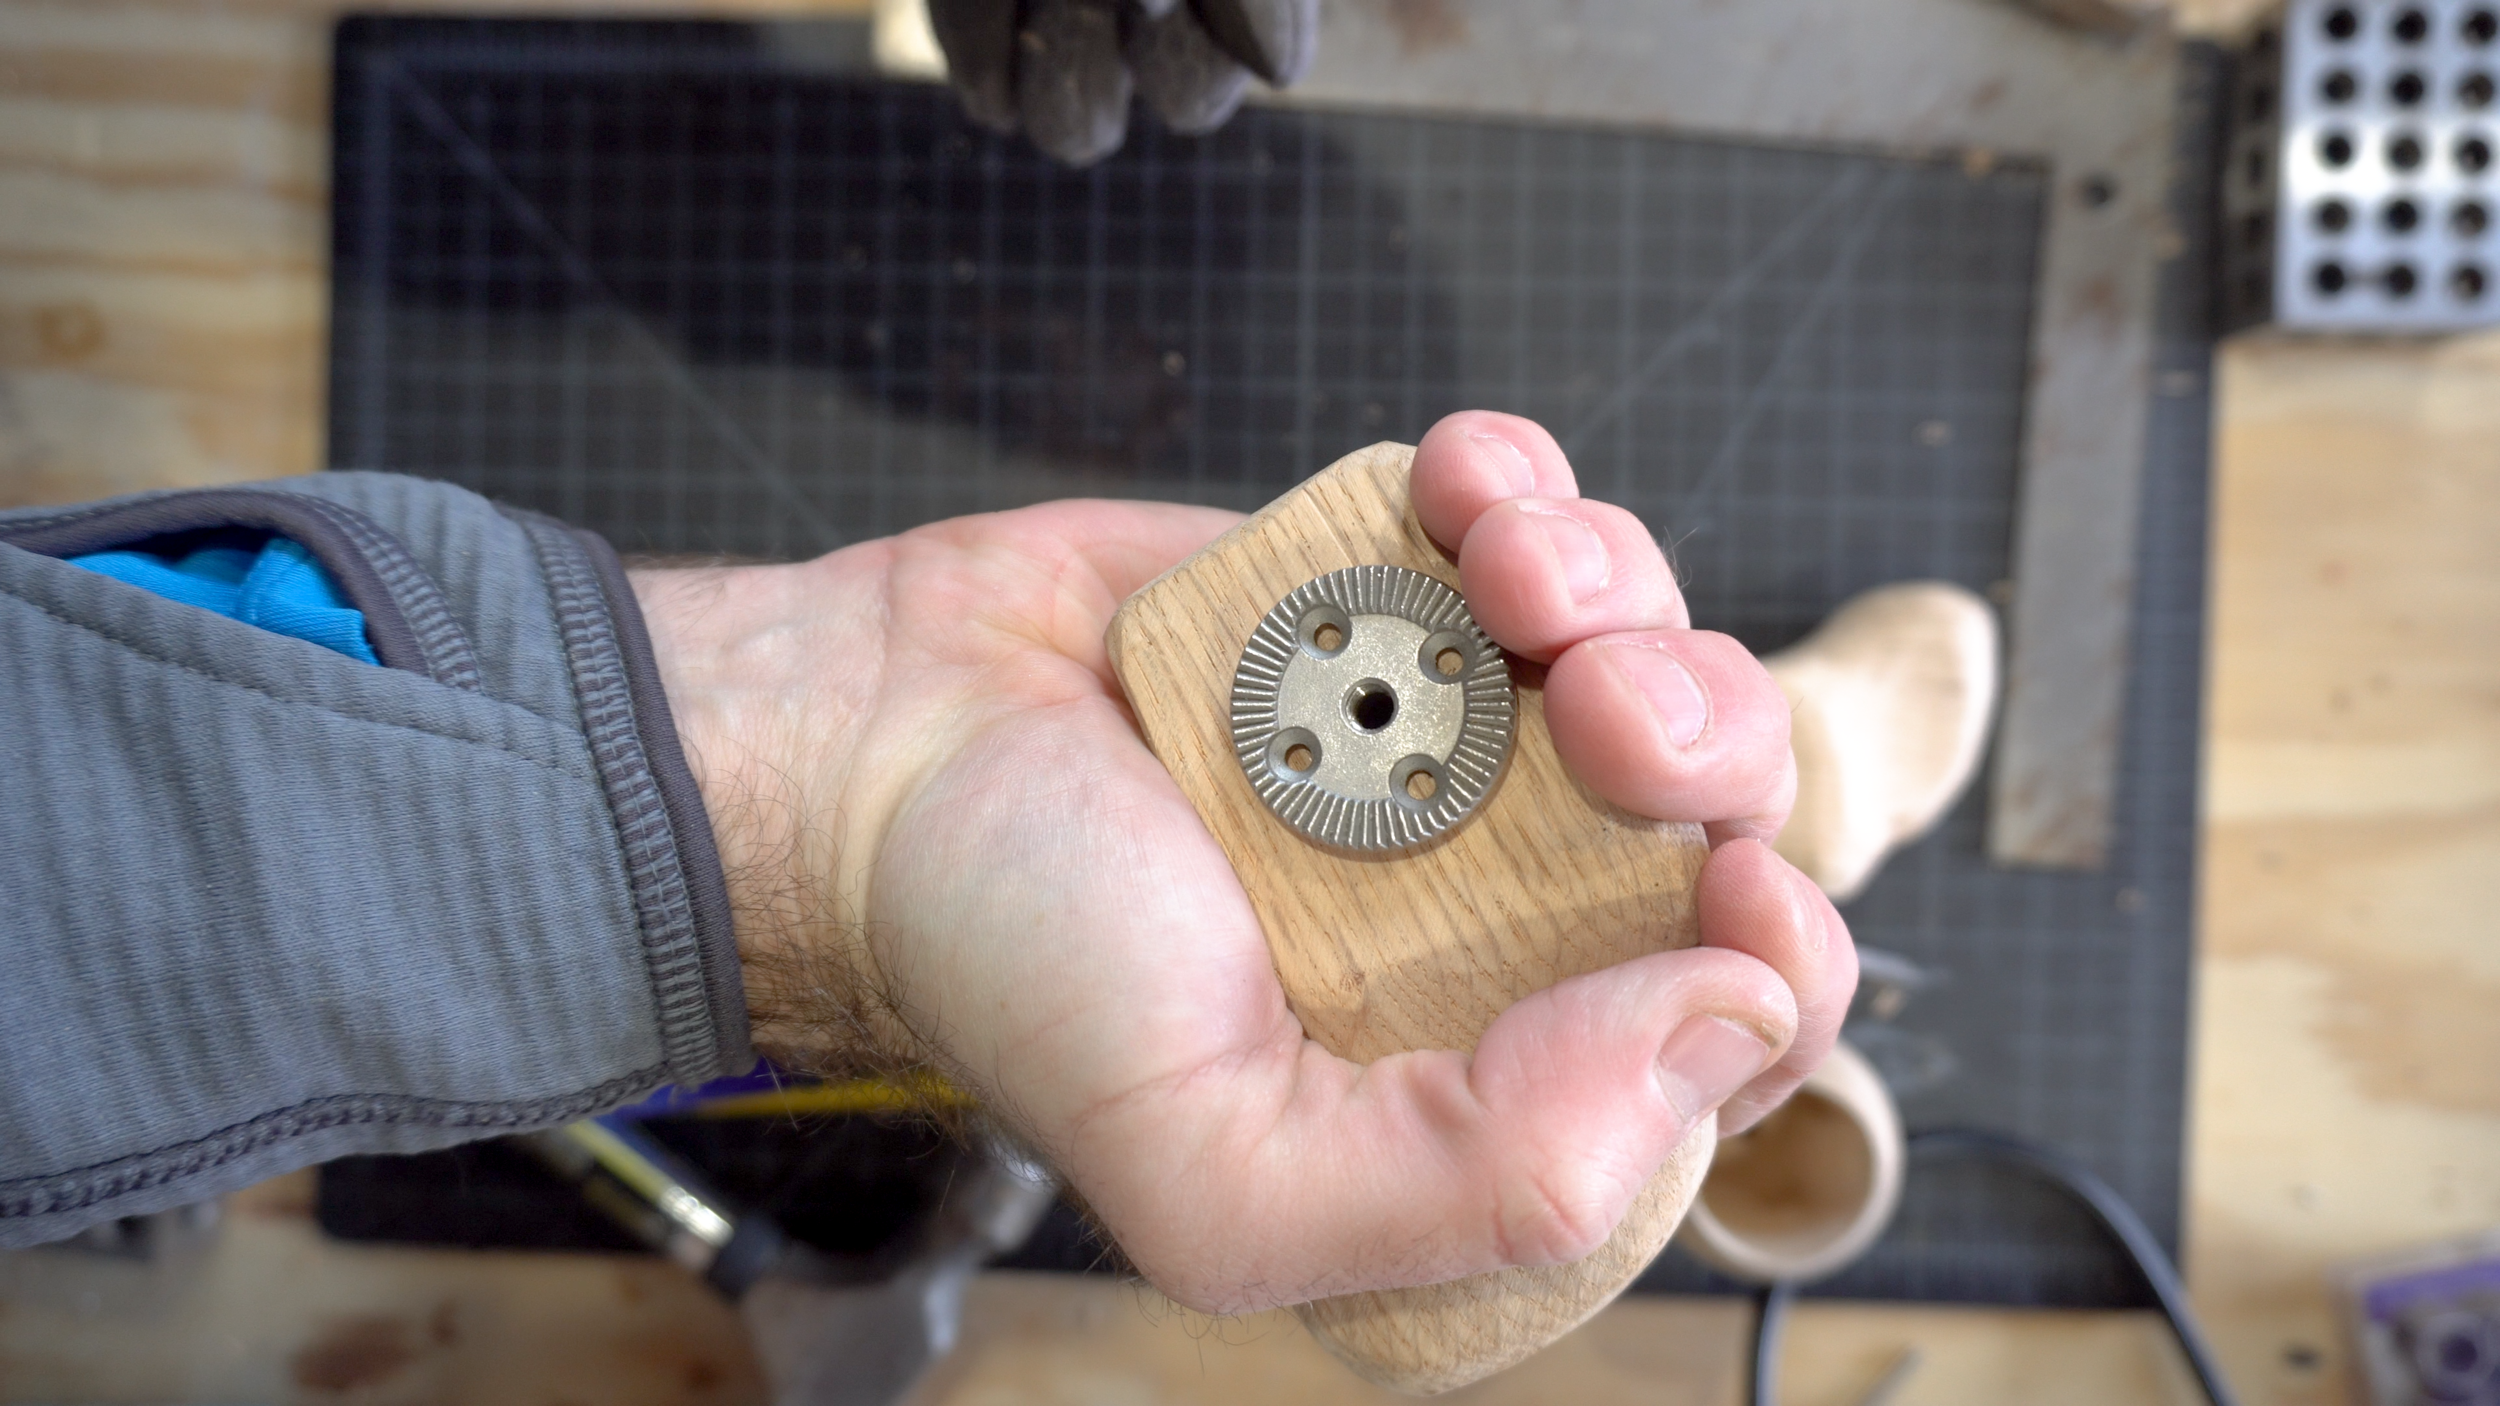
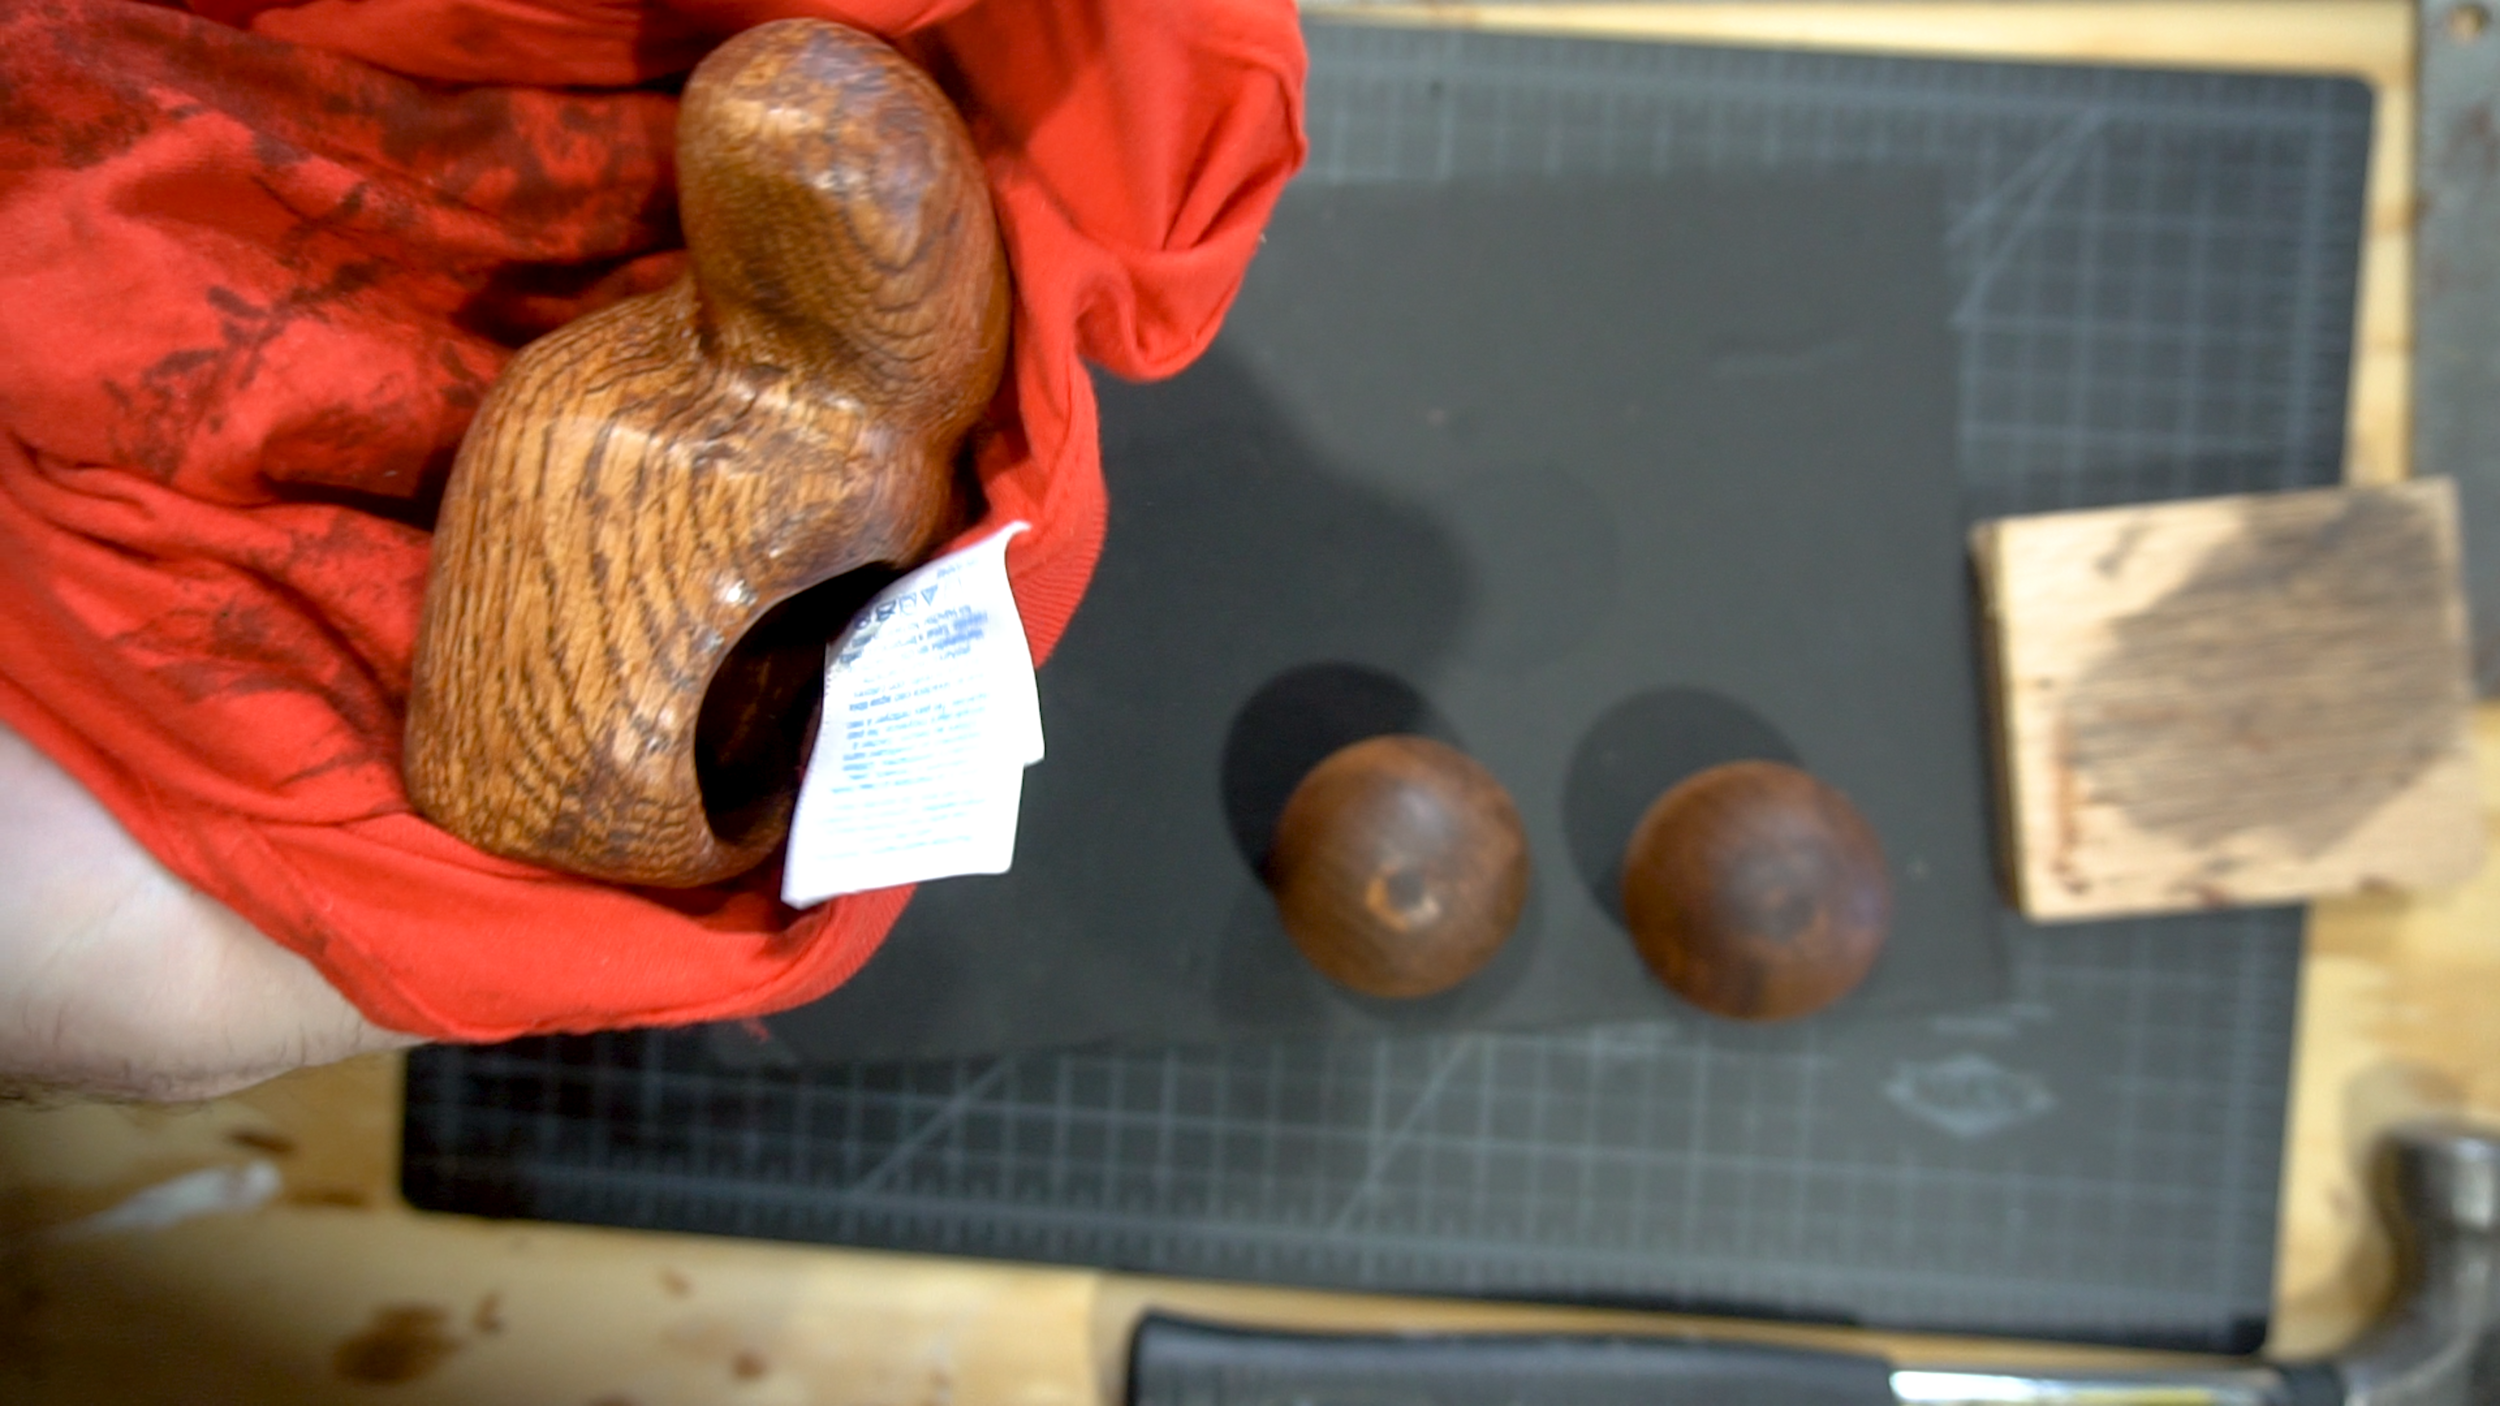
We’re going to start with the round, spherical grips. These are the easier of the two grips we’re going to be making. Grab your wooden sphere, and these should have a slight flat spot on one side, which is currently not big enough to fit our rosette. So place your rosette face down, and outline it so we know how much more of the sphere we need to shave off or cut down to make it fit. These marks will be a rough guide for us. You can sand these down or use a forstner drill bit to enlarge the flat surface. Check this as you work on it to make sure you’ve got enough of a flat spot. Once the flat edge is large enough to hold our rosette we want to cut a little square hole to fit this back piece. This should be ⅝” square, and approximately ⅛” deep. Get a ruler or square out and mark ¼” on either side of the hole, rotate 90 degrees and do the same. Then roughly mark a square in as a guide for where to cut. I would recommend you drill a small ½” or 1” hole in a scrap piece of wood so you have a little place for your grip to sit while you work on it, I also suggest clamps with soft grips AND using a rag or something soft when you need to clamp it down - this will help keep you from scuffing or scratching the grip while we’re working on it. Using a chisel and a hammer make a few notches along the guidelines we made. Another tip here, do this downwards so your grip isn’t spinning around. Once you have a couple notches created use your chisel to cut out the rest. Be VERY careful here, and consider wearing gloves and using a heavier blanket or towel as extra protection while you’re doing this step. Check periodically to see where you still need to cut little pieces out so that the rosette sits flush against the grip. Once your rosette sits snugly and flat against the grip then we’re ready to move on to the next step.


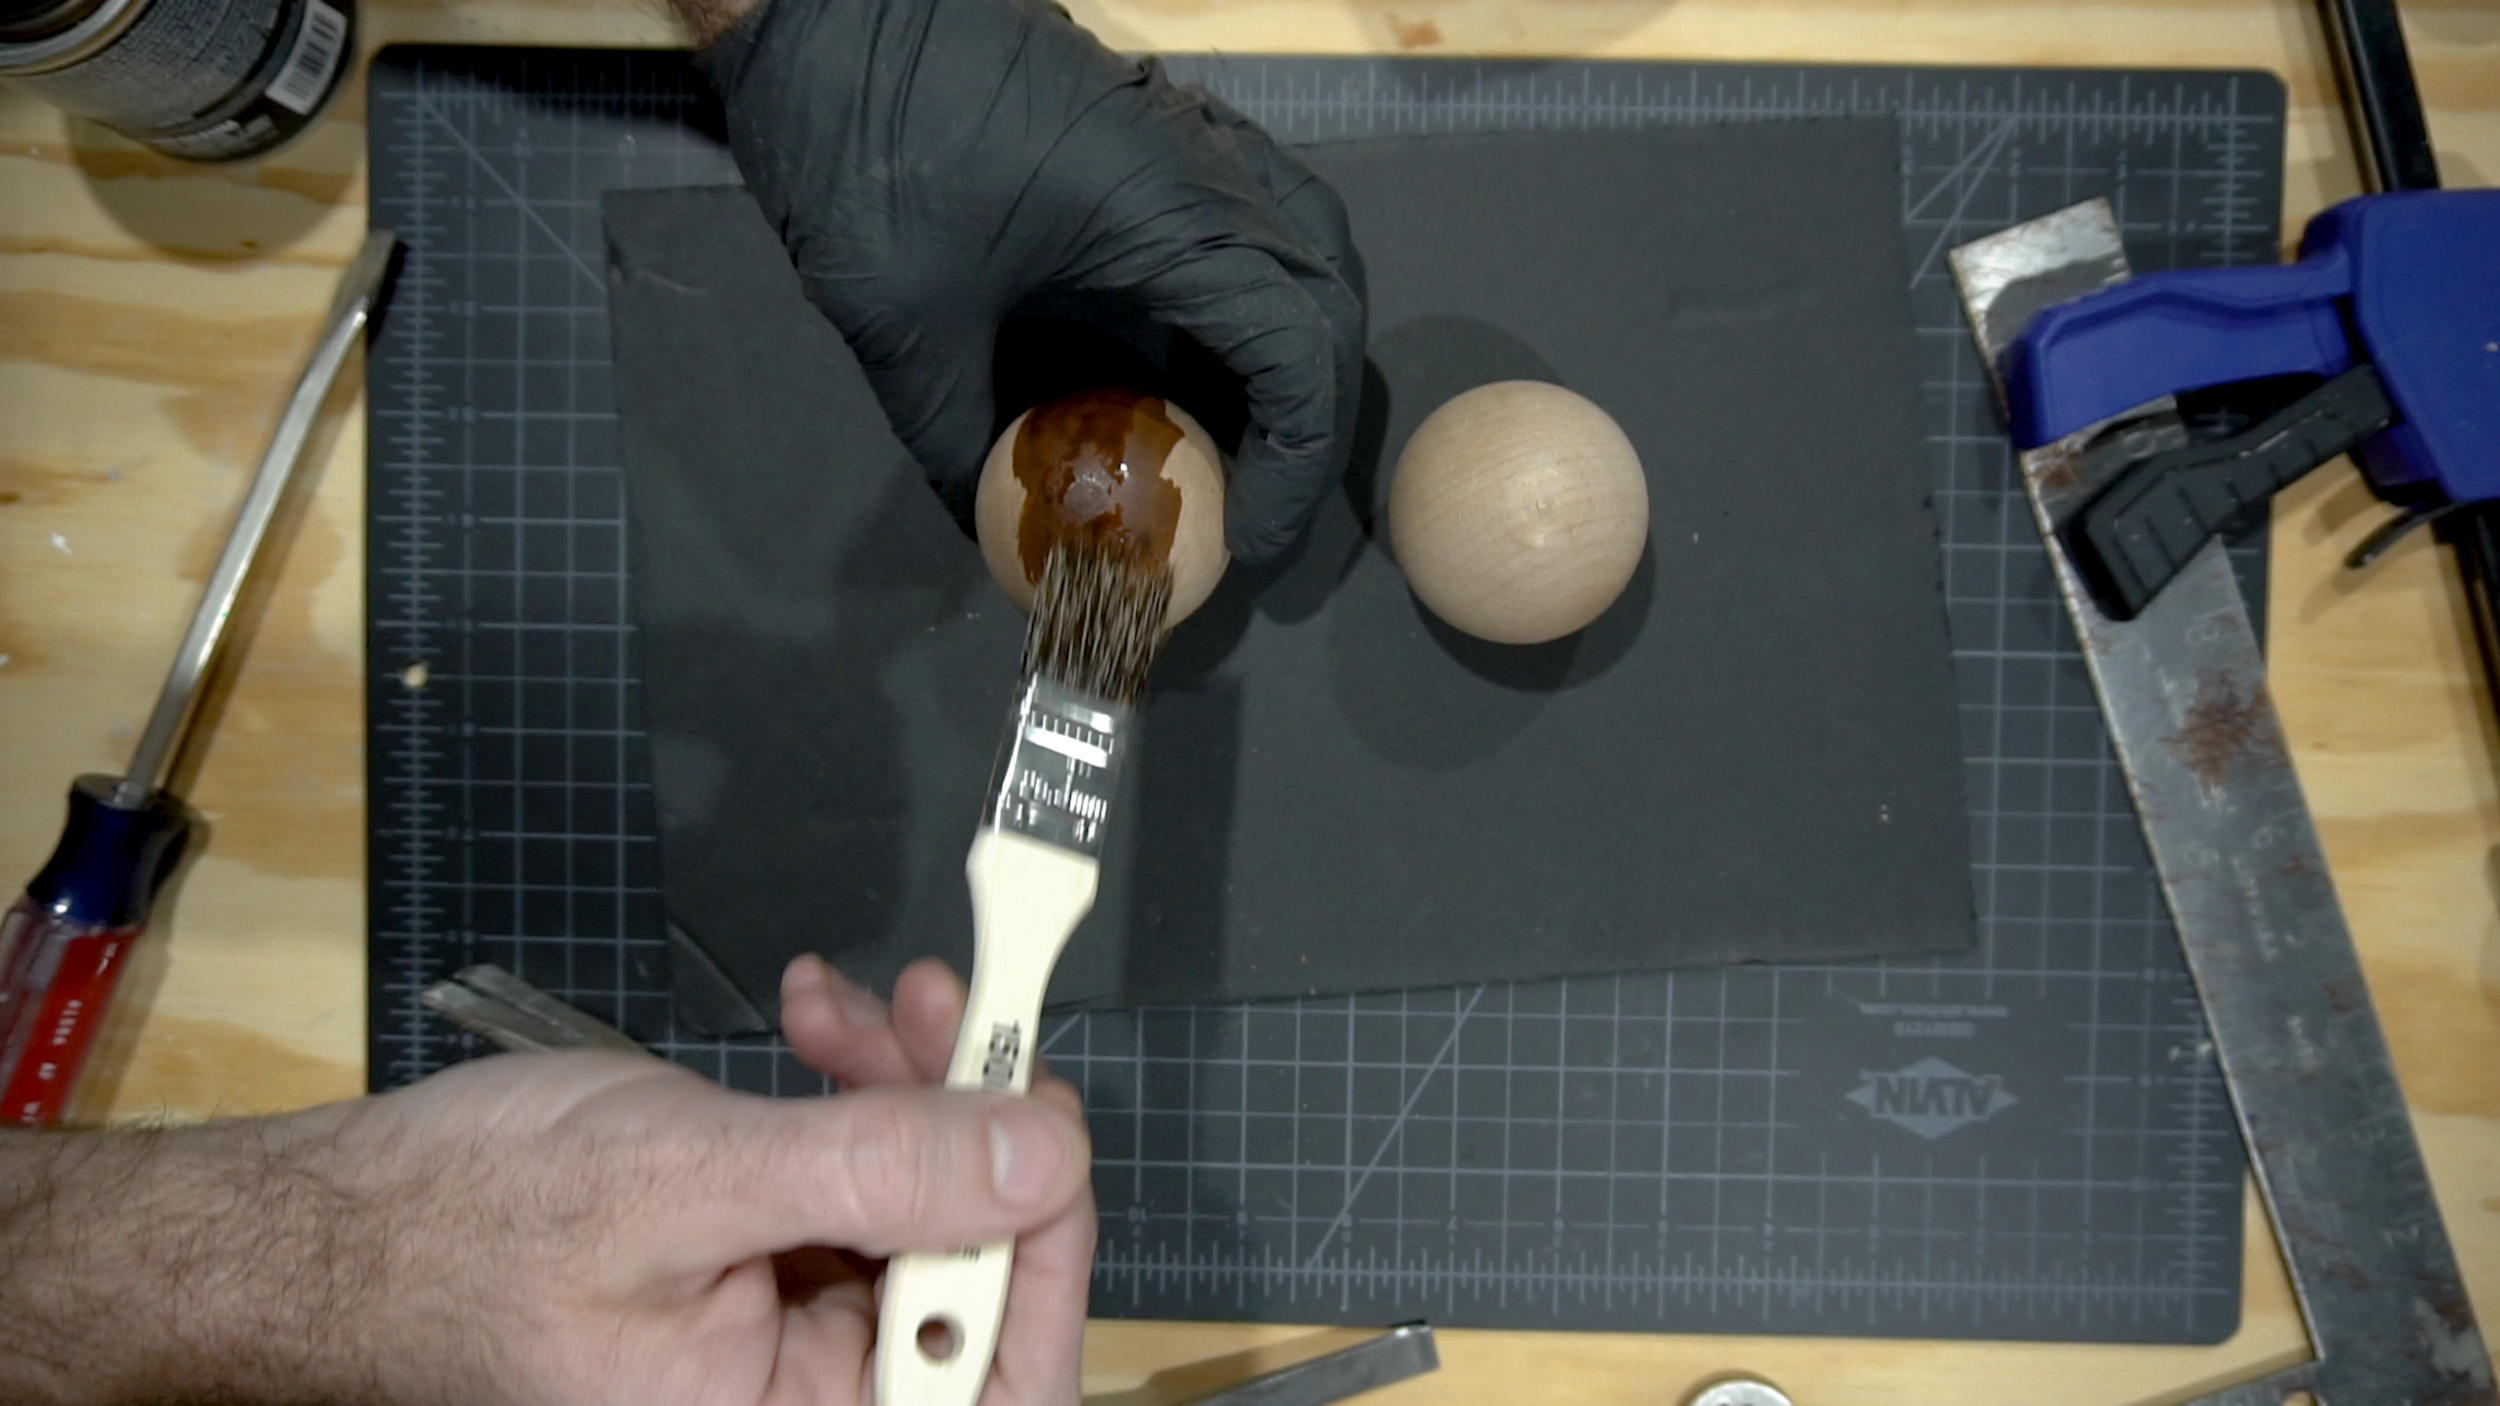
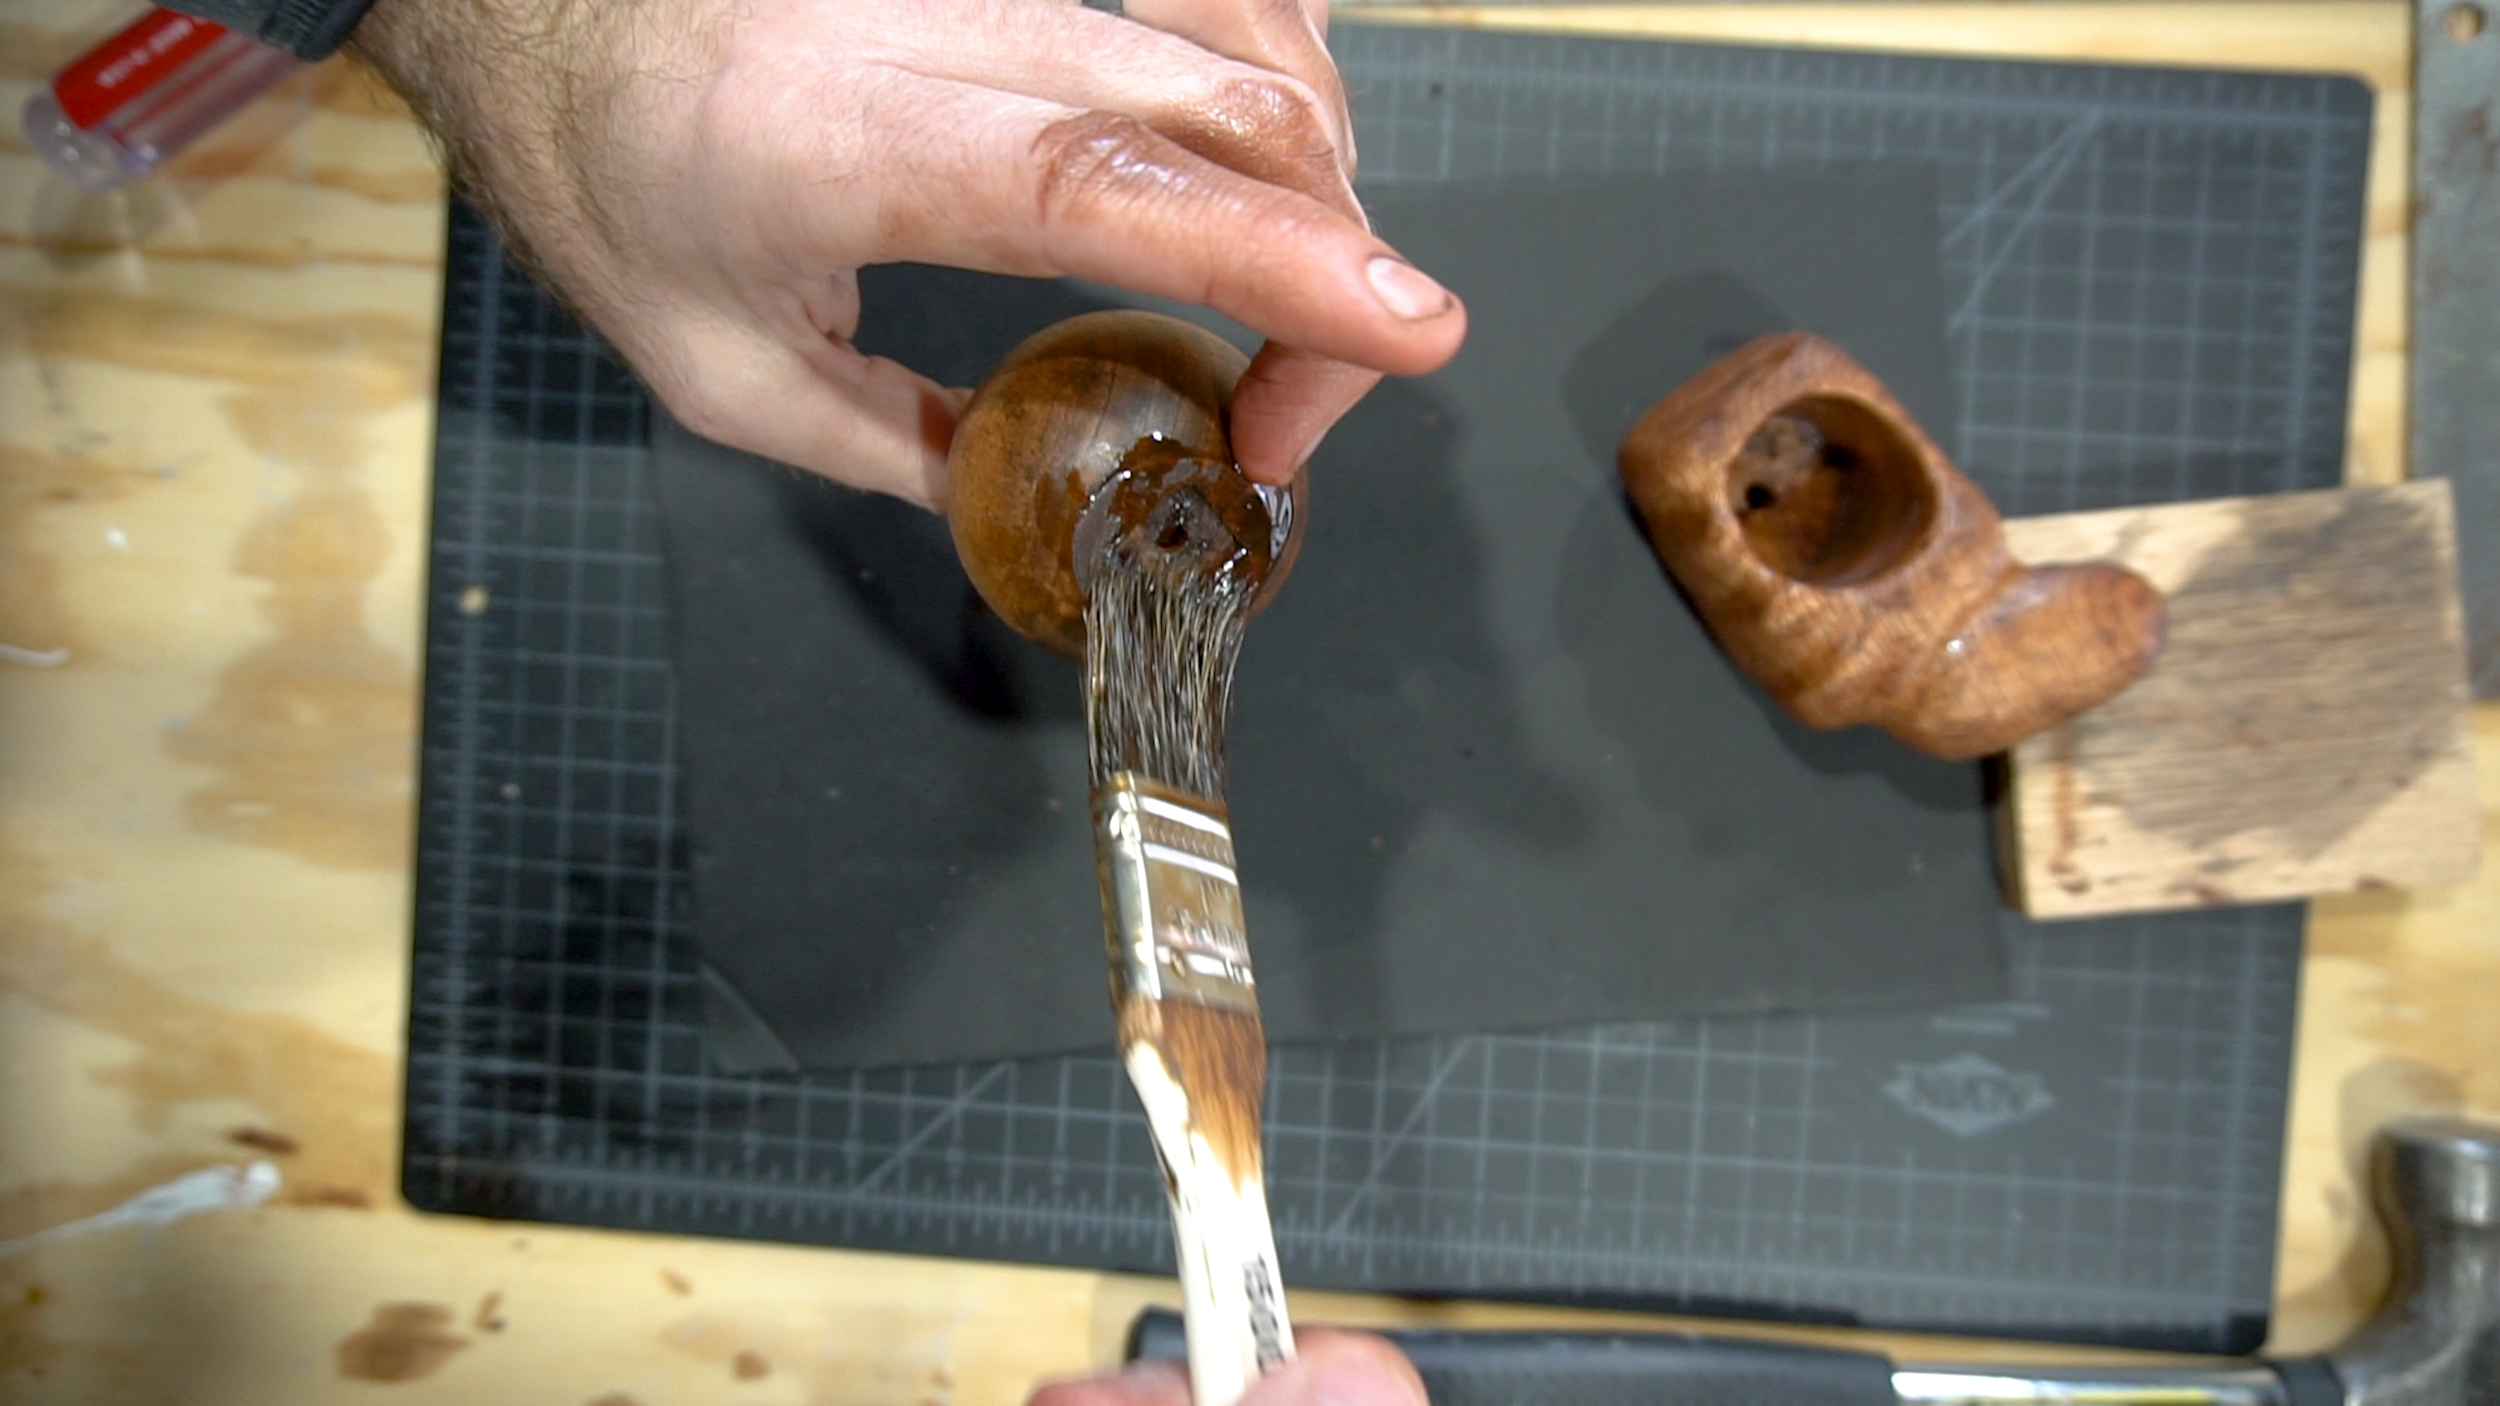
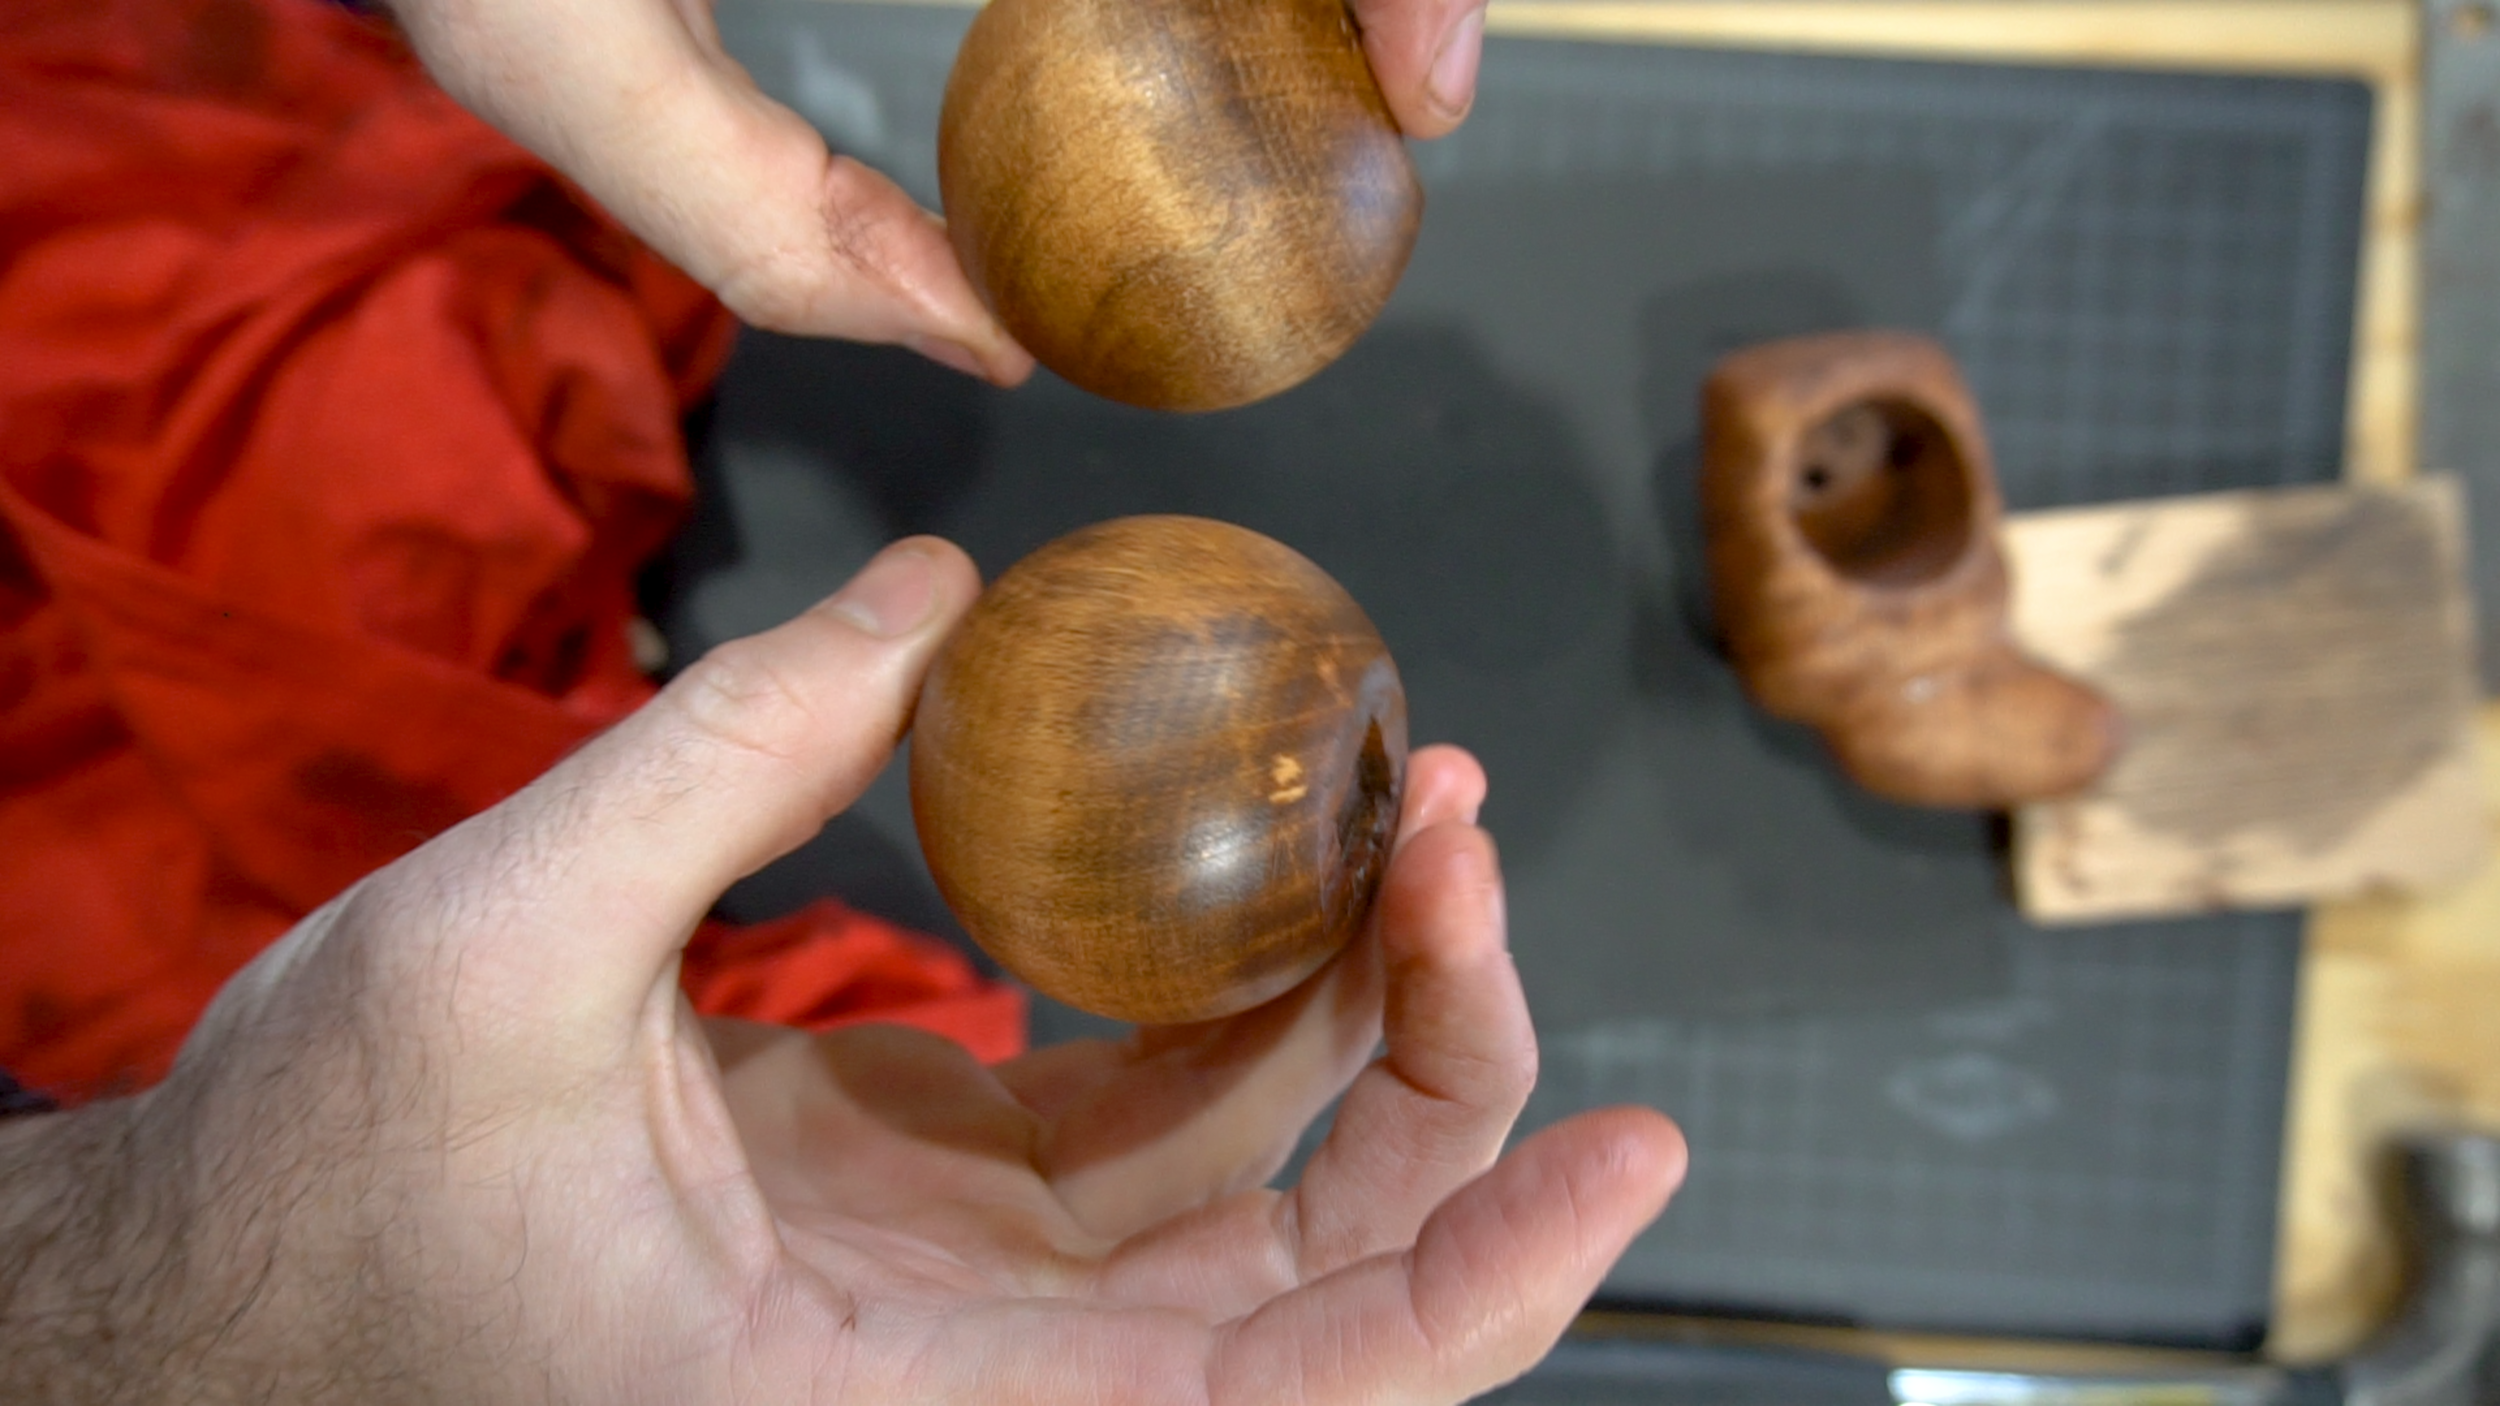
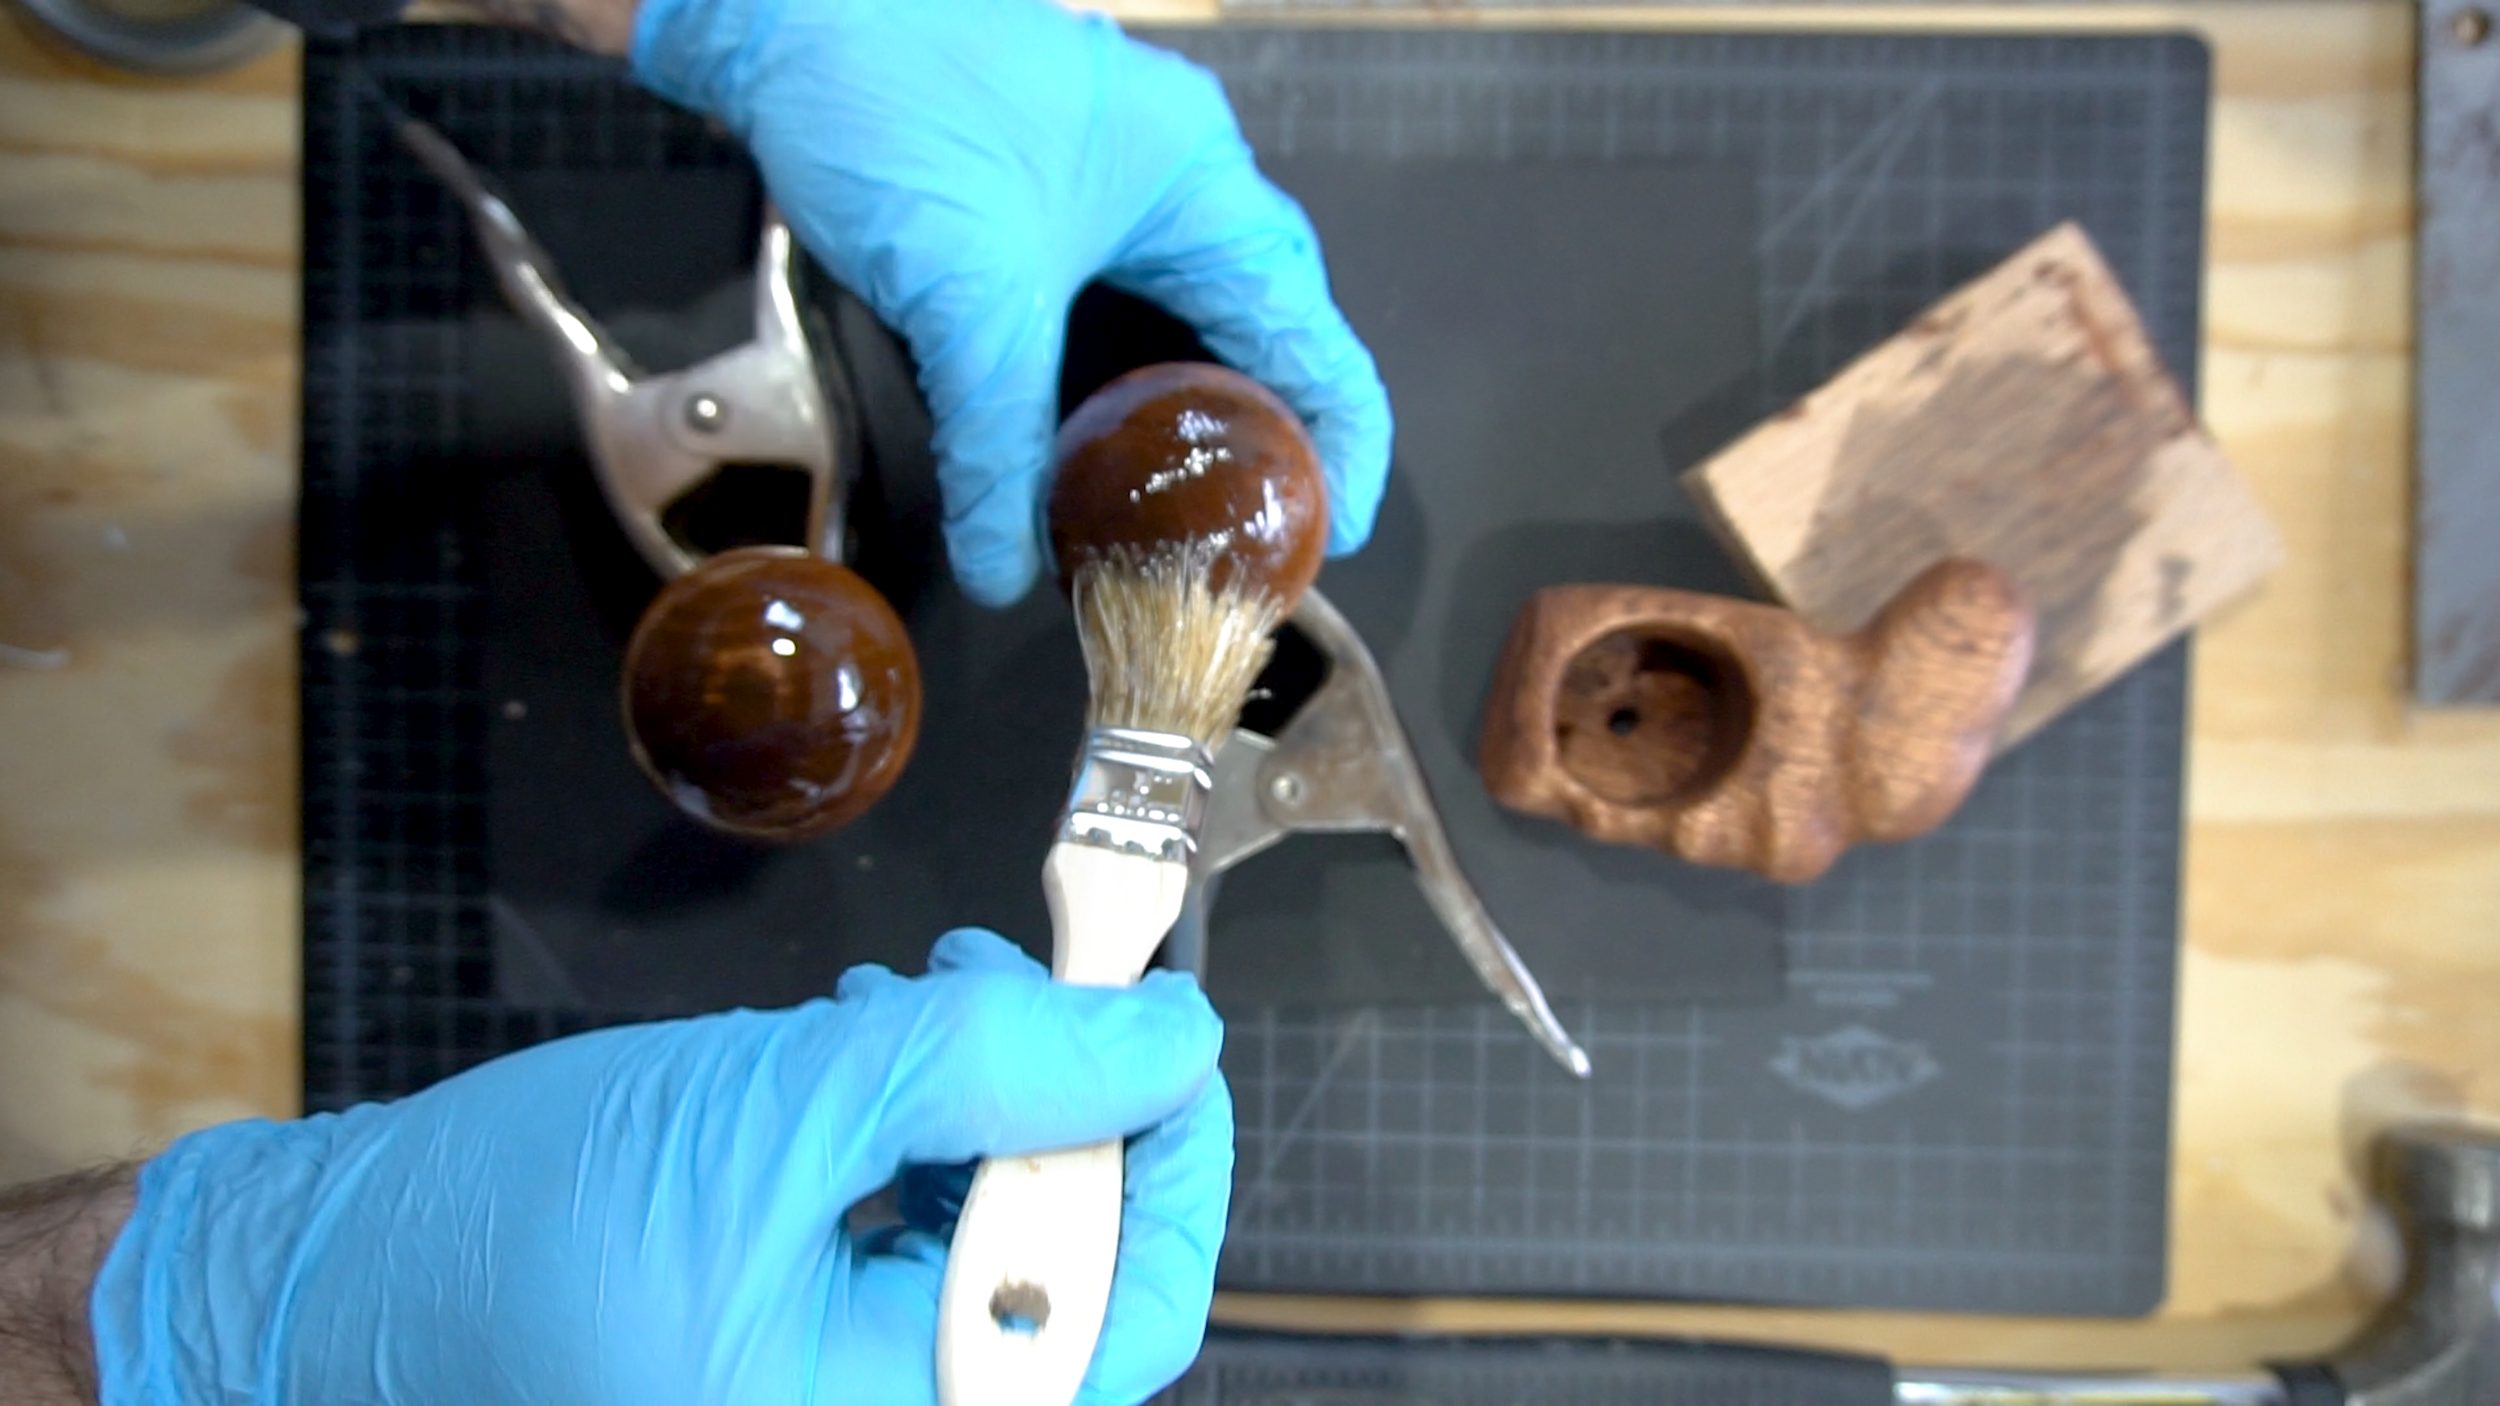
Before staining I recommend running a high grit sandpaper all over the grip, this will allow the stain to set in a little better. Then find a stain you like, I went with a darker espresso stain on my spherical grips. I also like the kind of stain that you put on, leave for a few minutes, and then wipe the excess off. You’ll probably end up doing a few layers of stain to get a good color. After that we want to put a few layers of polyurethane to seal everything up and give us a nice outer layer of protection.
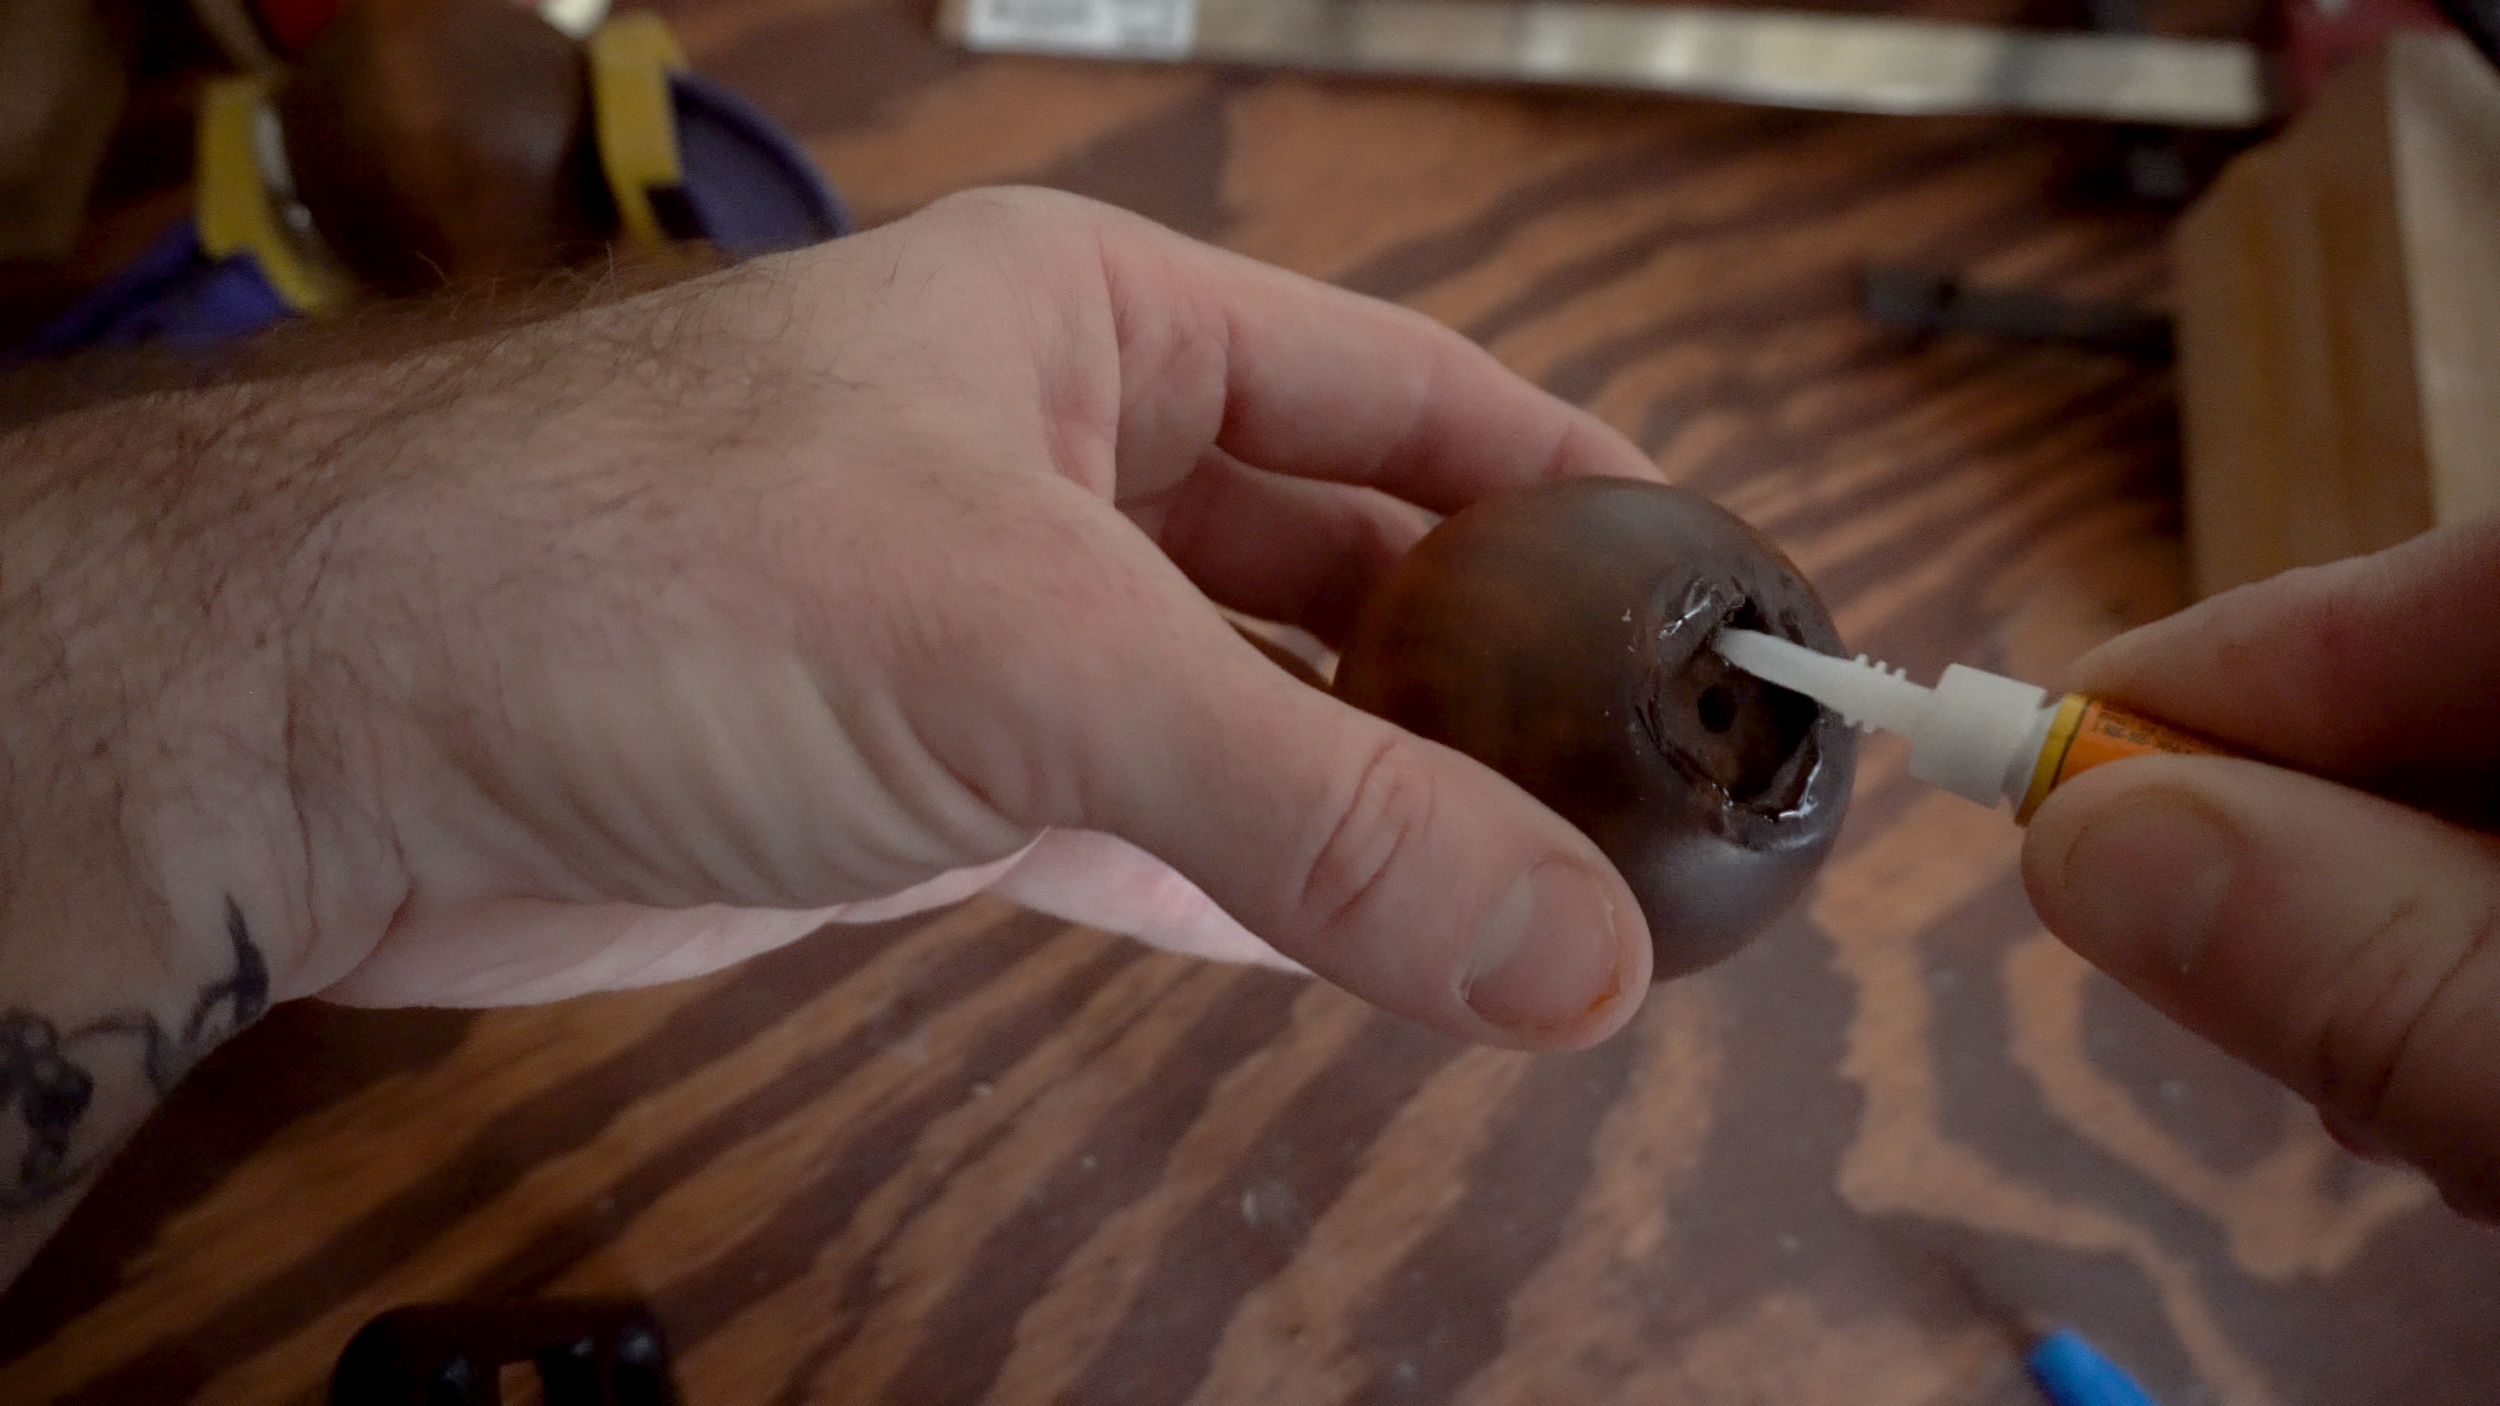
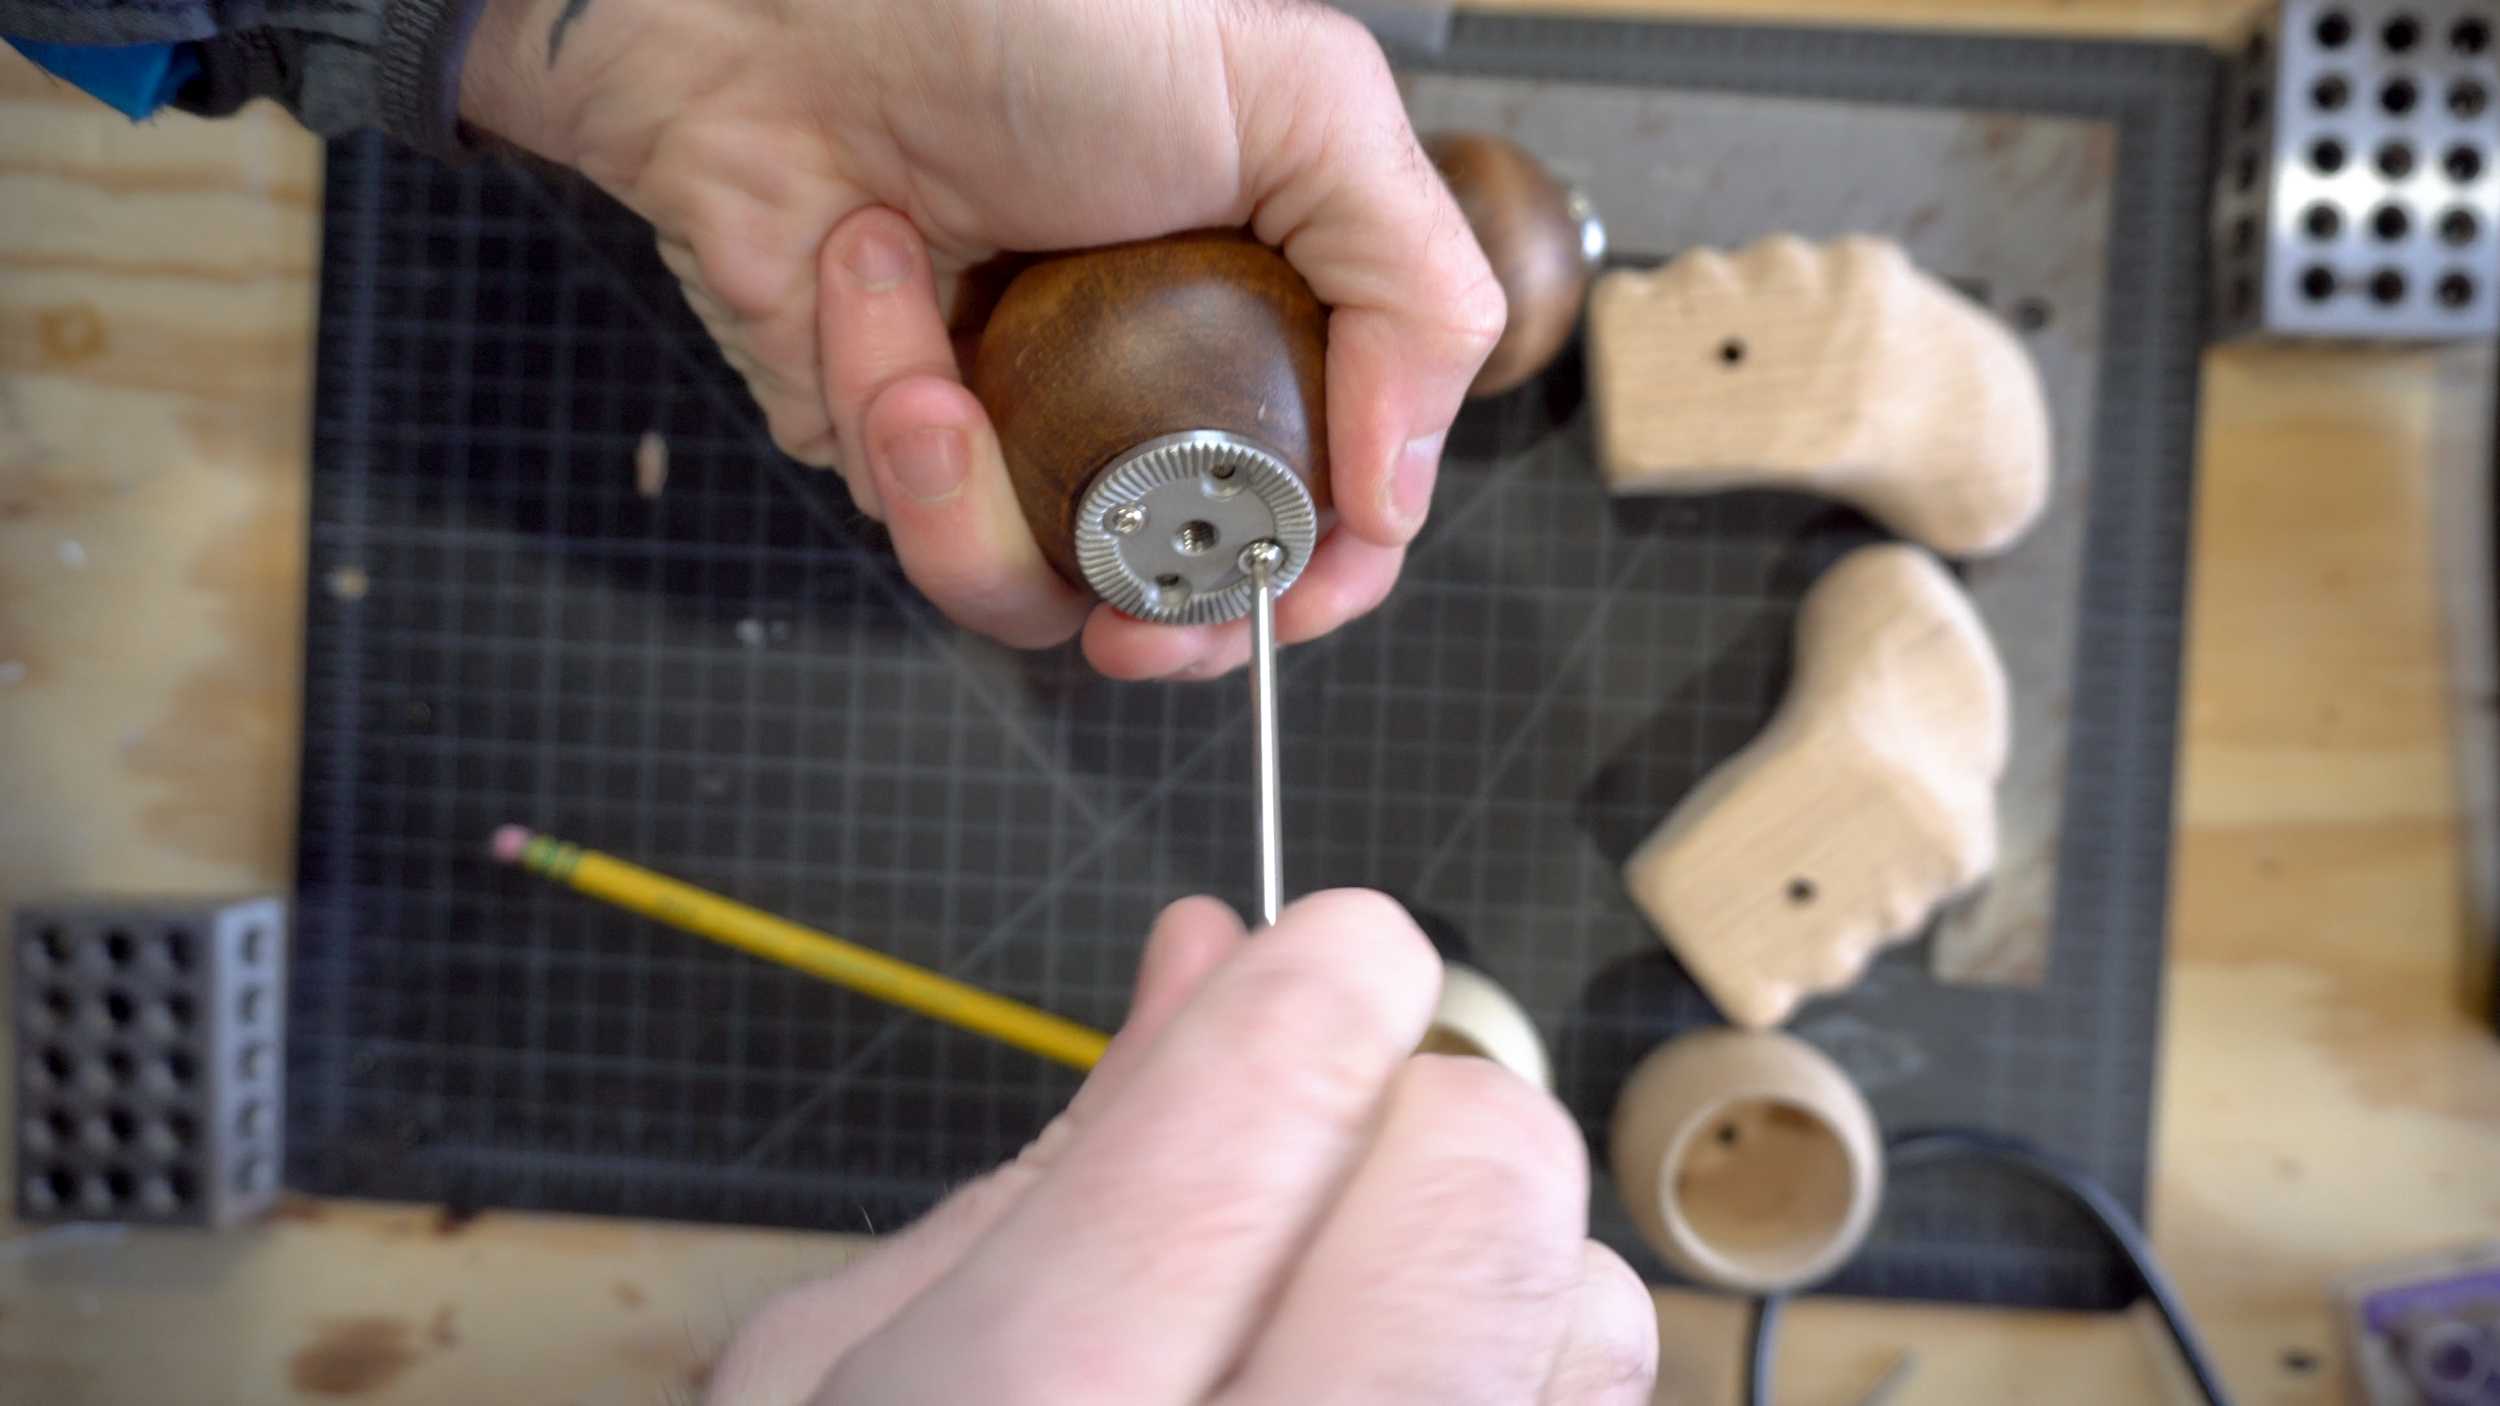
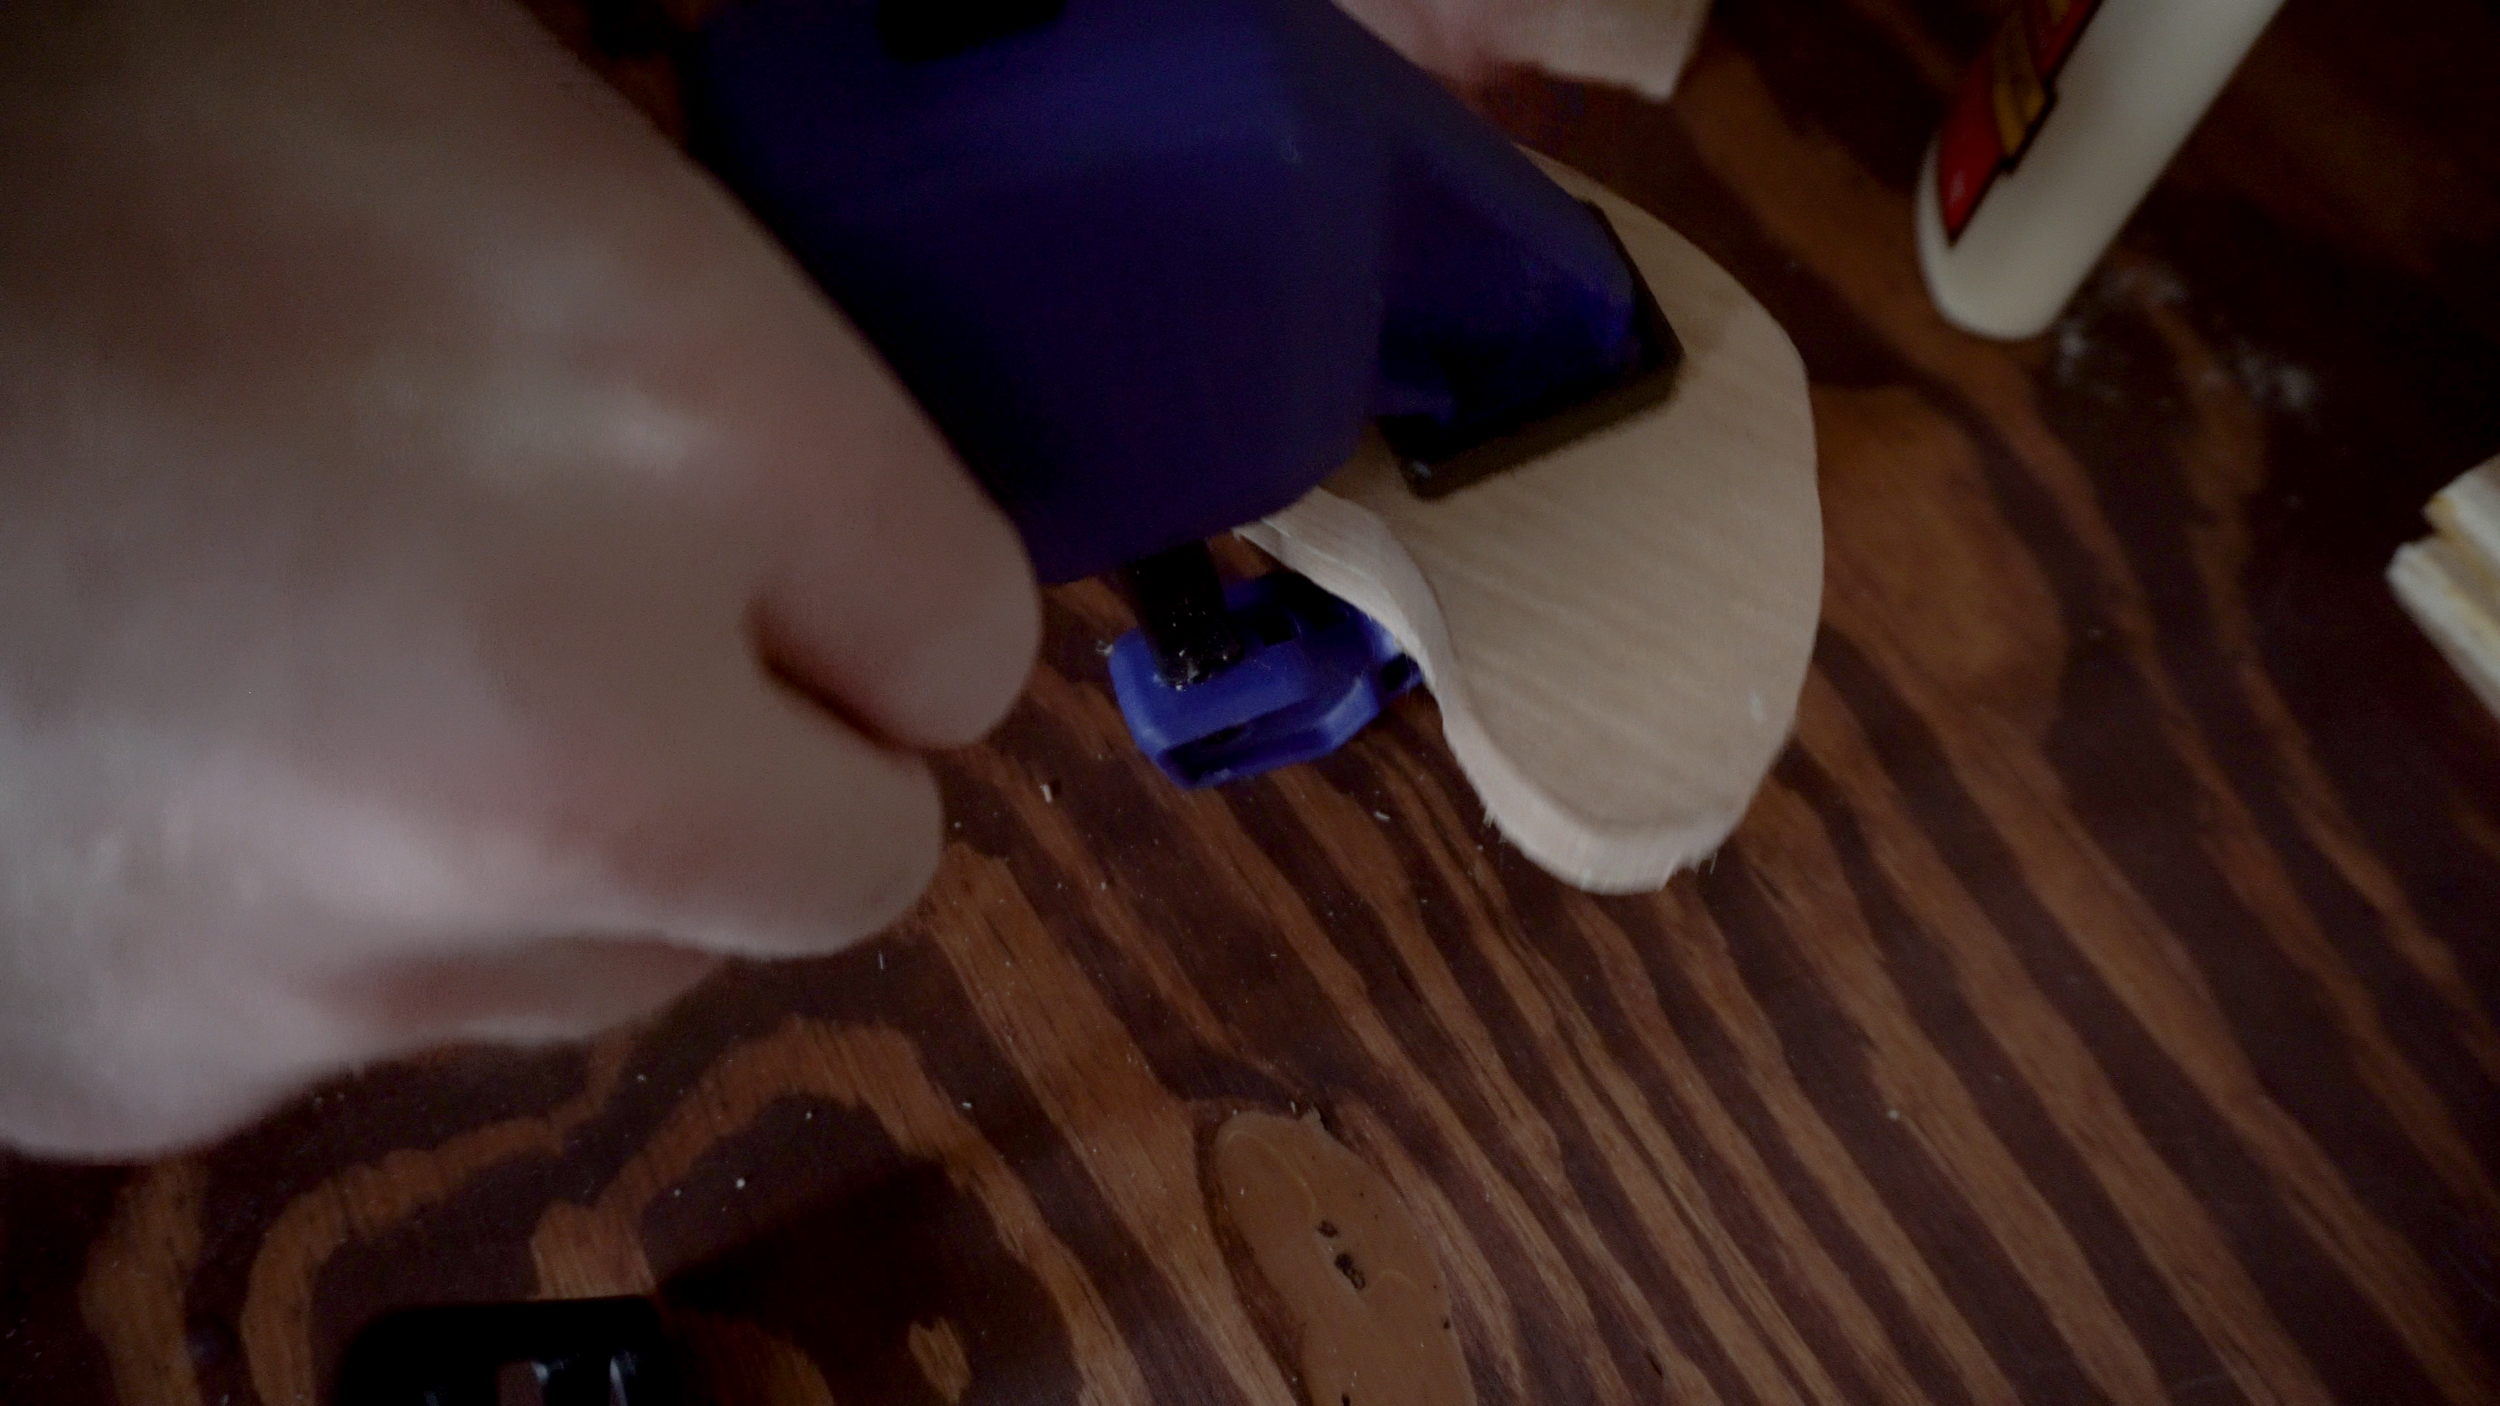
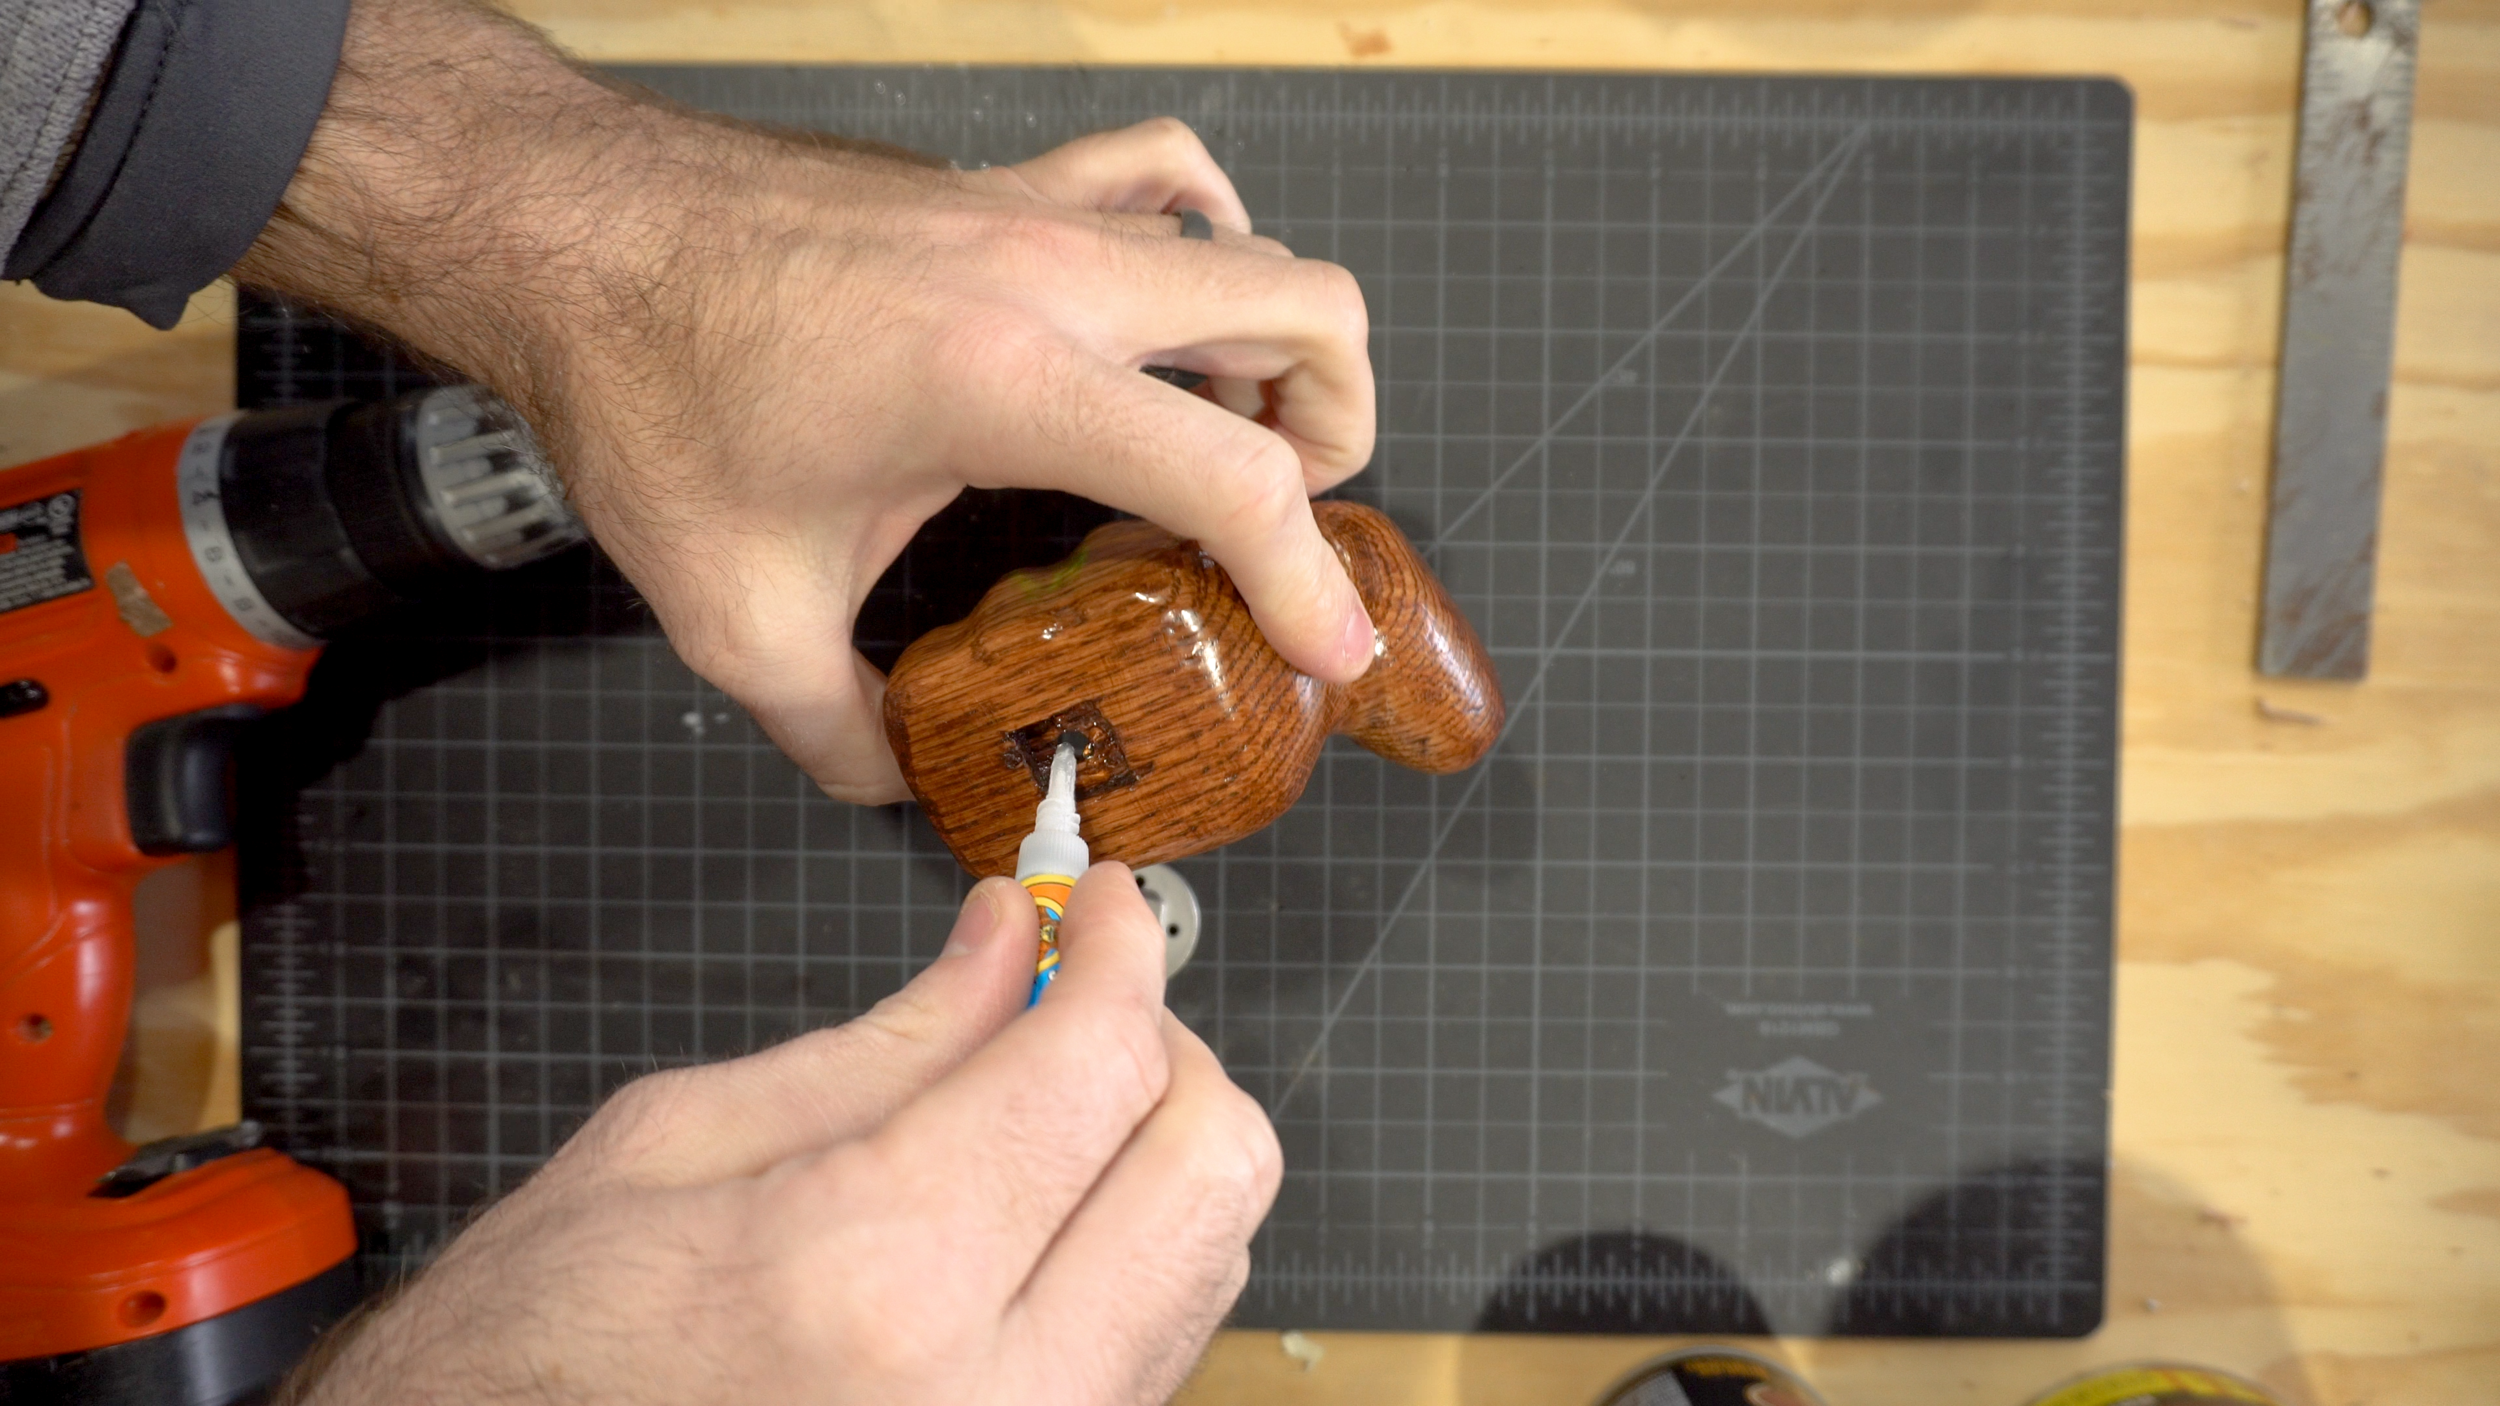
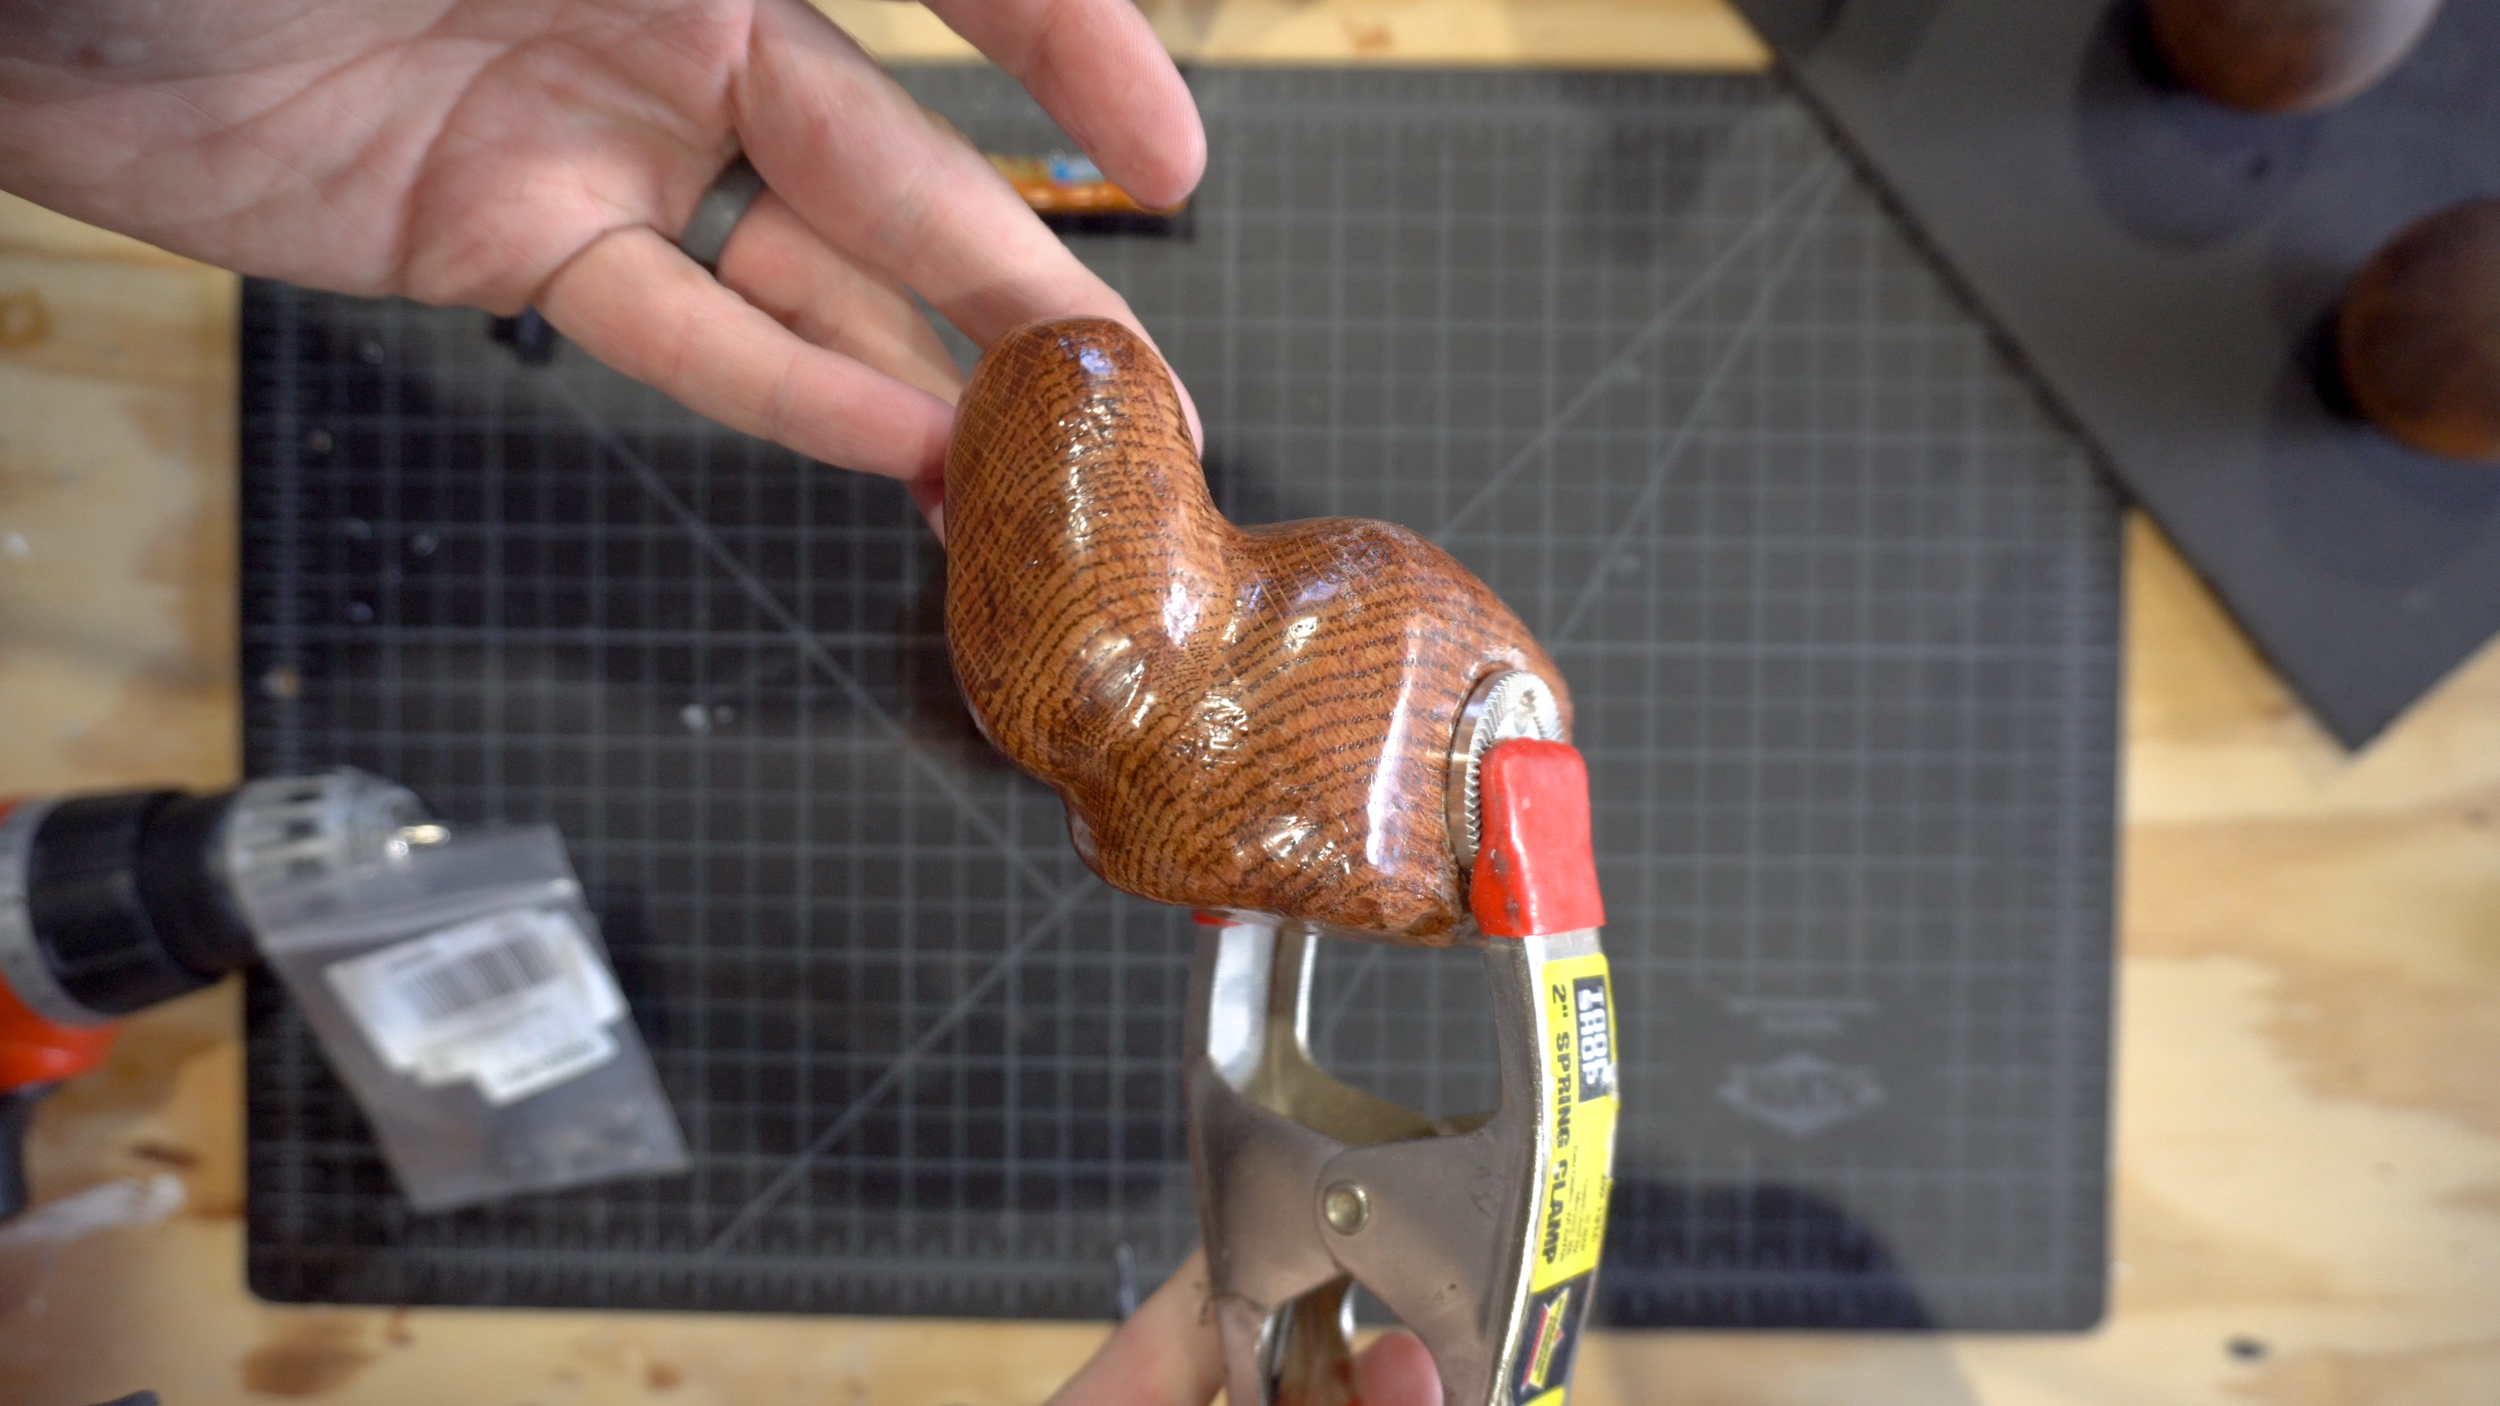
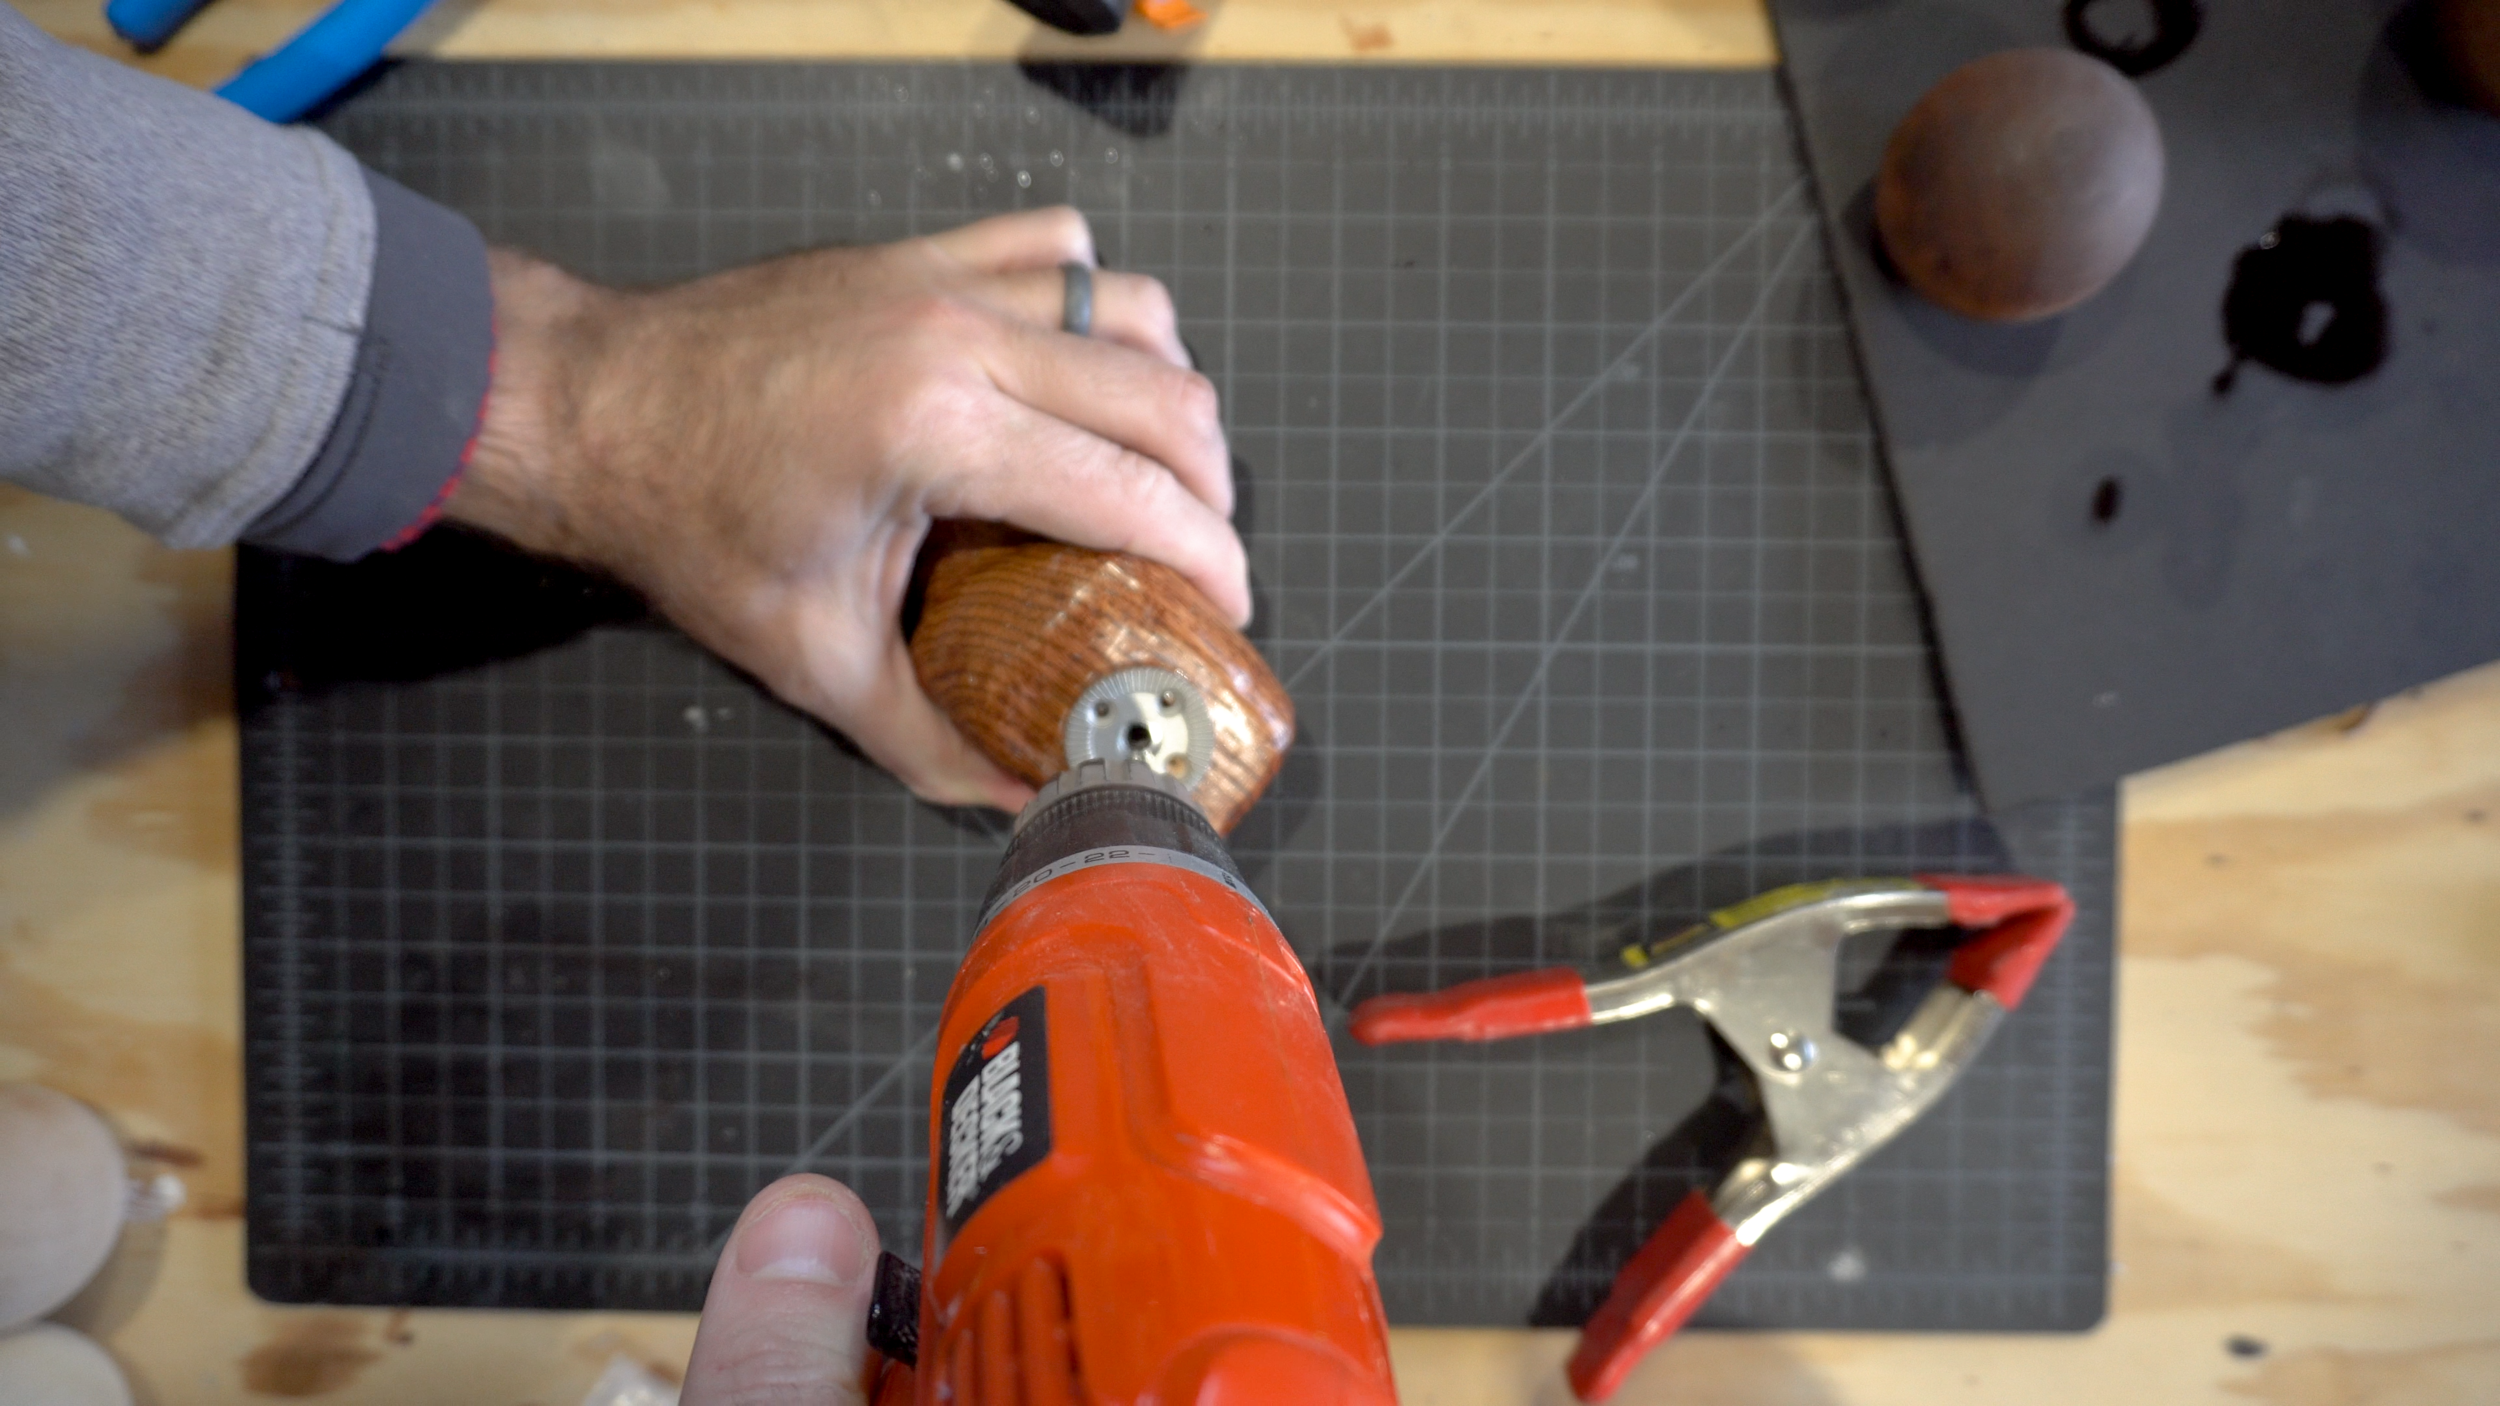
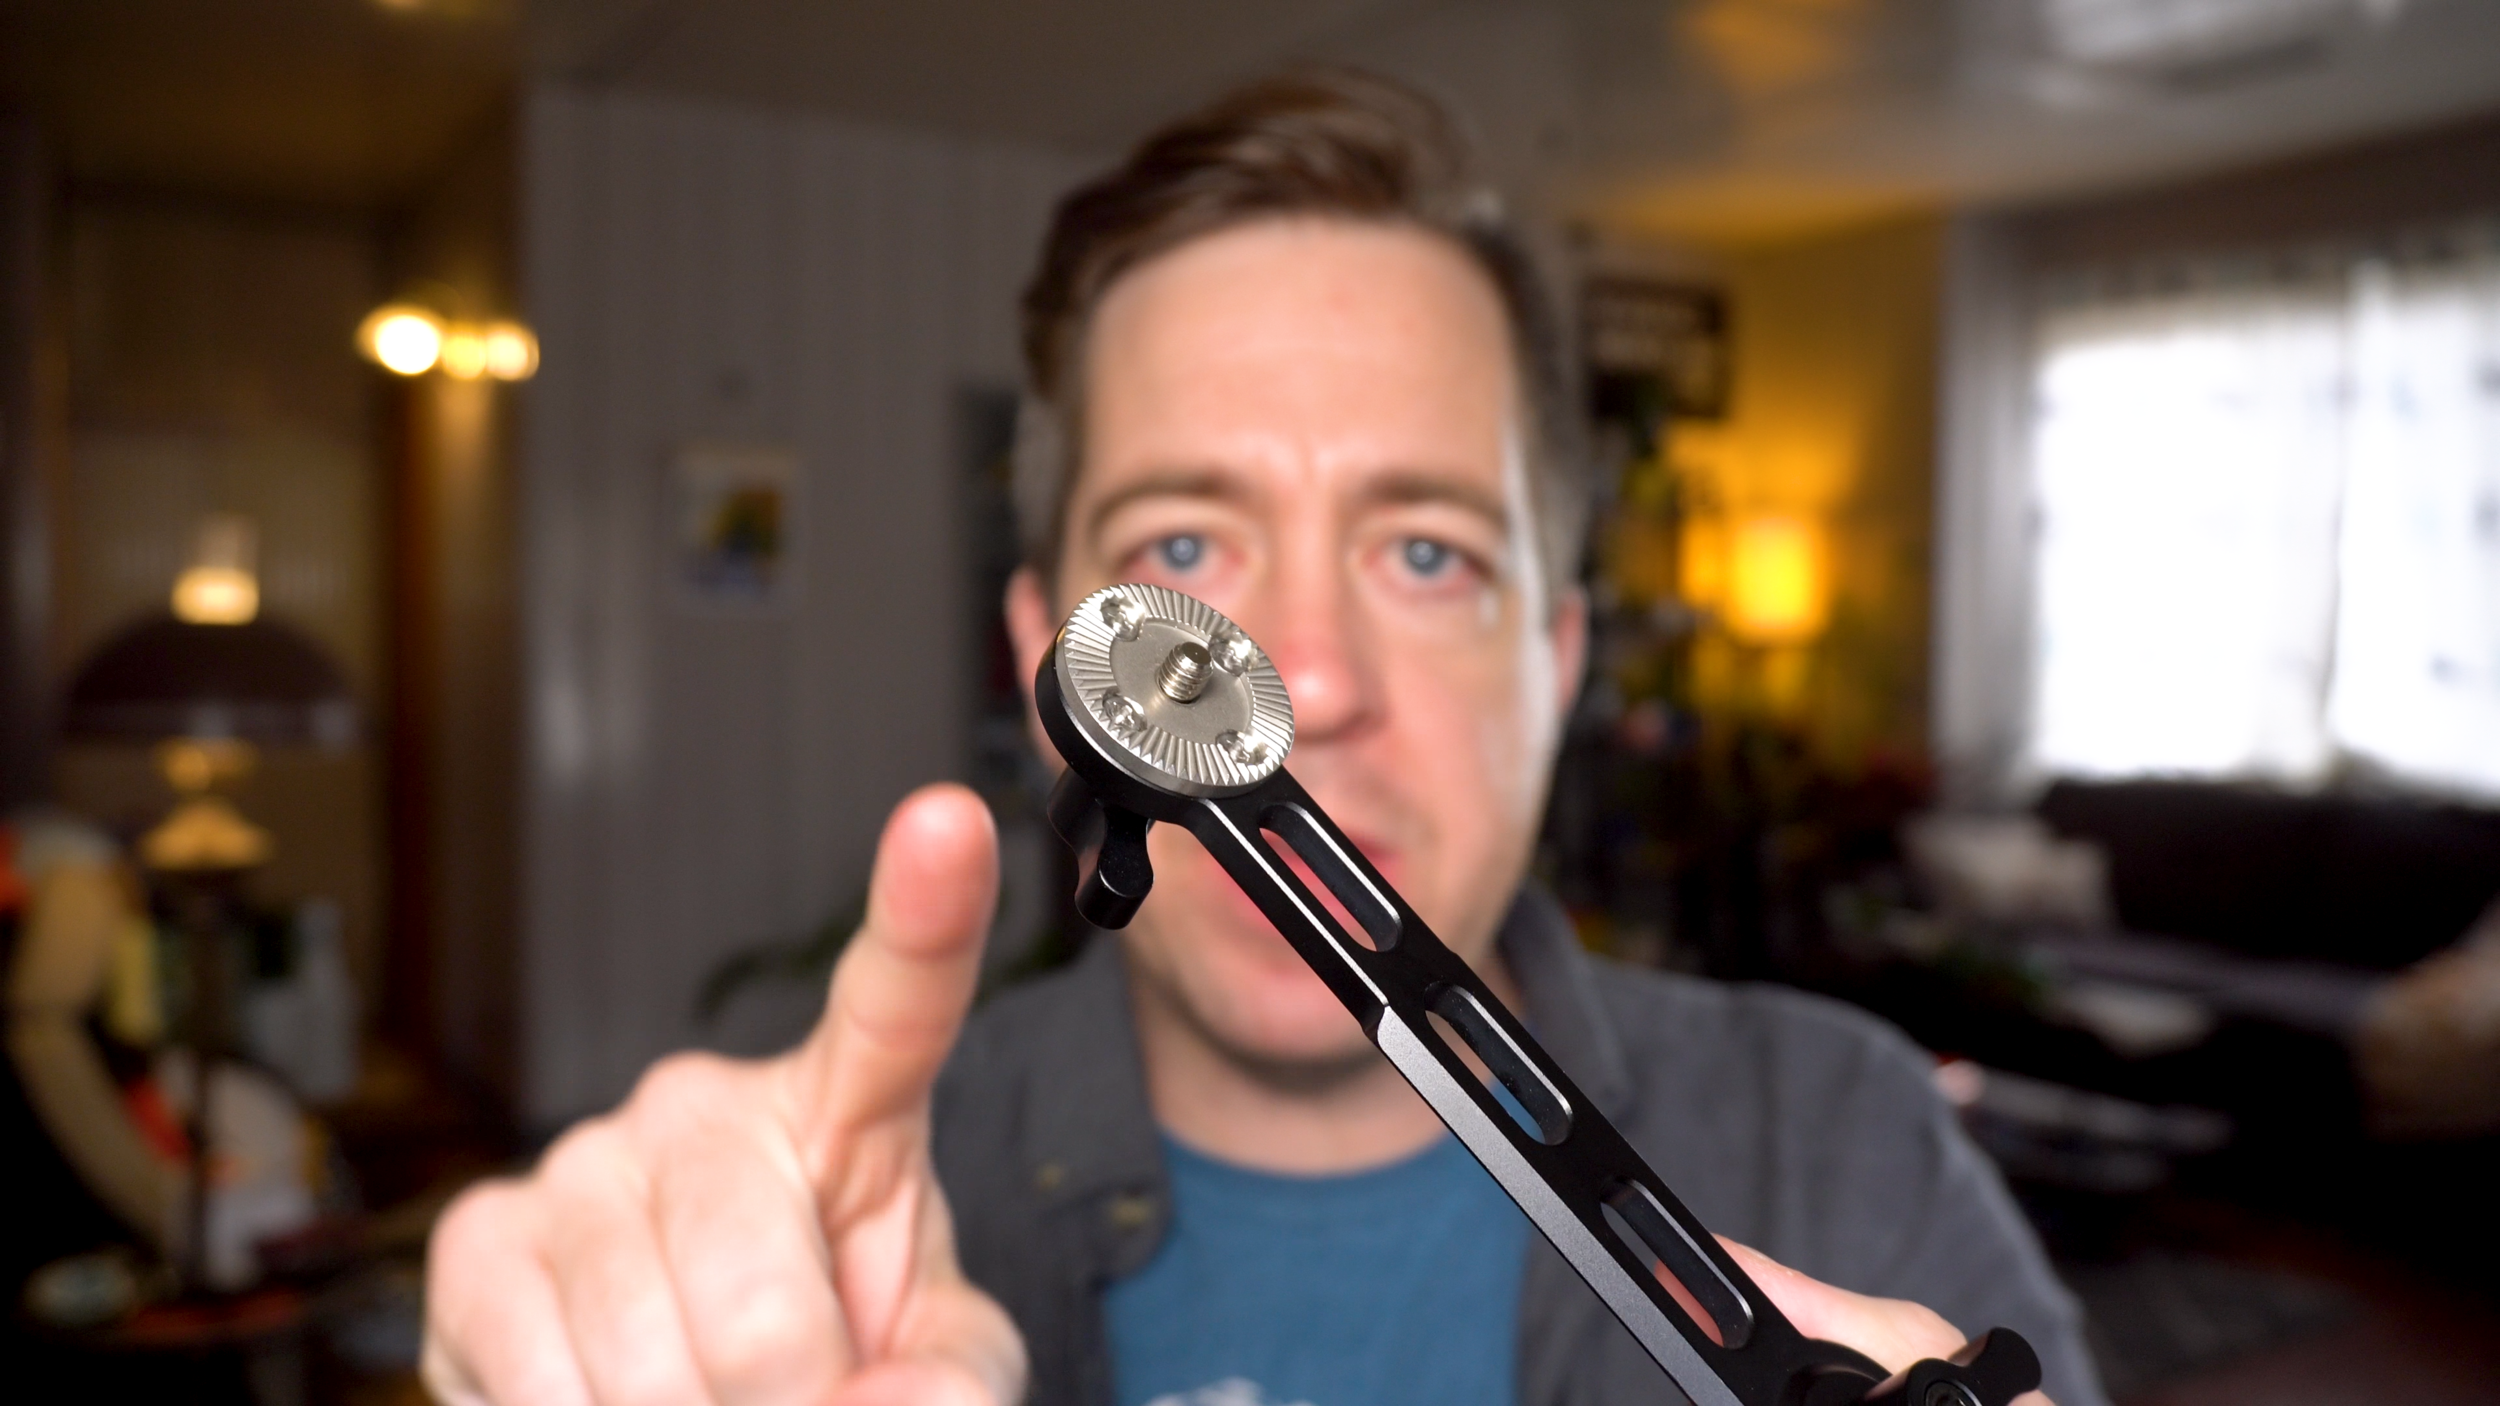
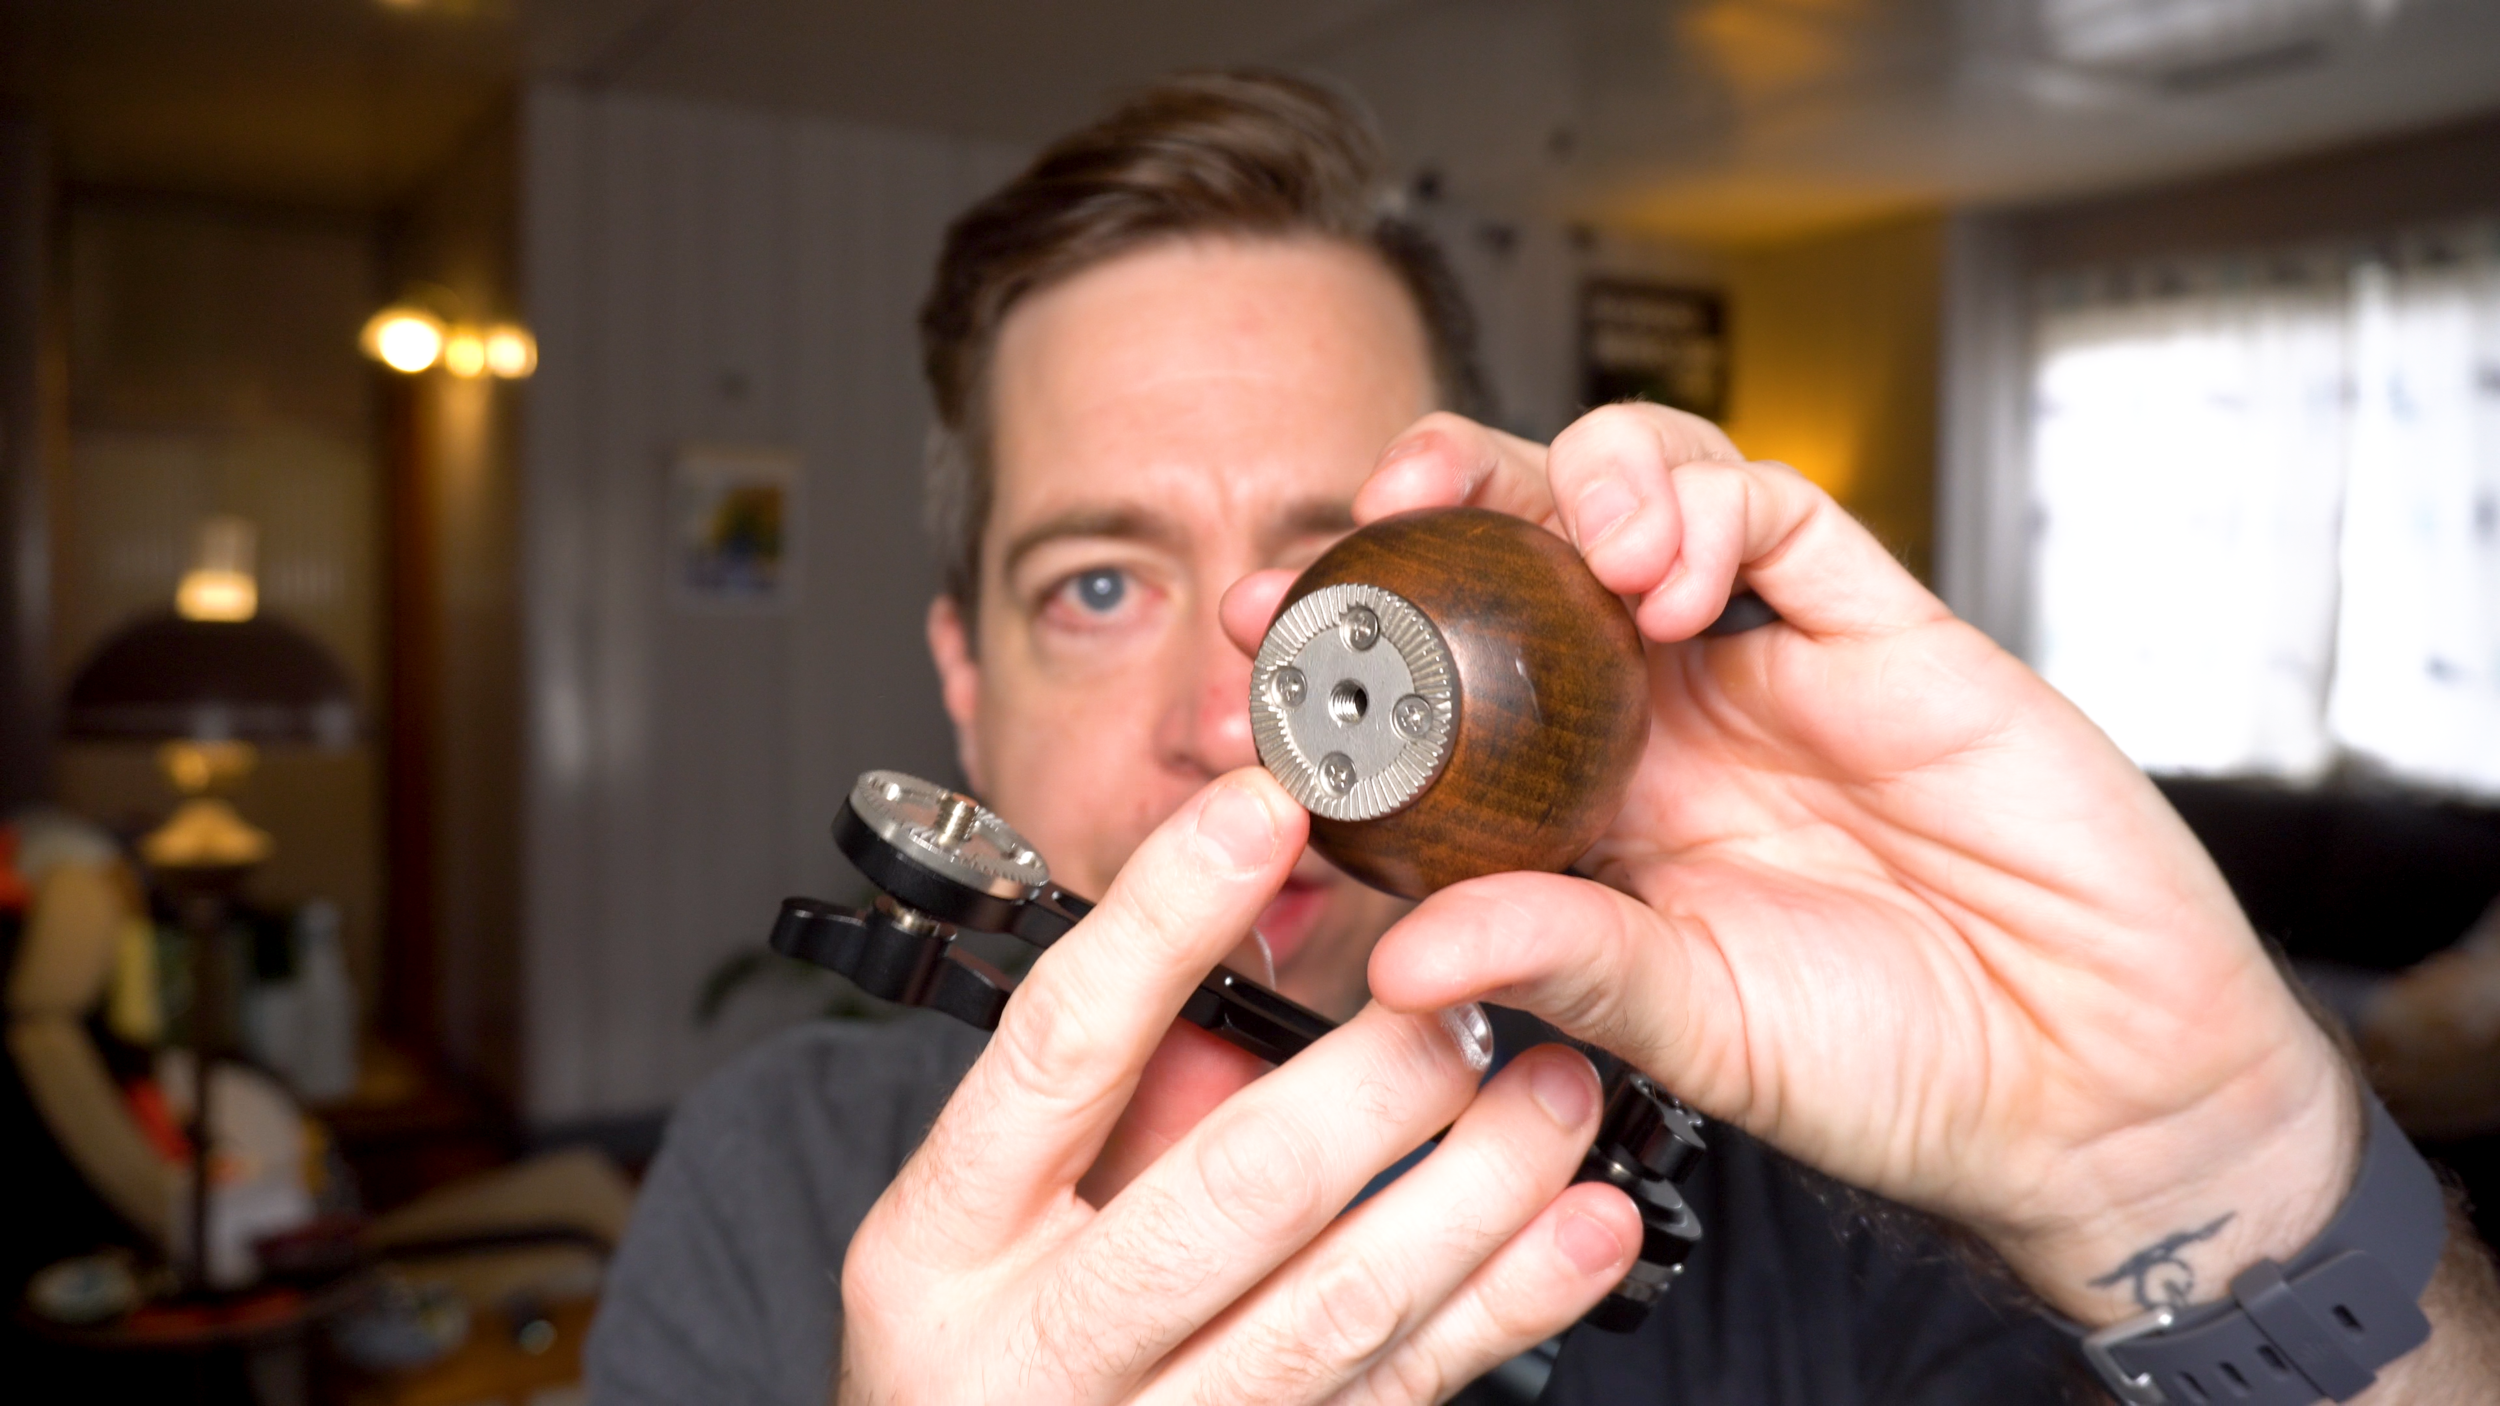
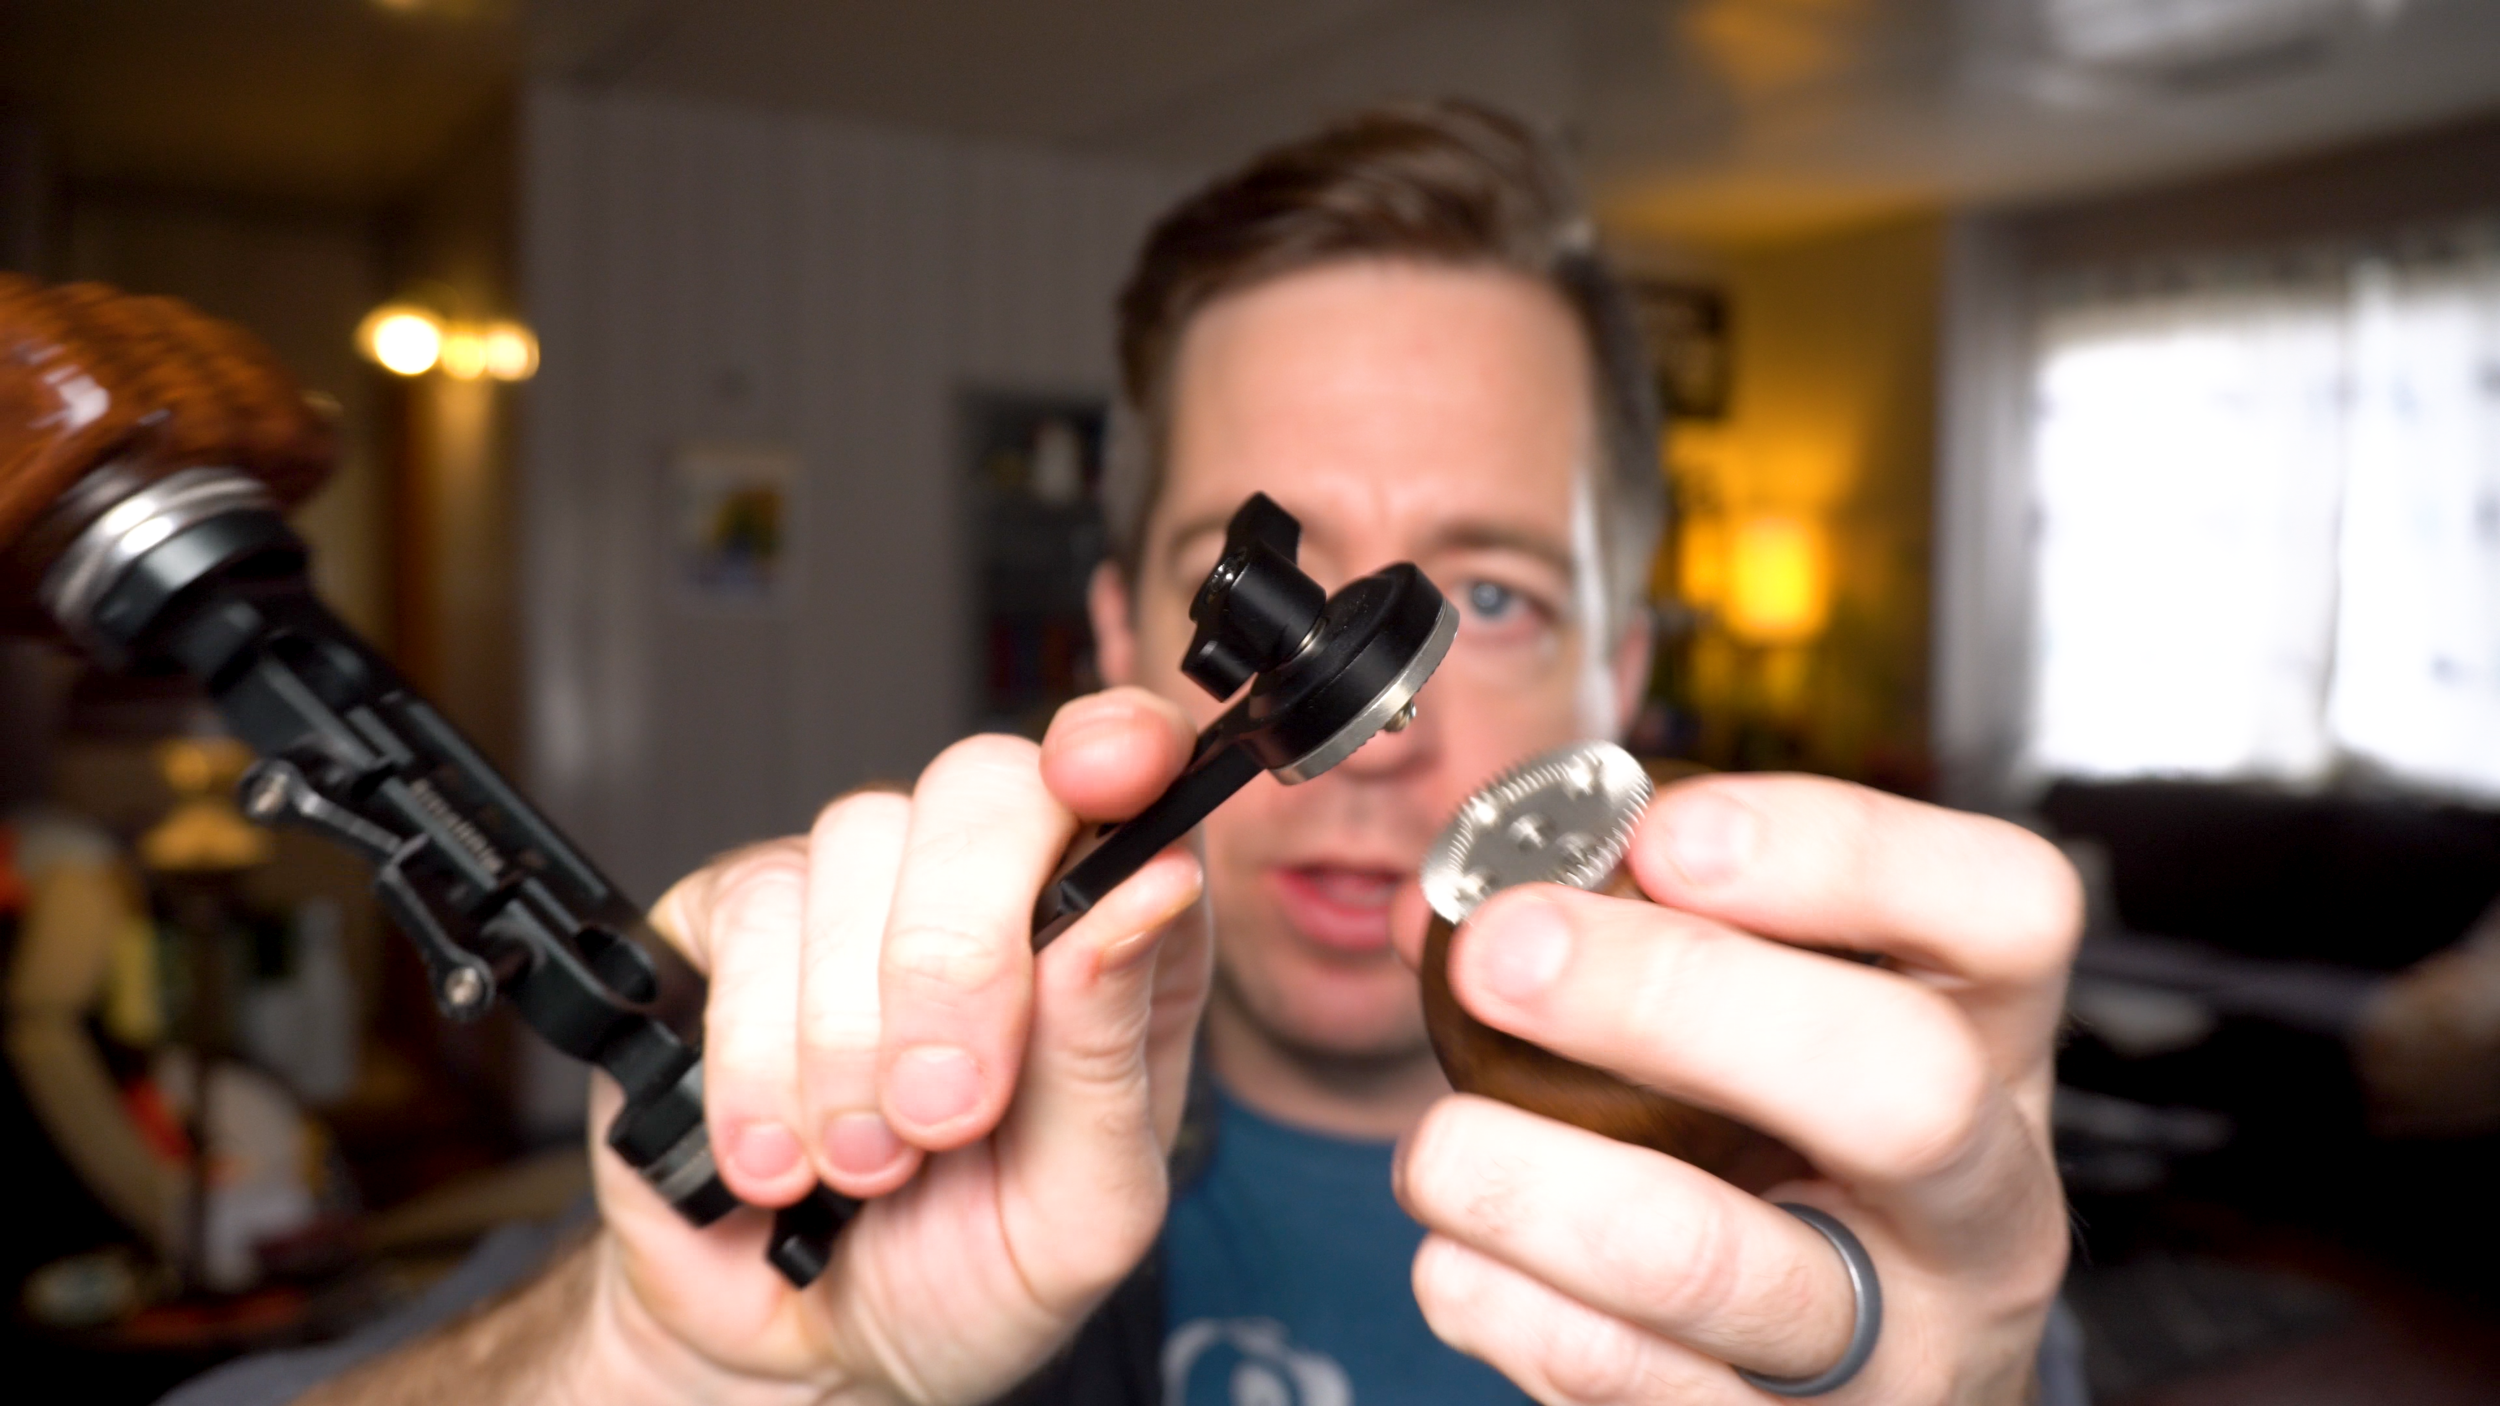
Once your grip is stained and sealed we’re ready to attach the rosette - use a little bit of super glue and place the rosette in its square hole. Remember, you’ll want to use a threaded rosette on this one. Clamp this down and let it sit for a bit - most super glues will dry quickly. After that’s dry drill some tiny pilot holes through the 4 outer holes in your rosette, and then use some tiny screws to give it some added stability.
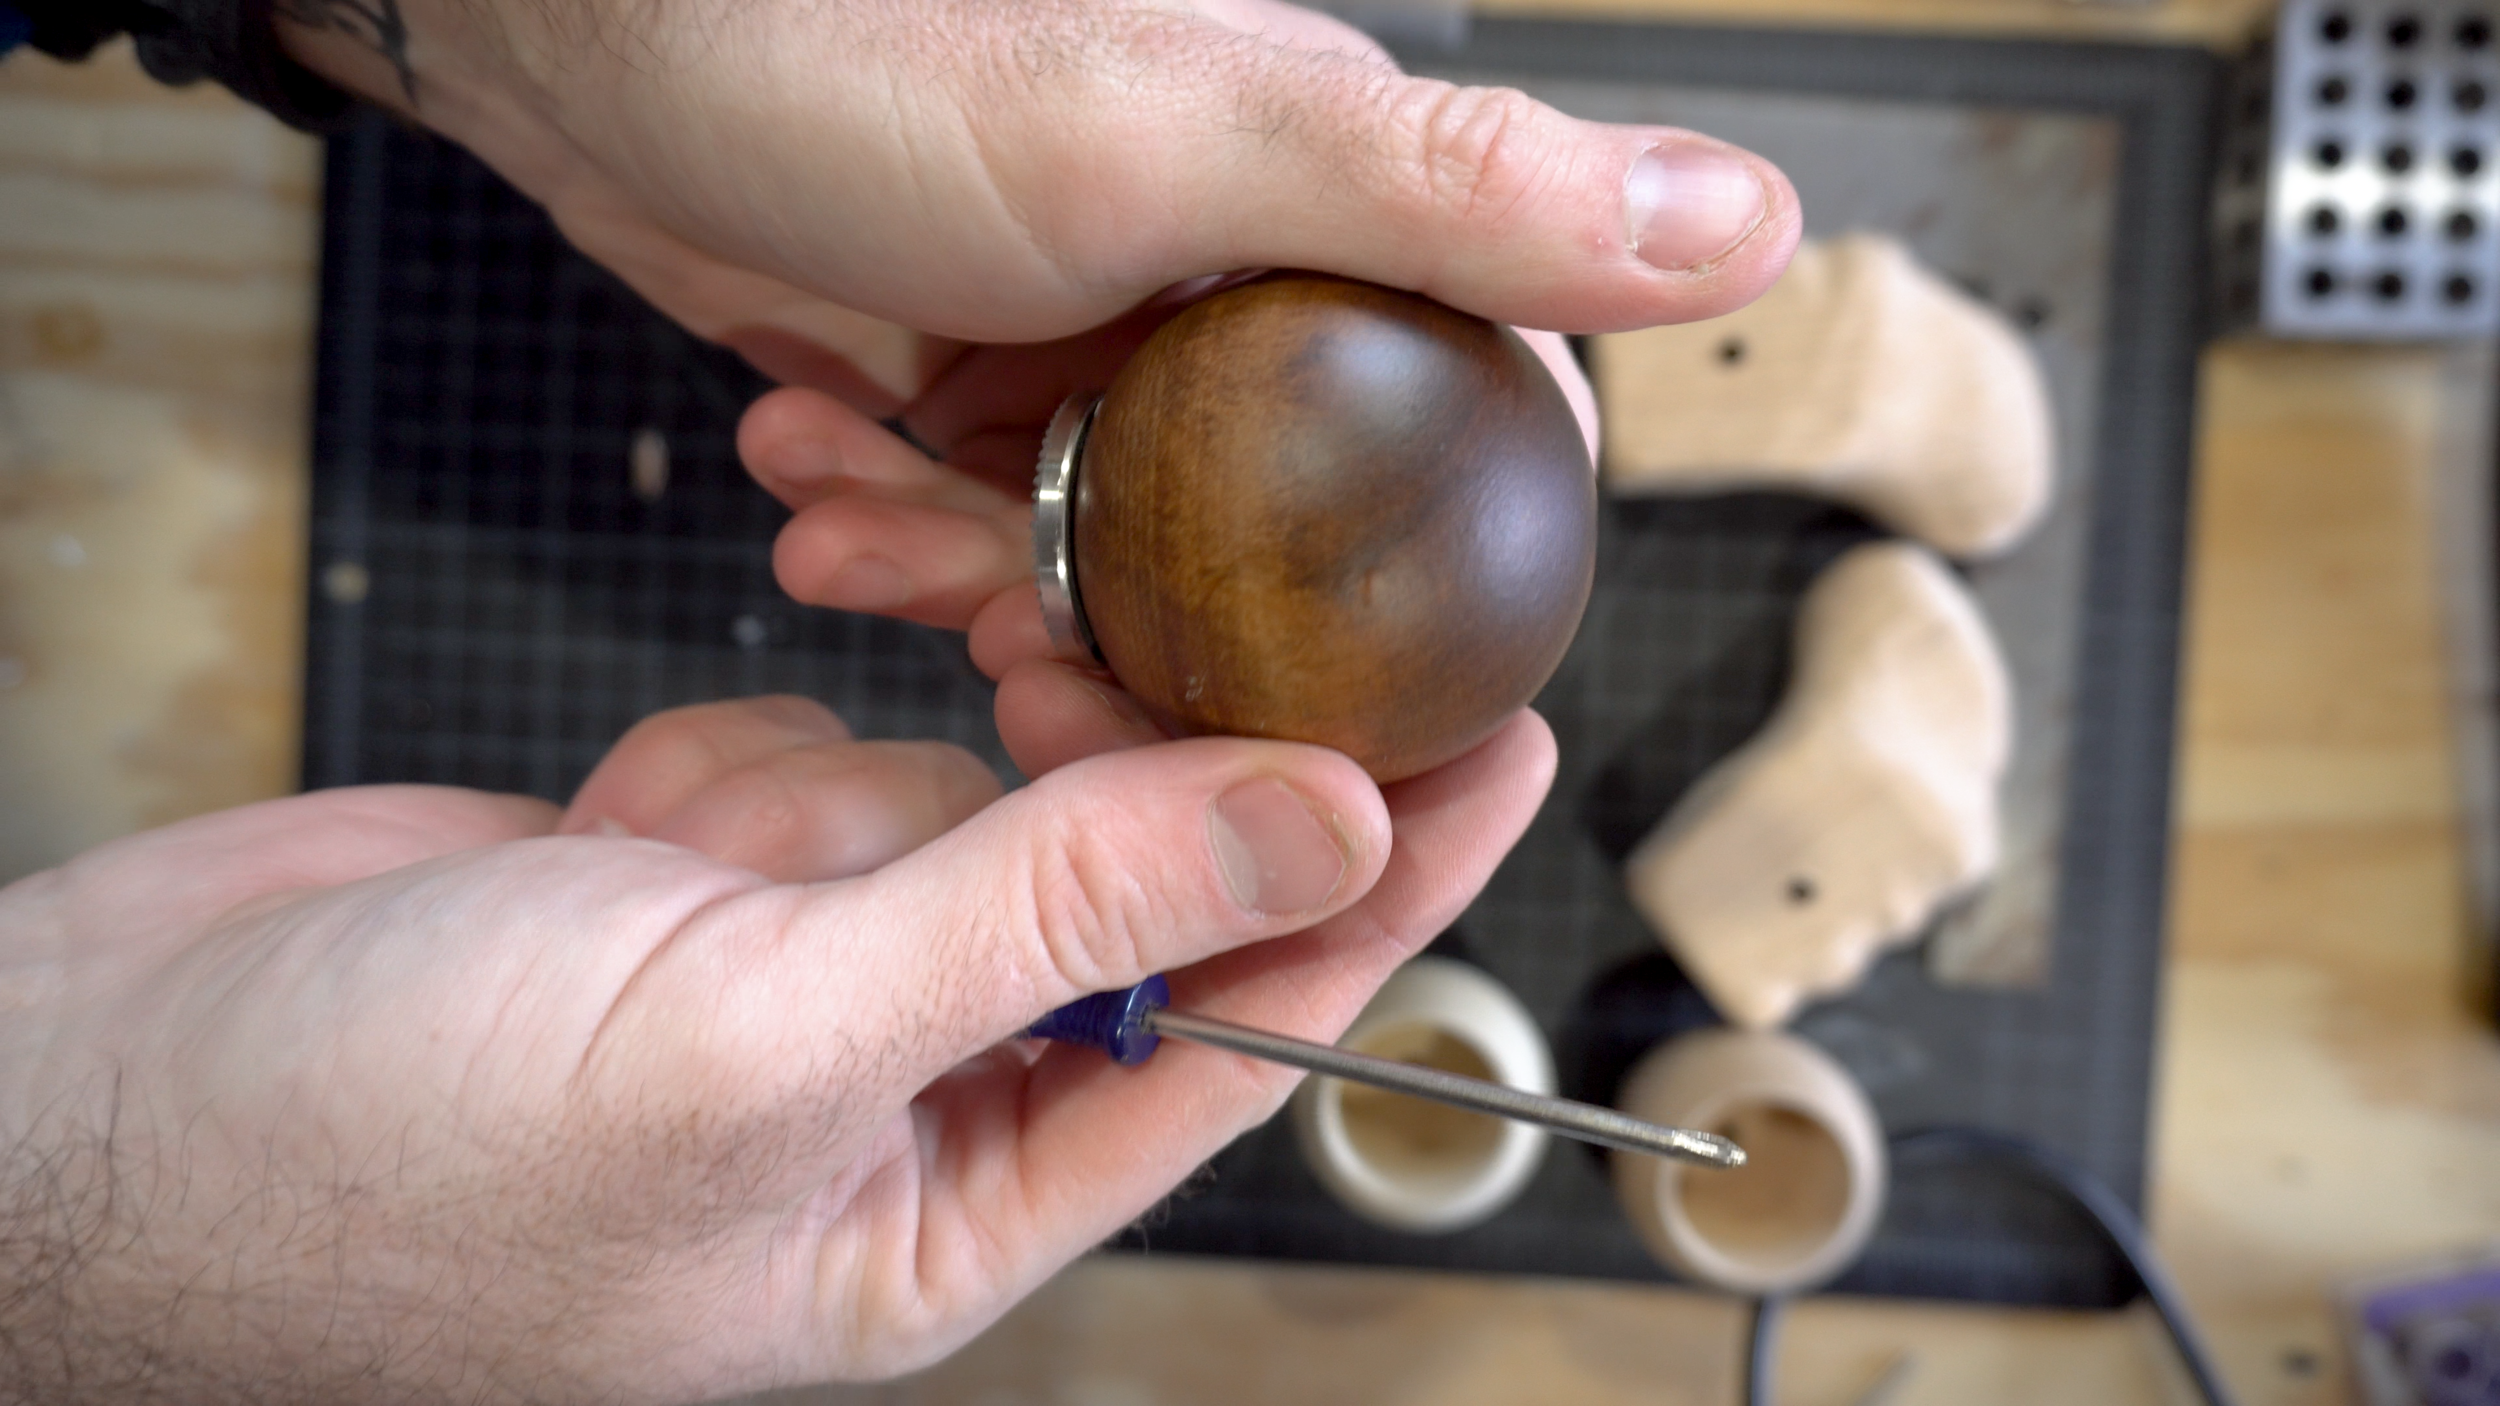
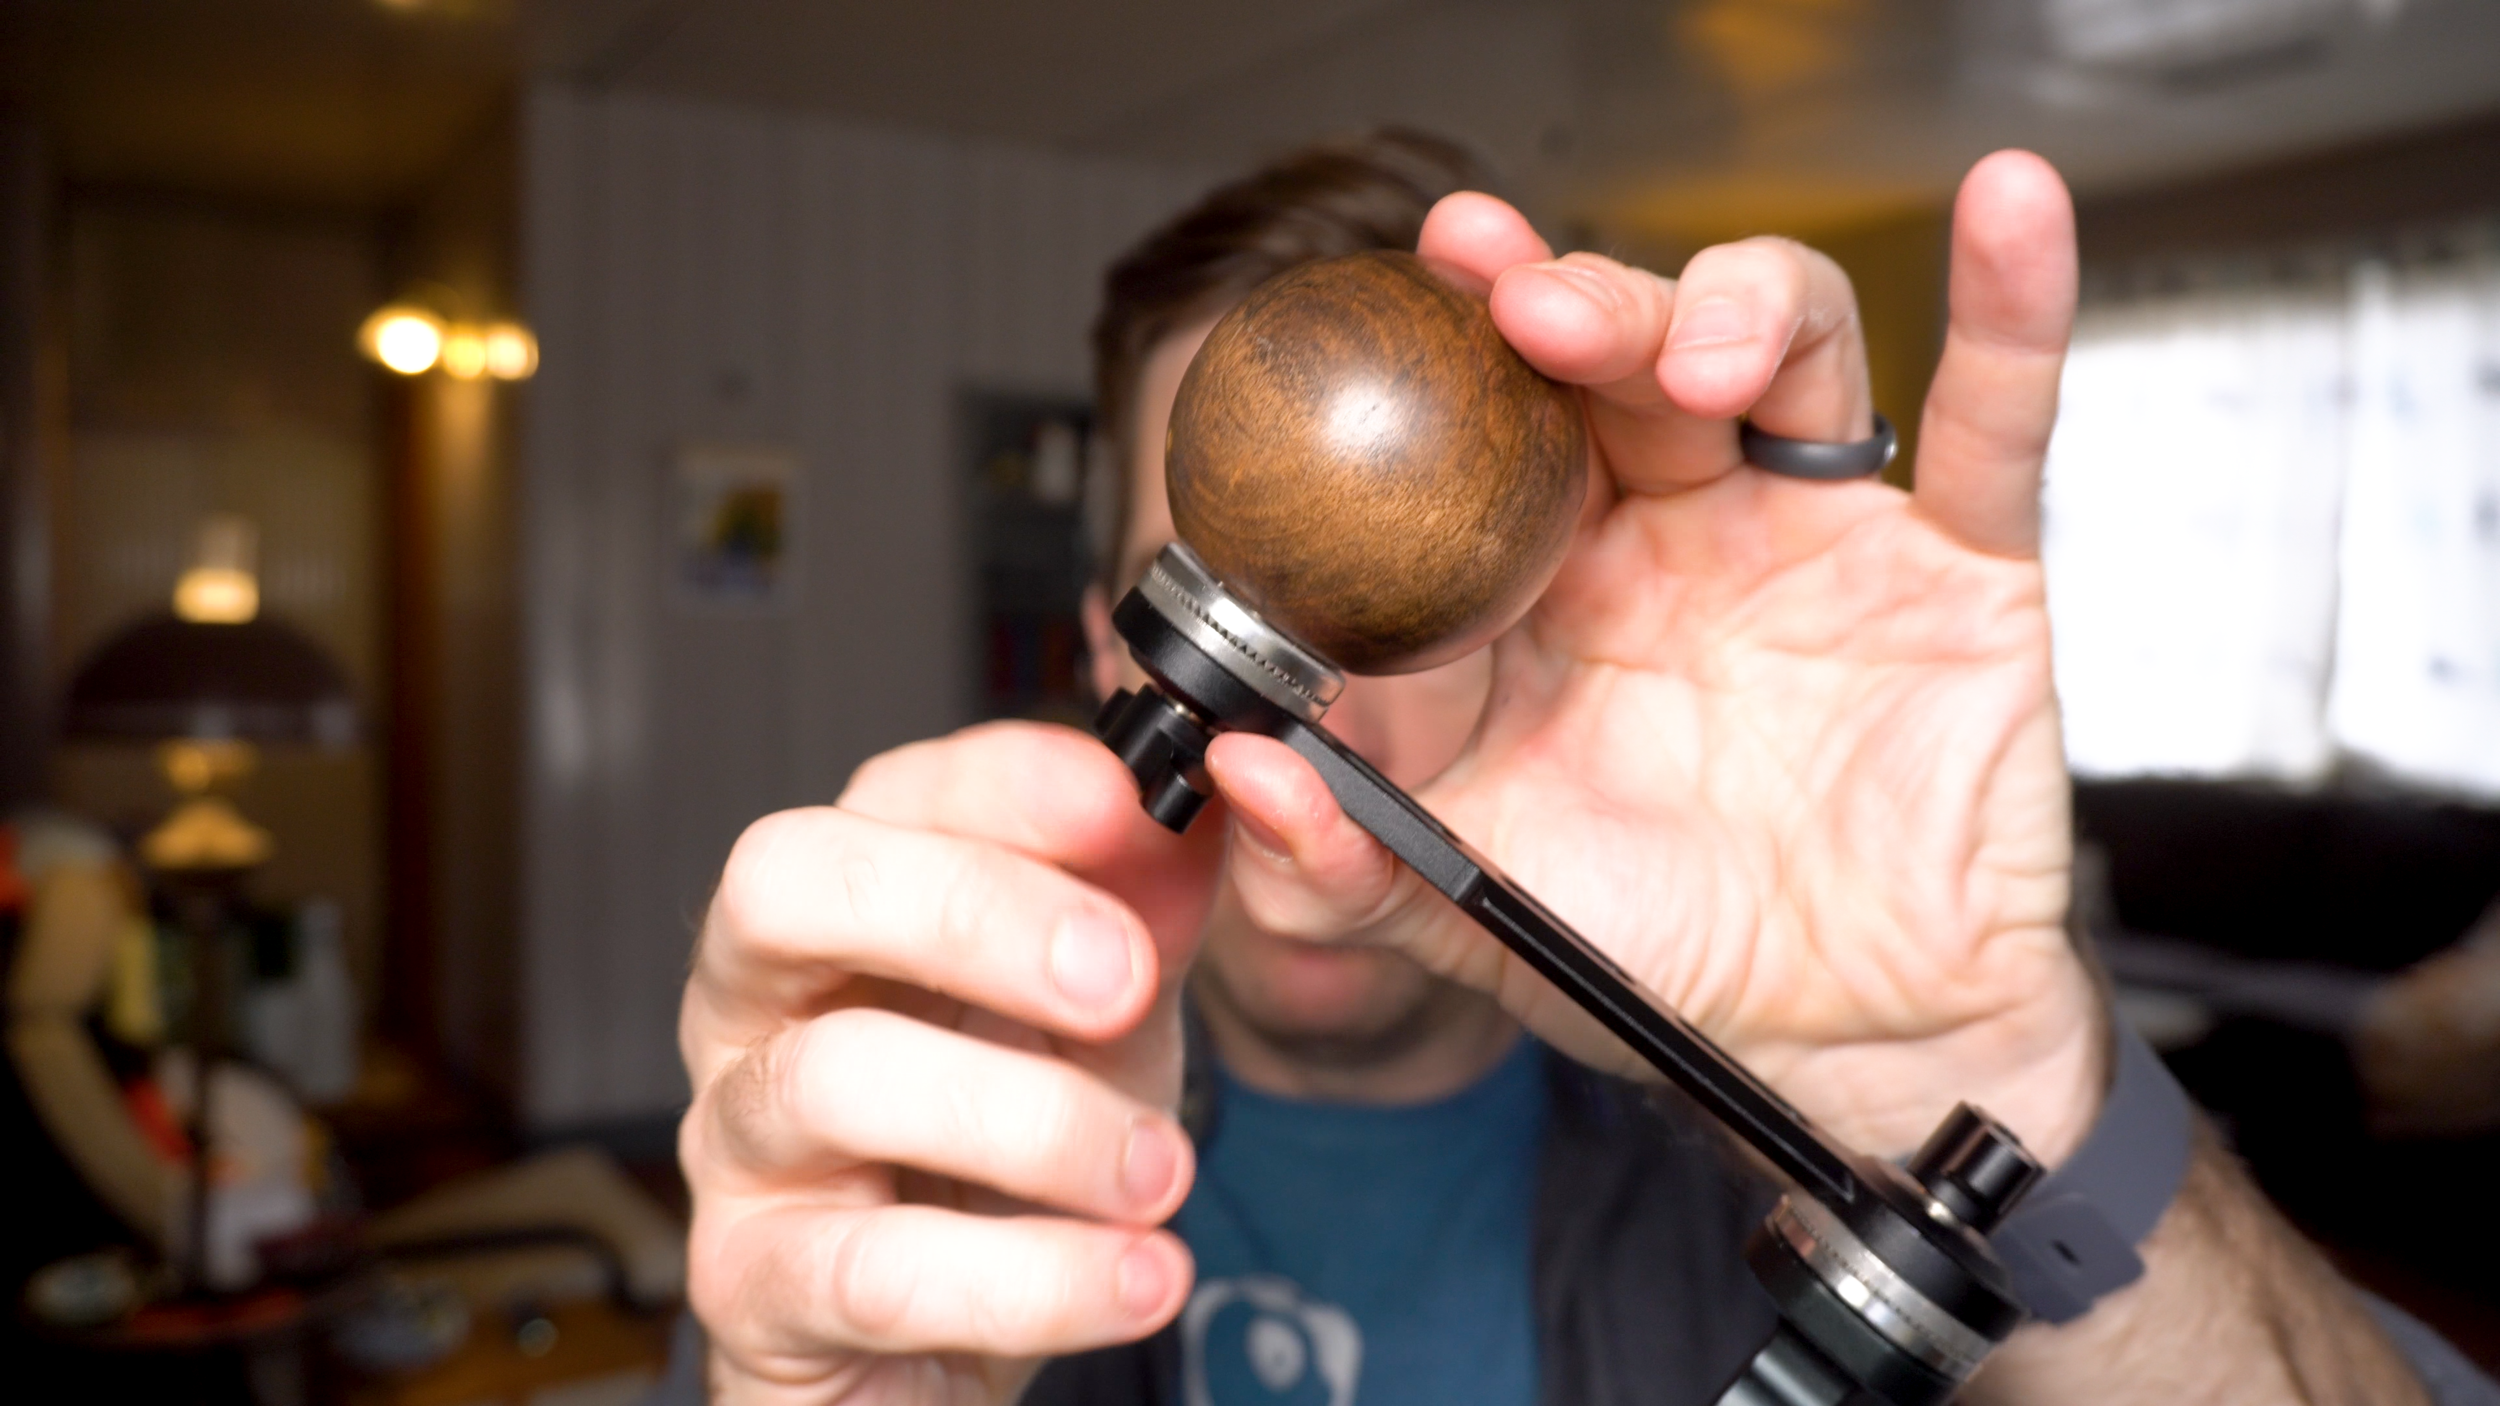
You should now have your very own round rosette grip!
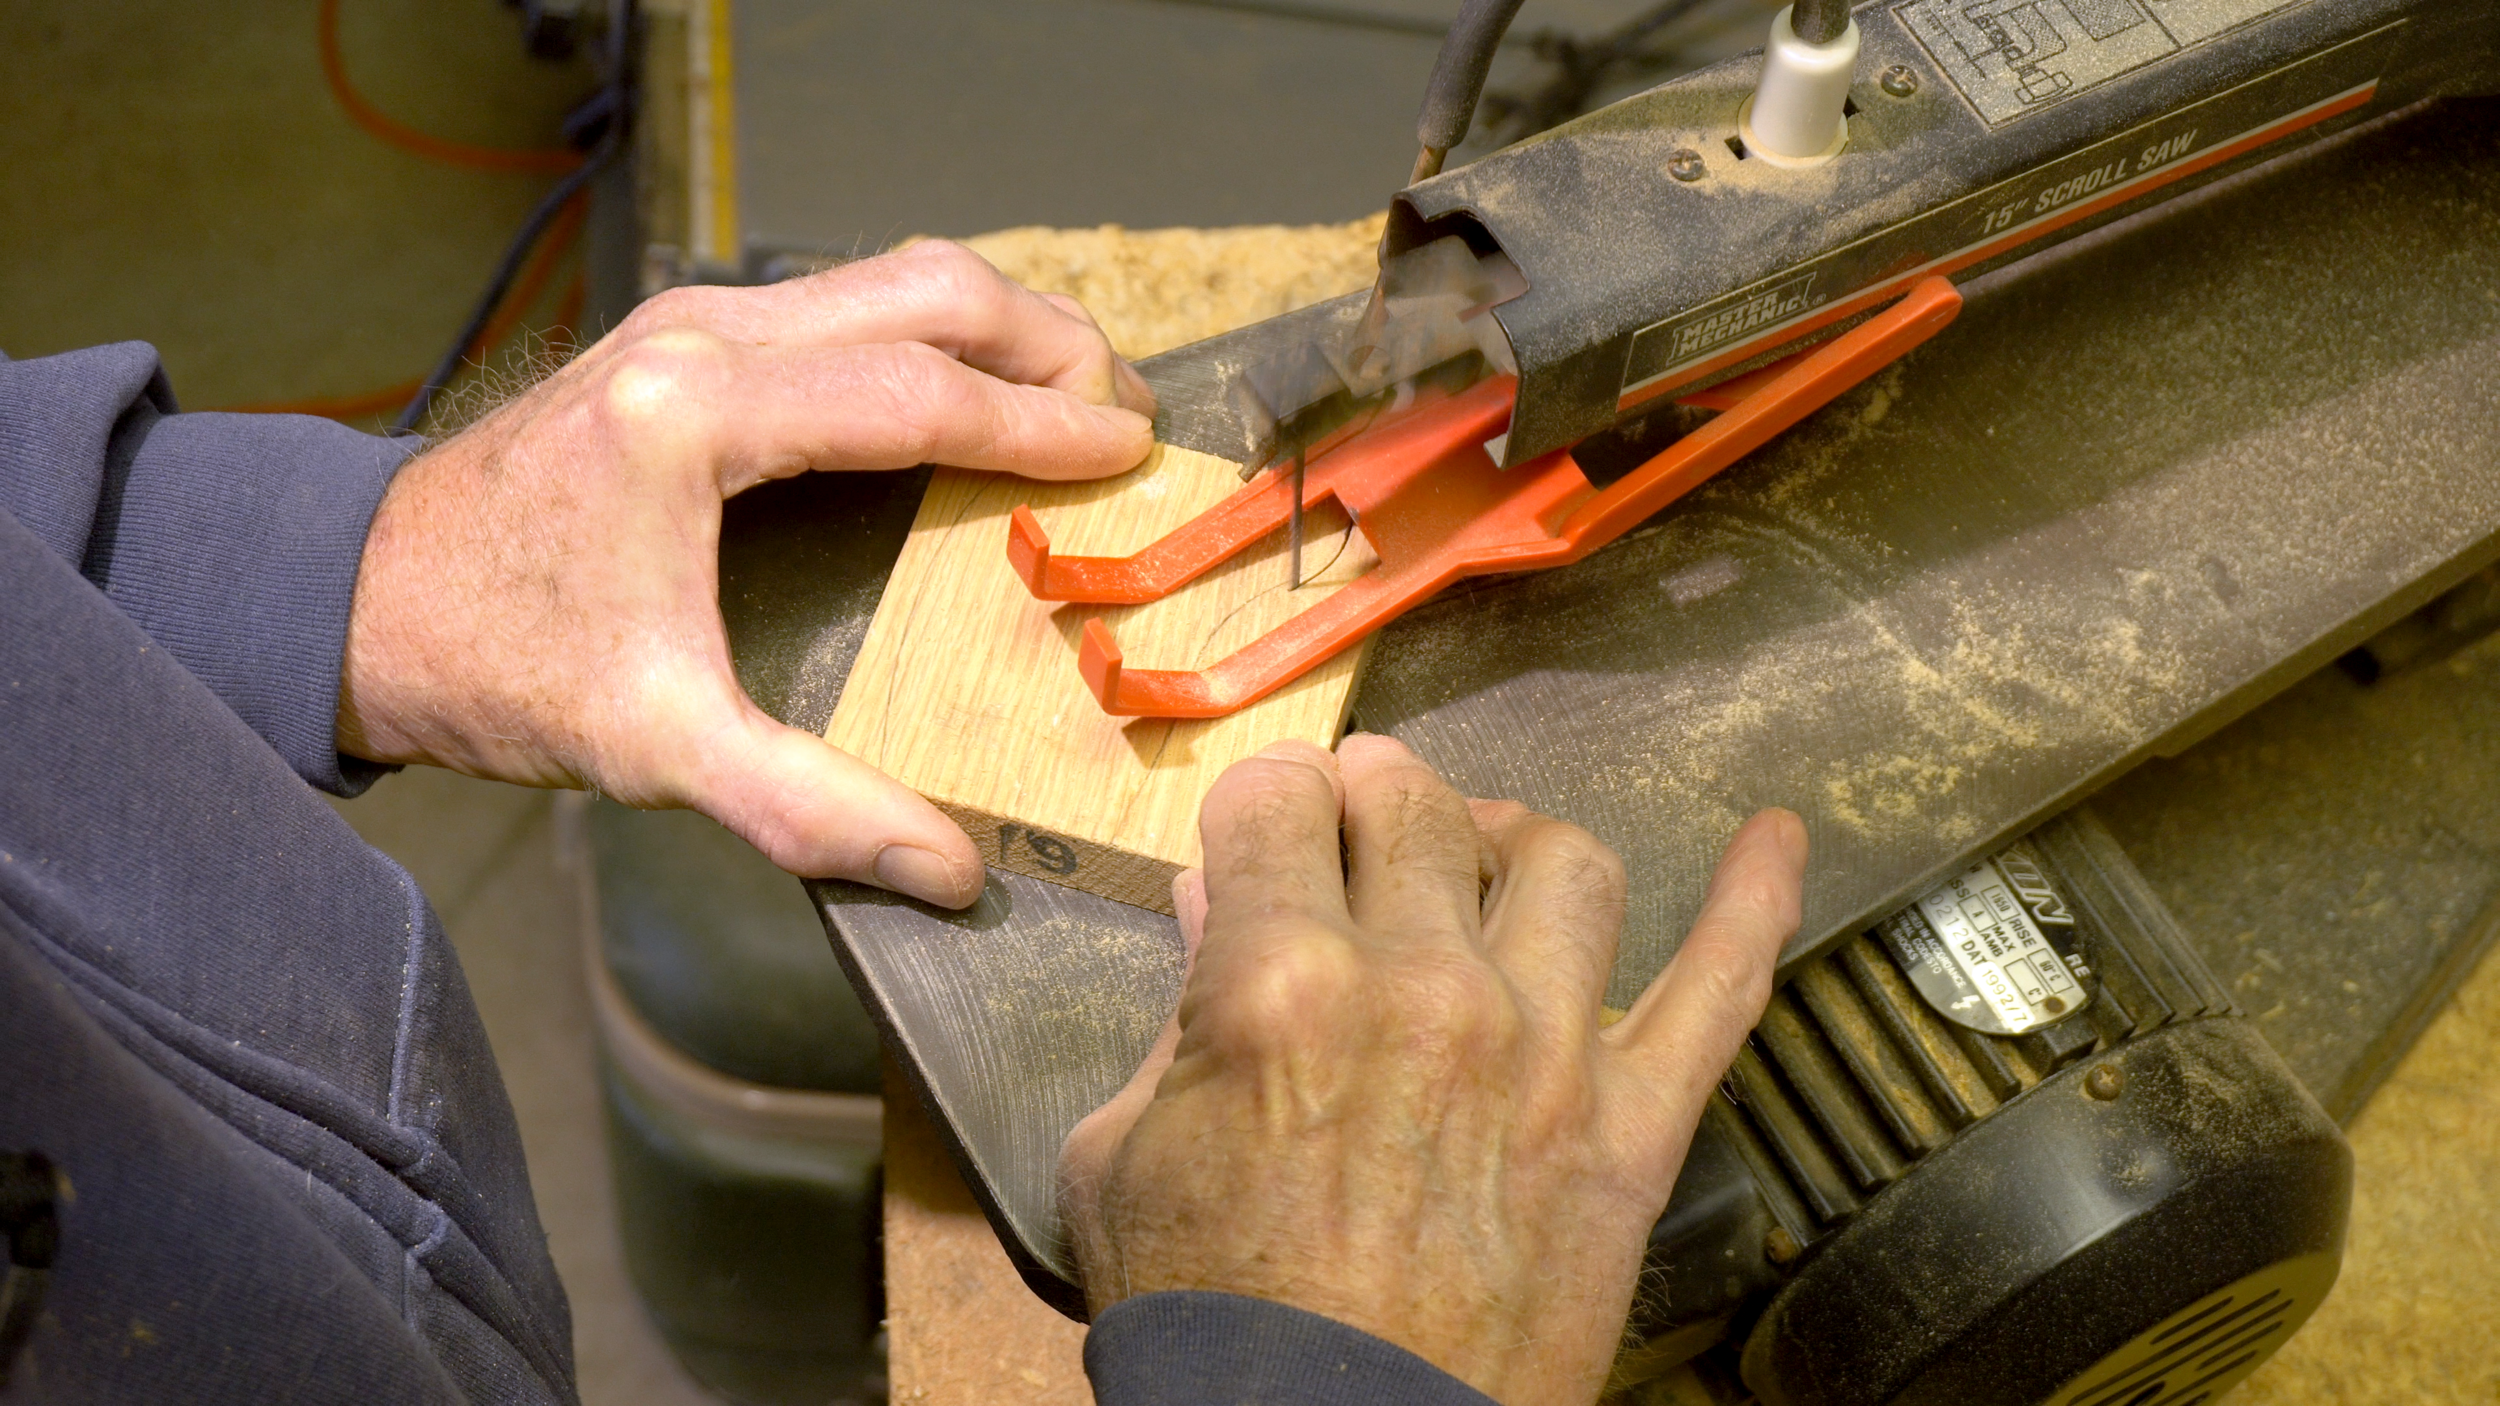
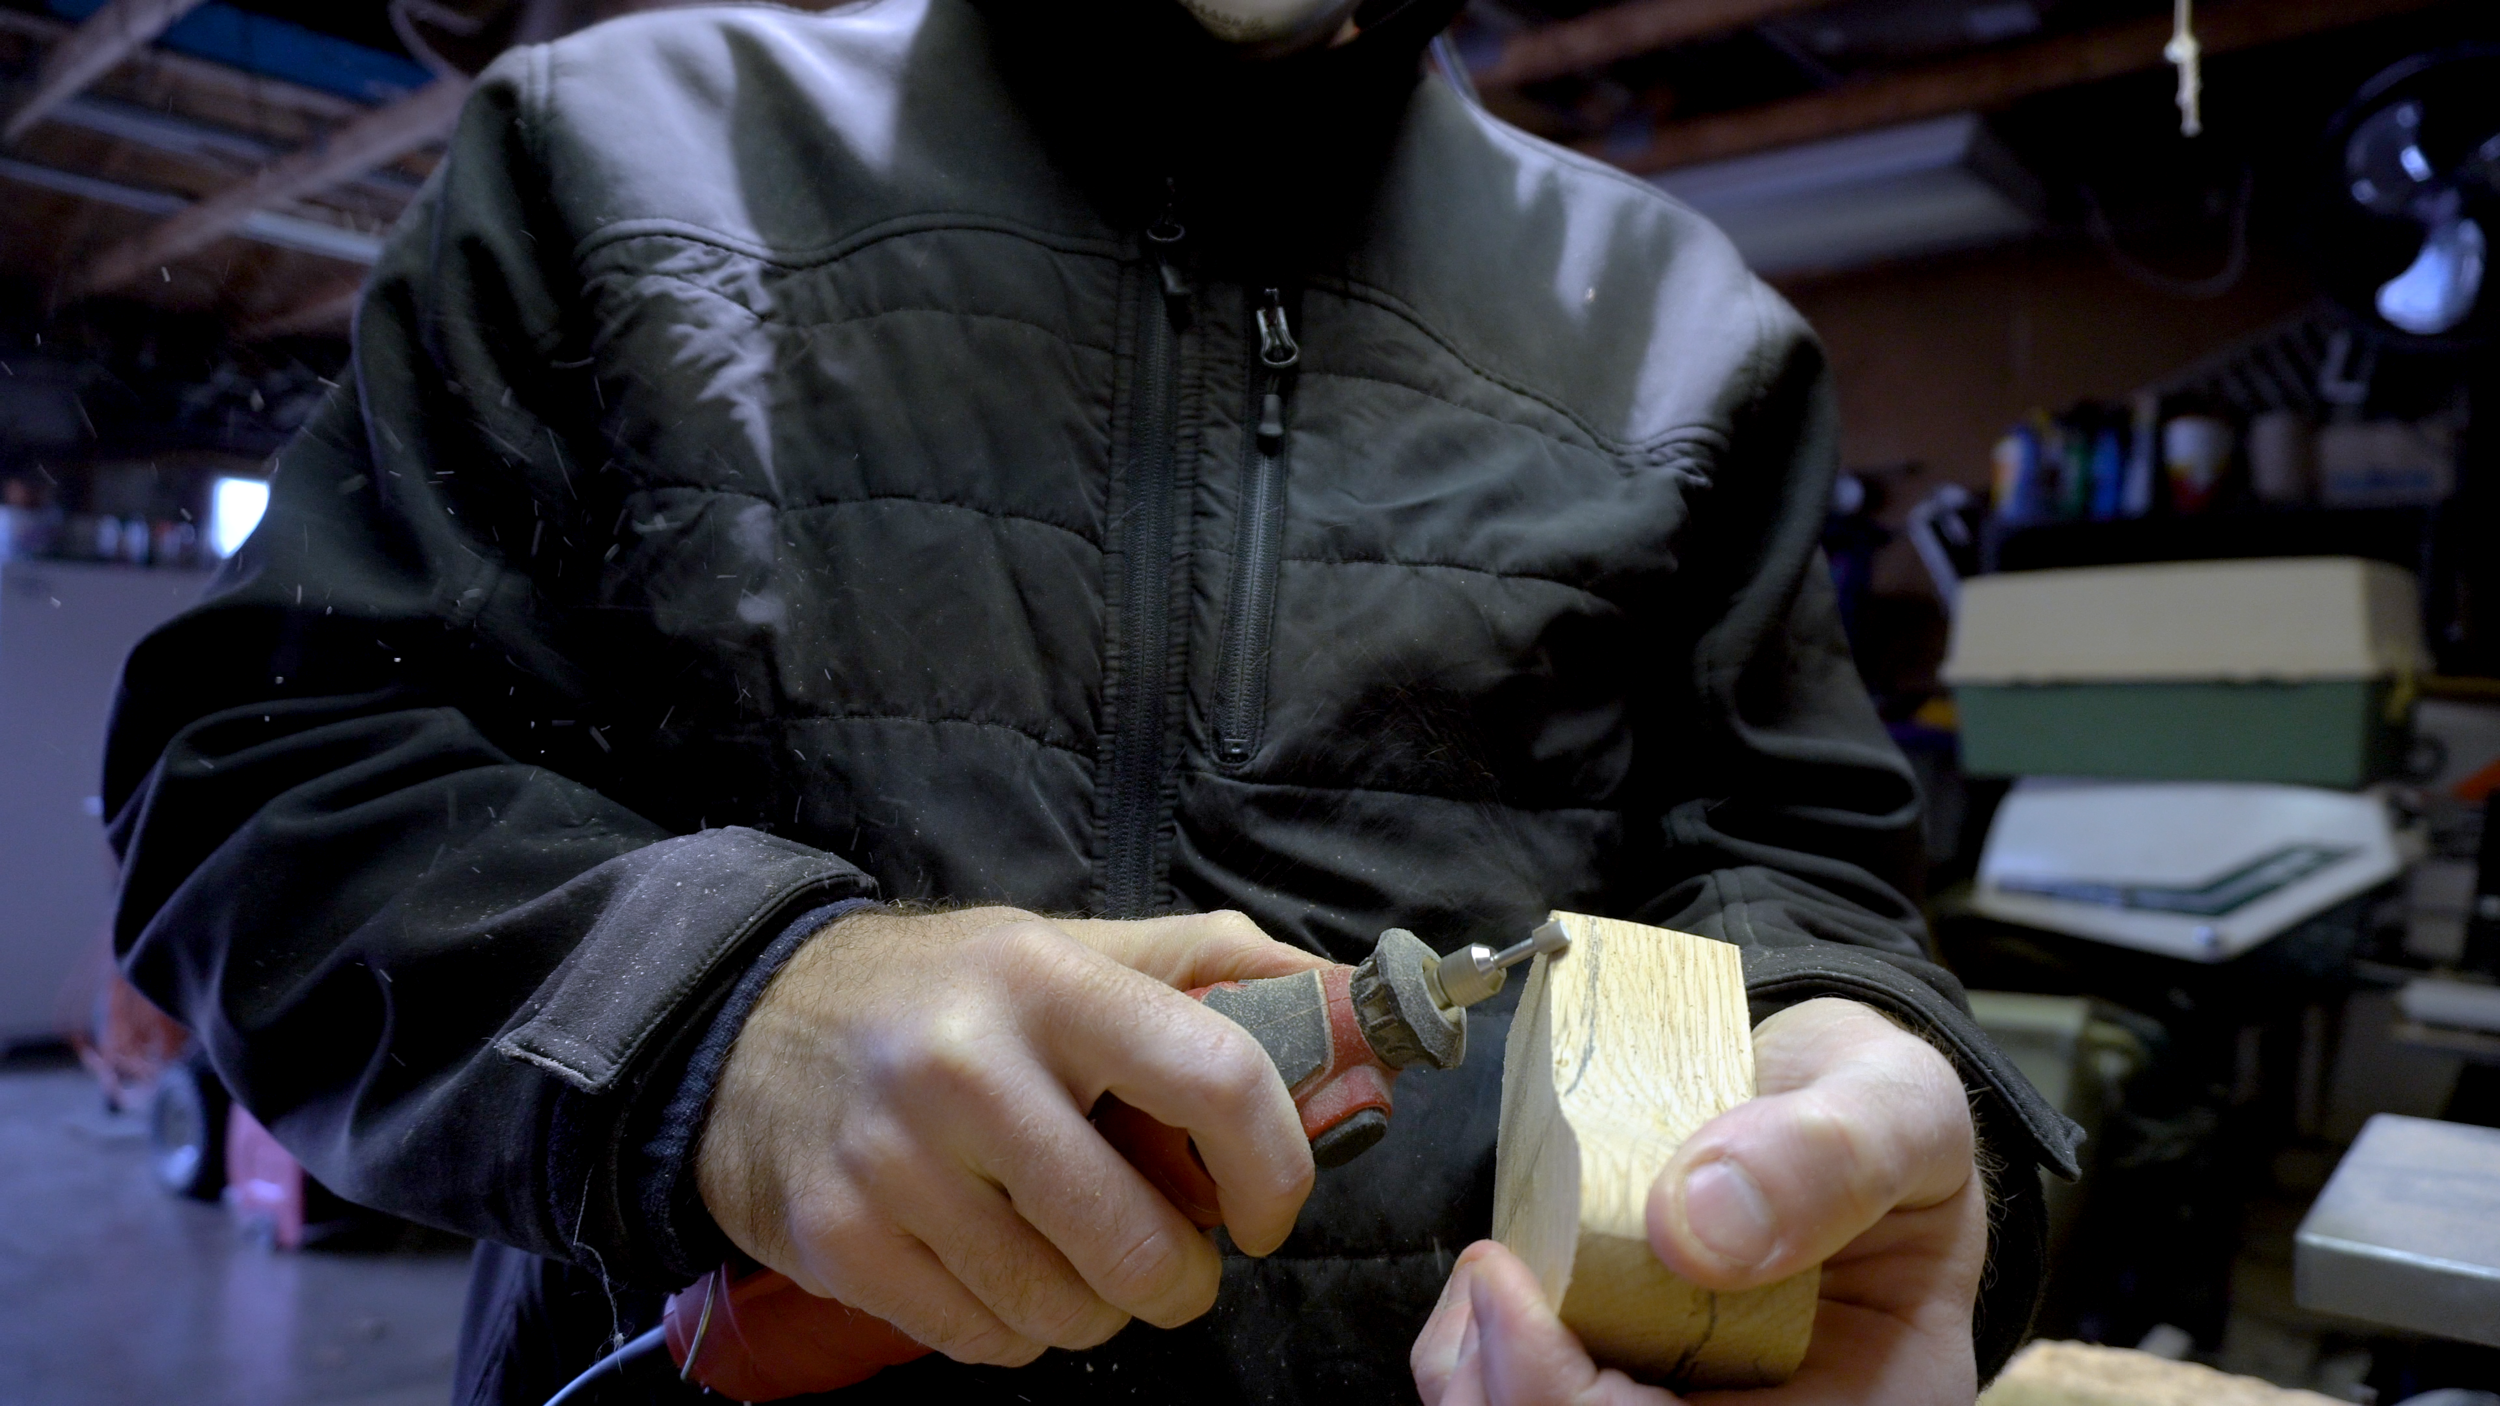
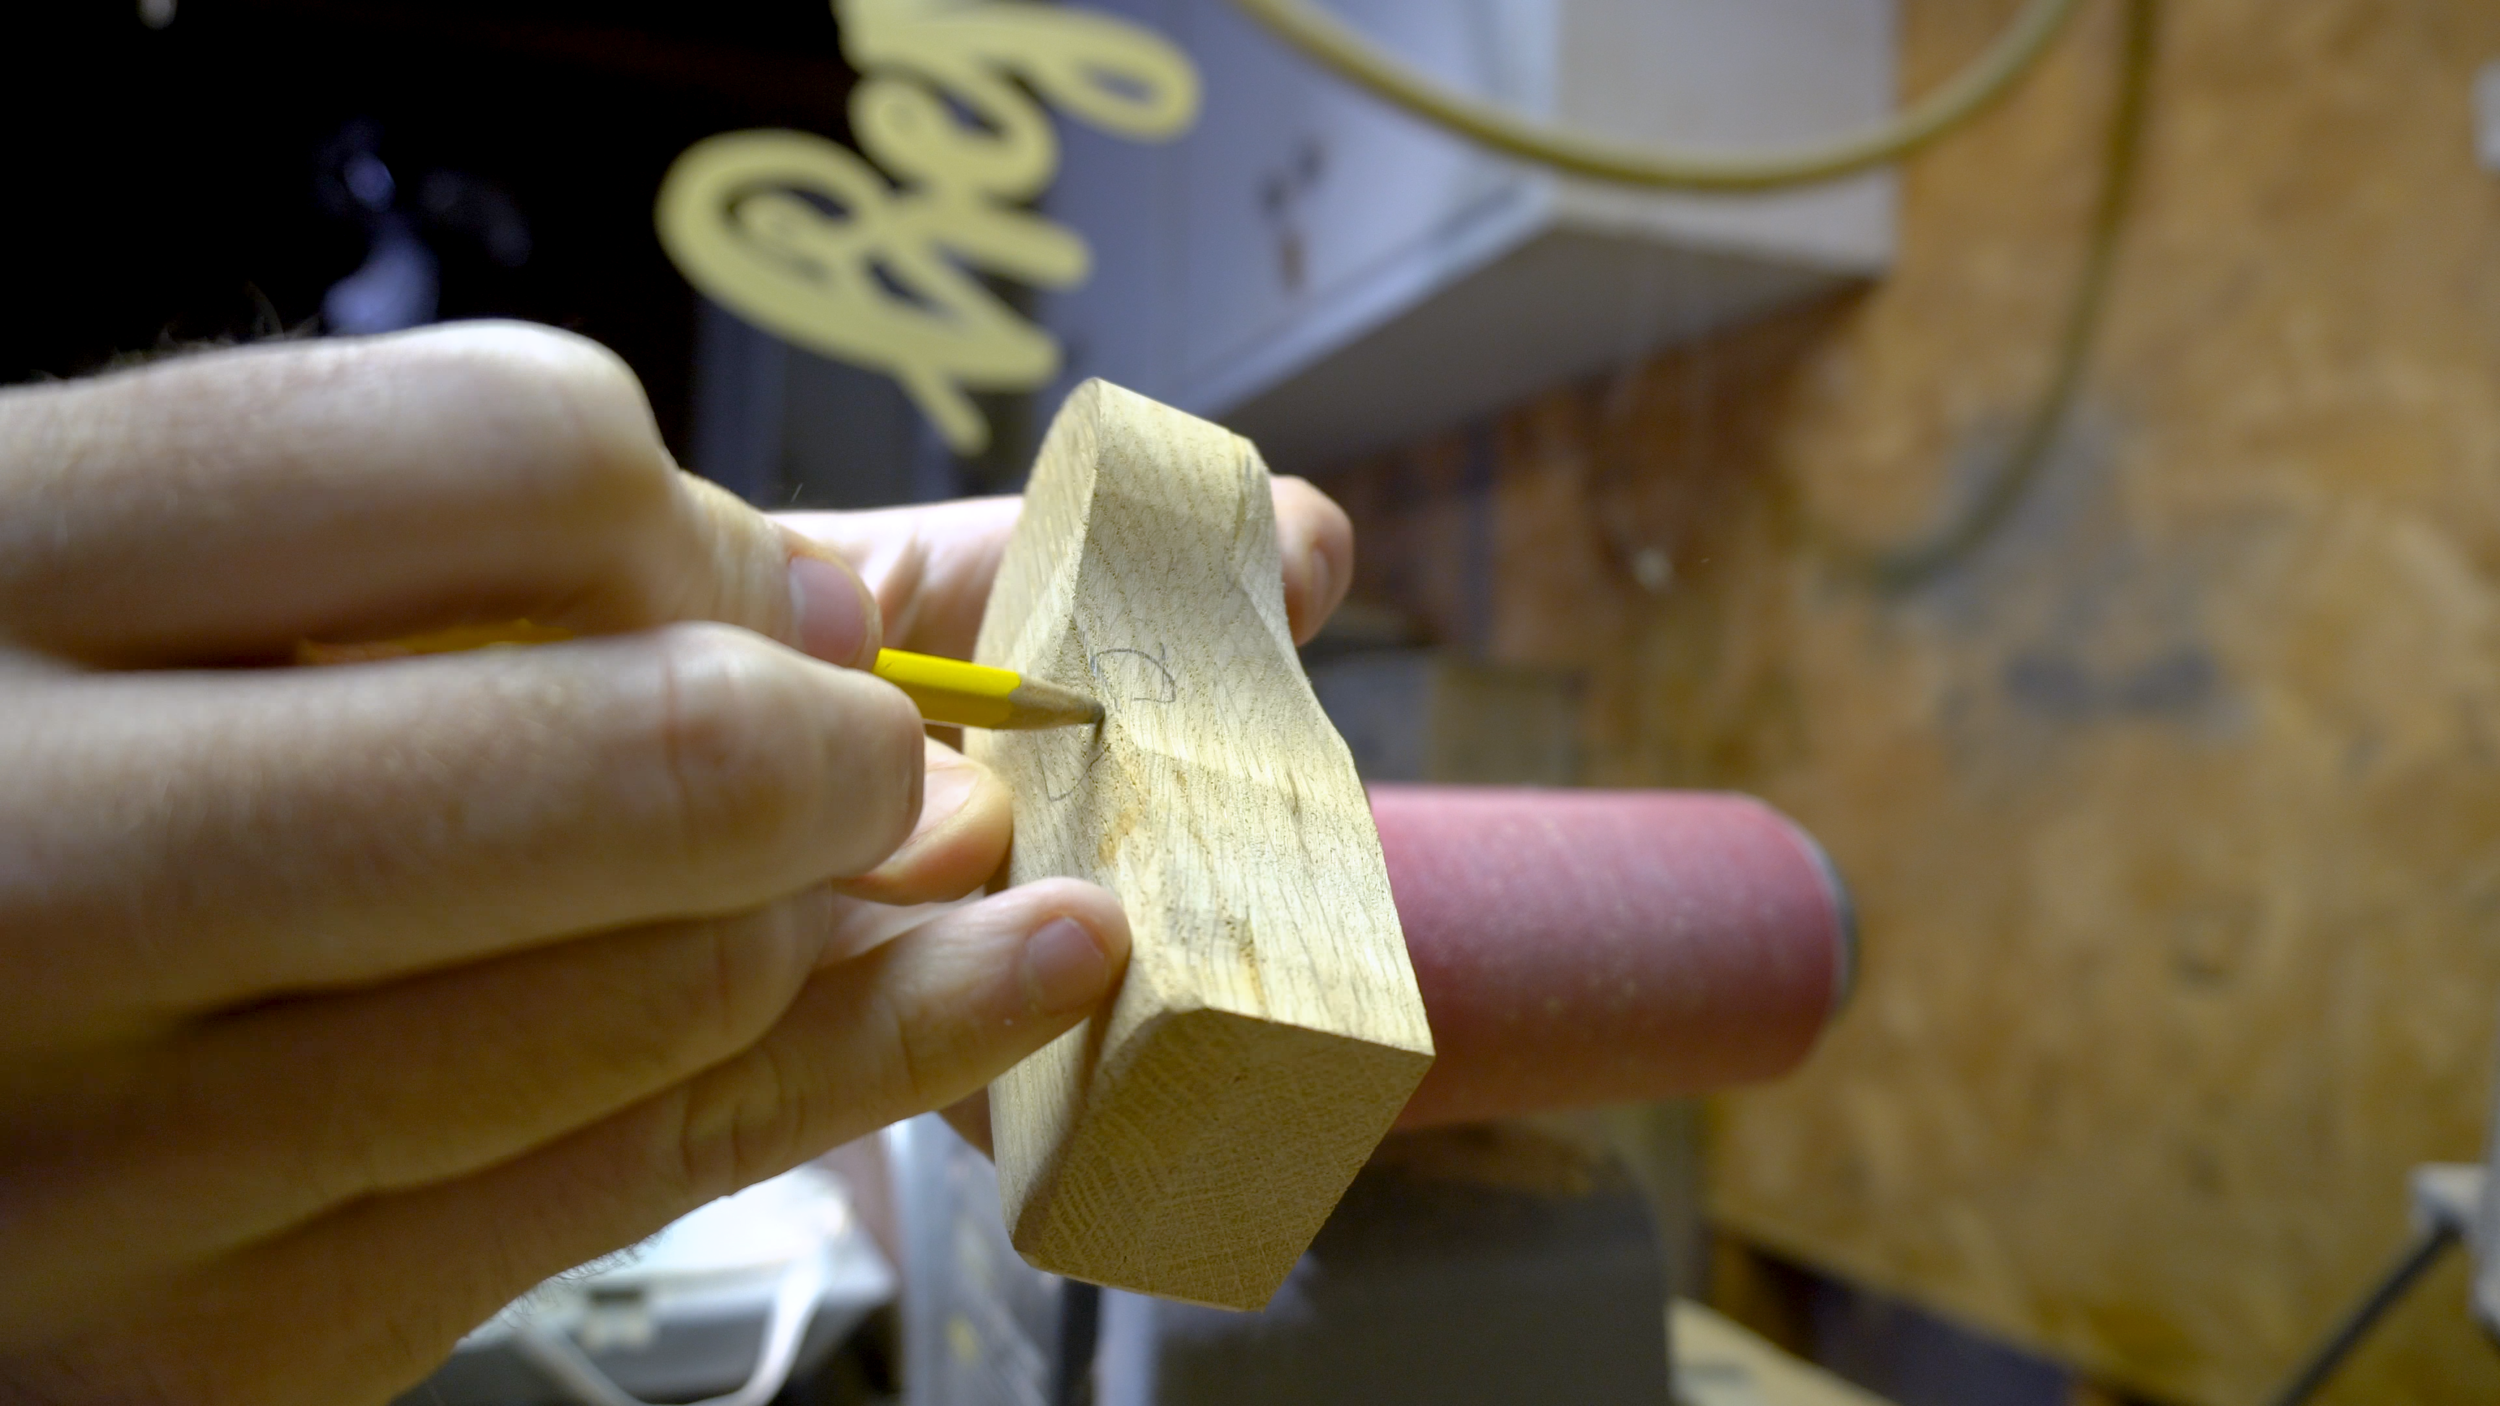
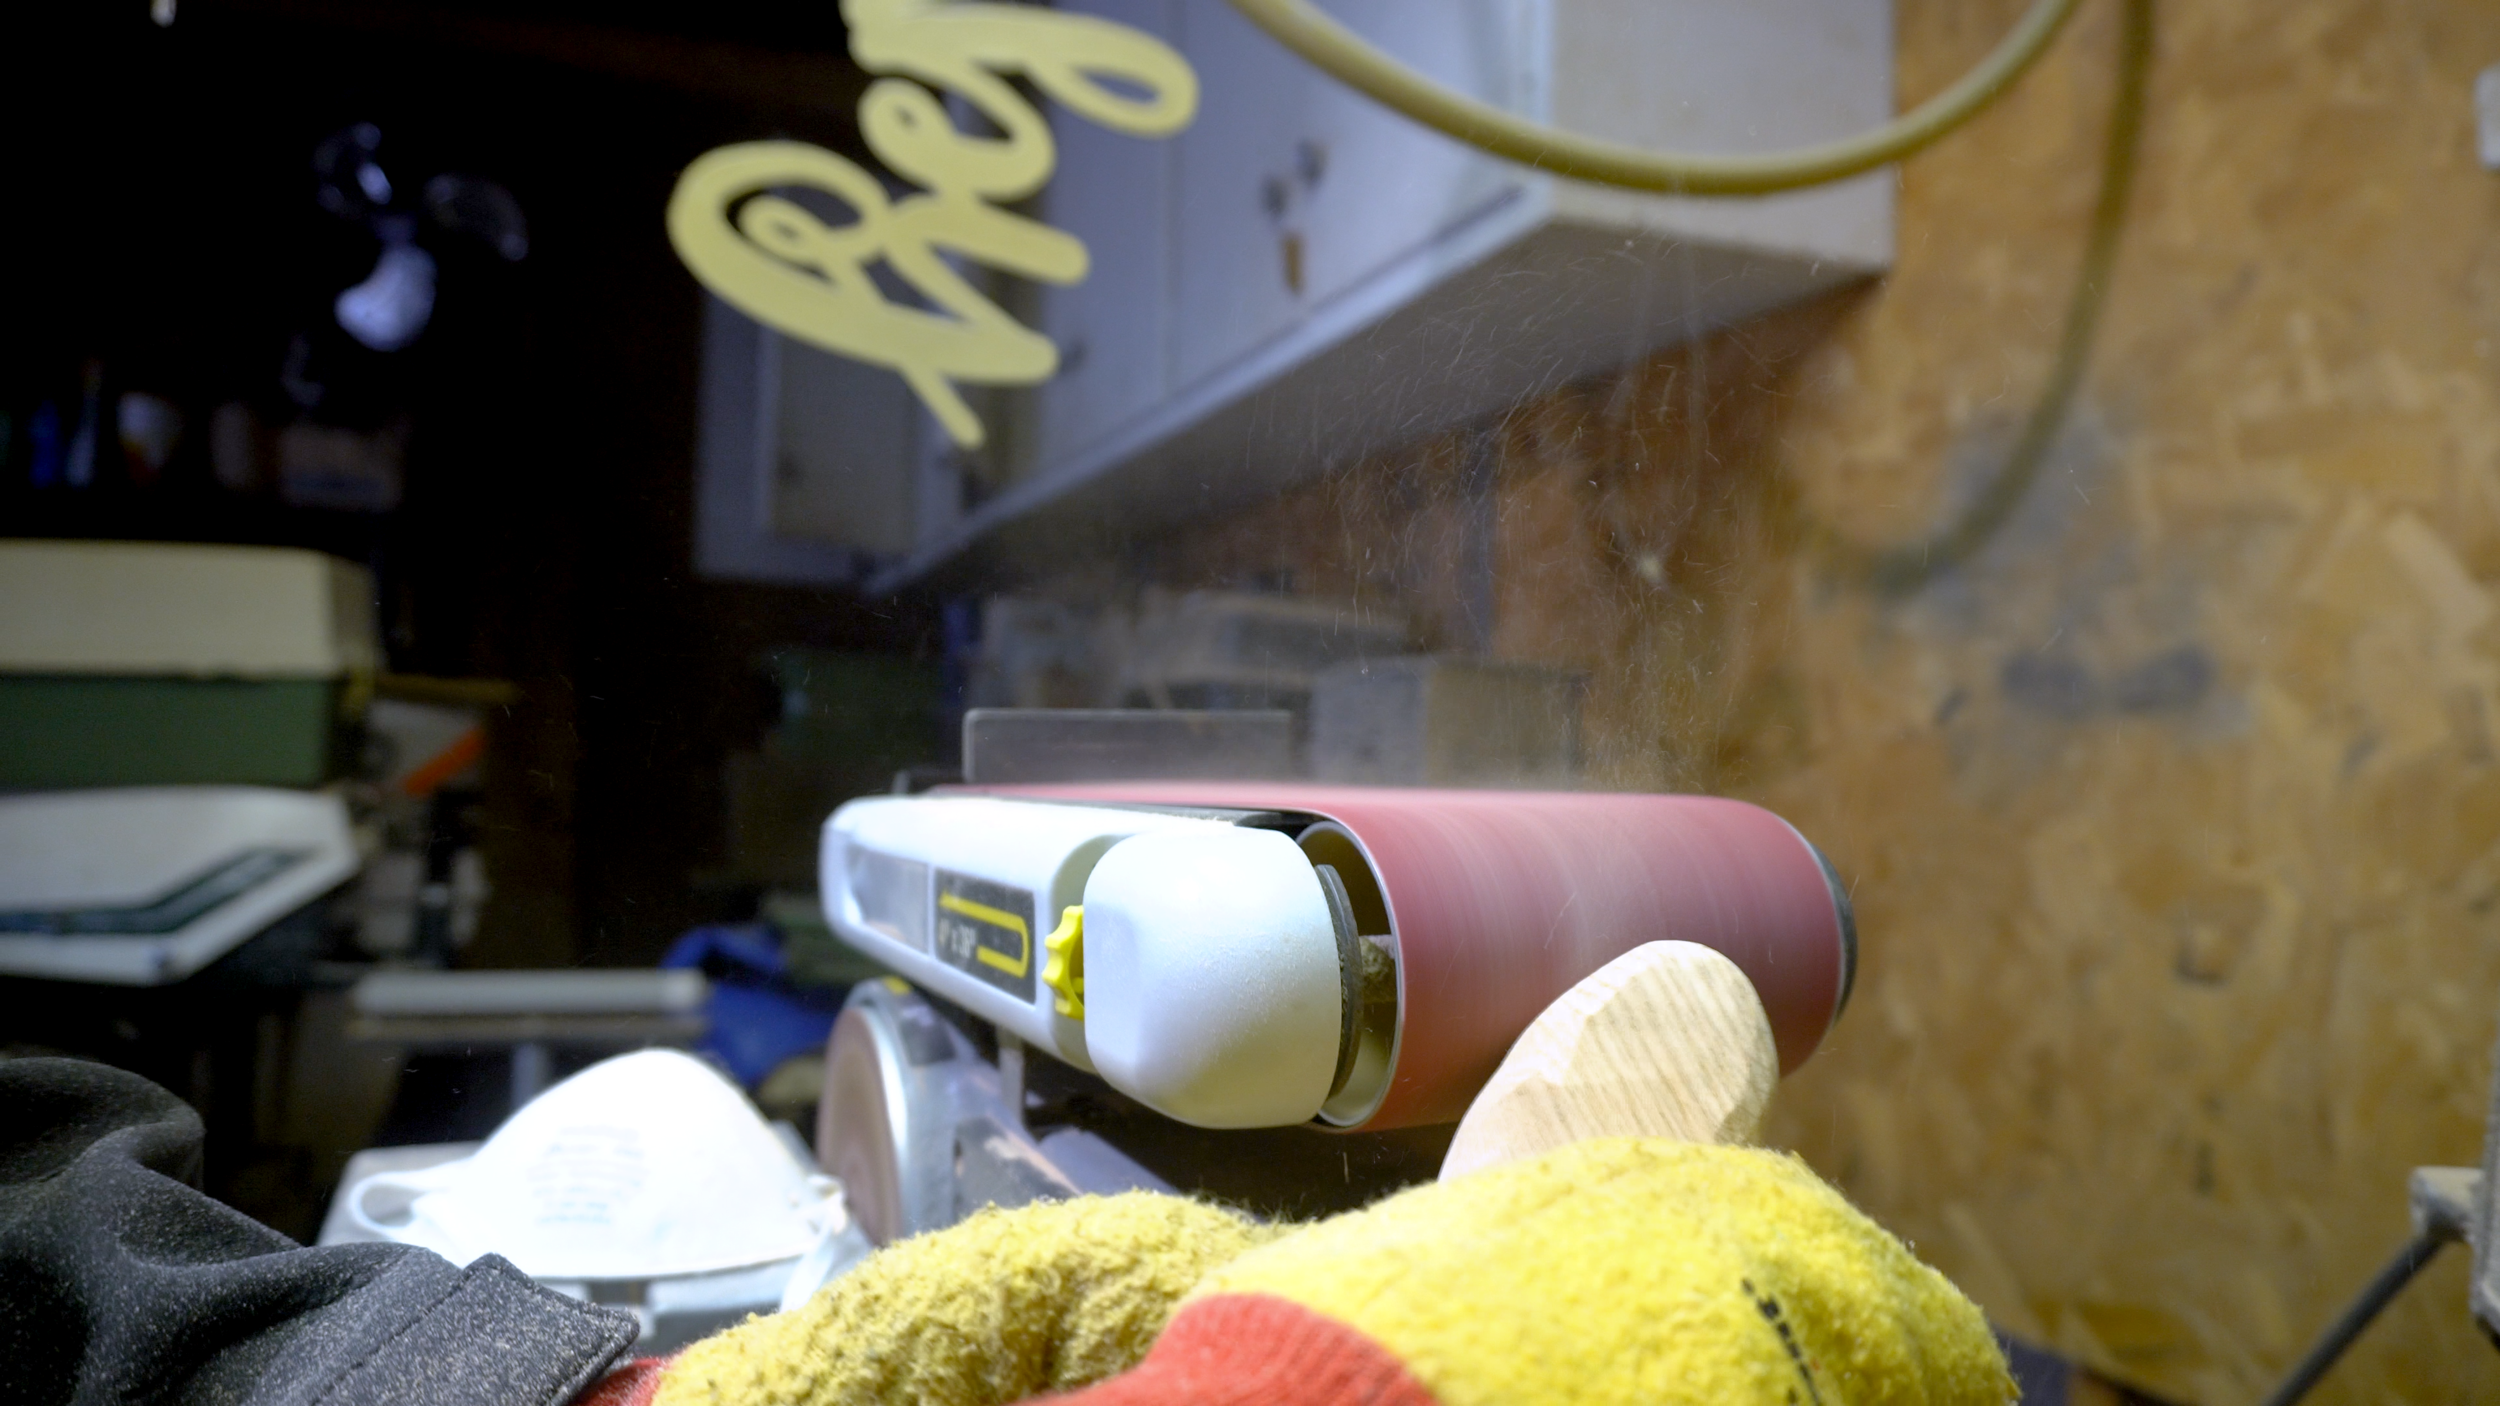
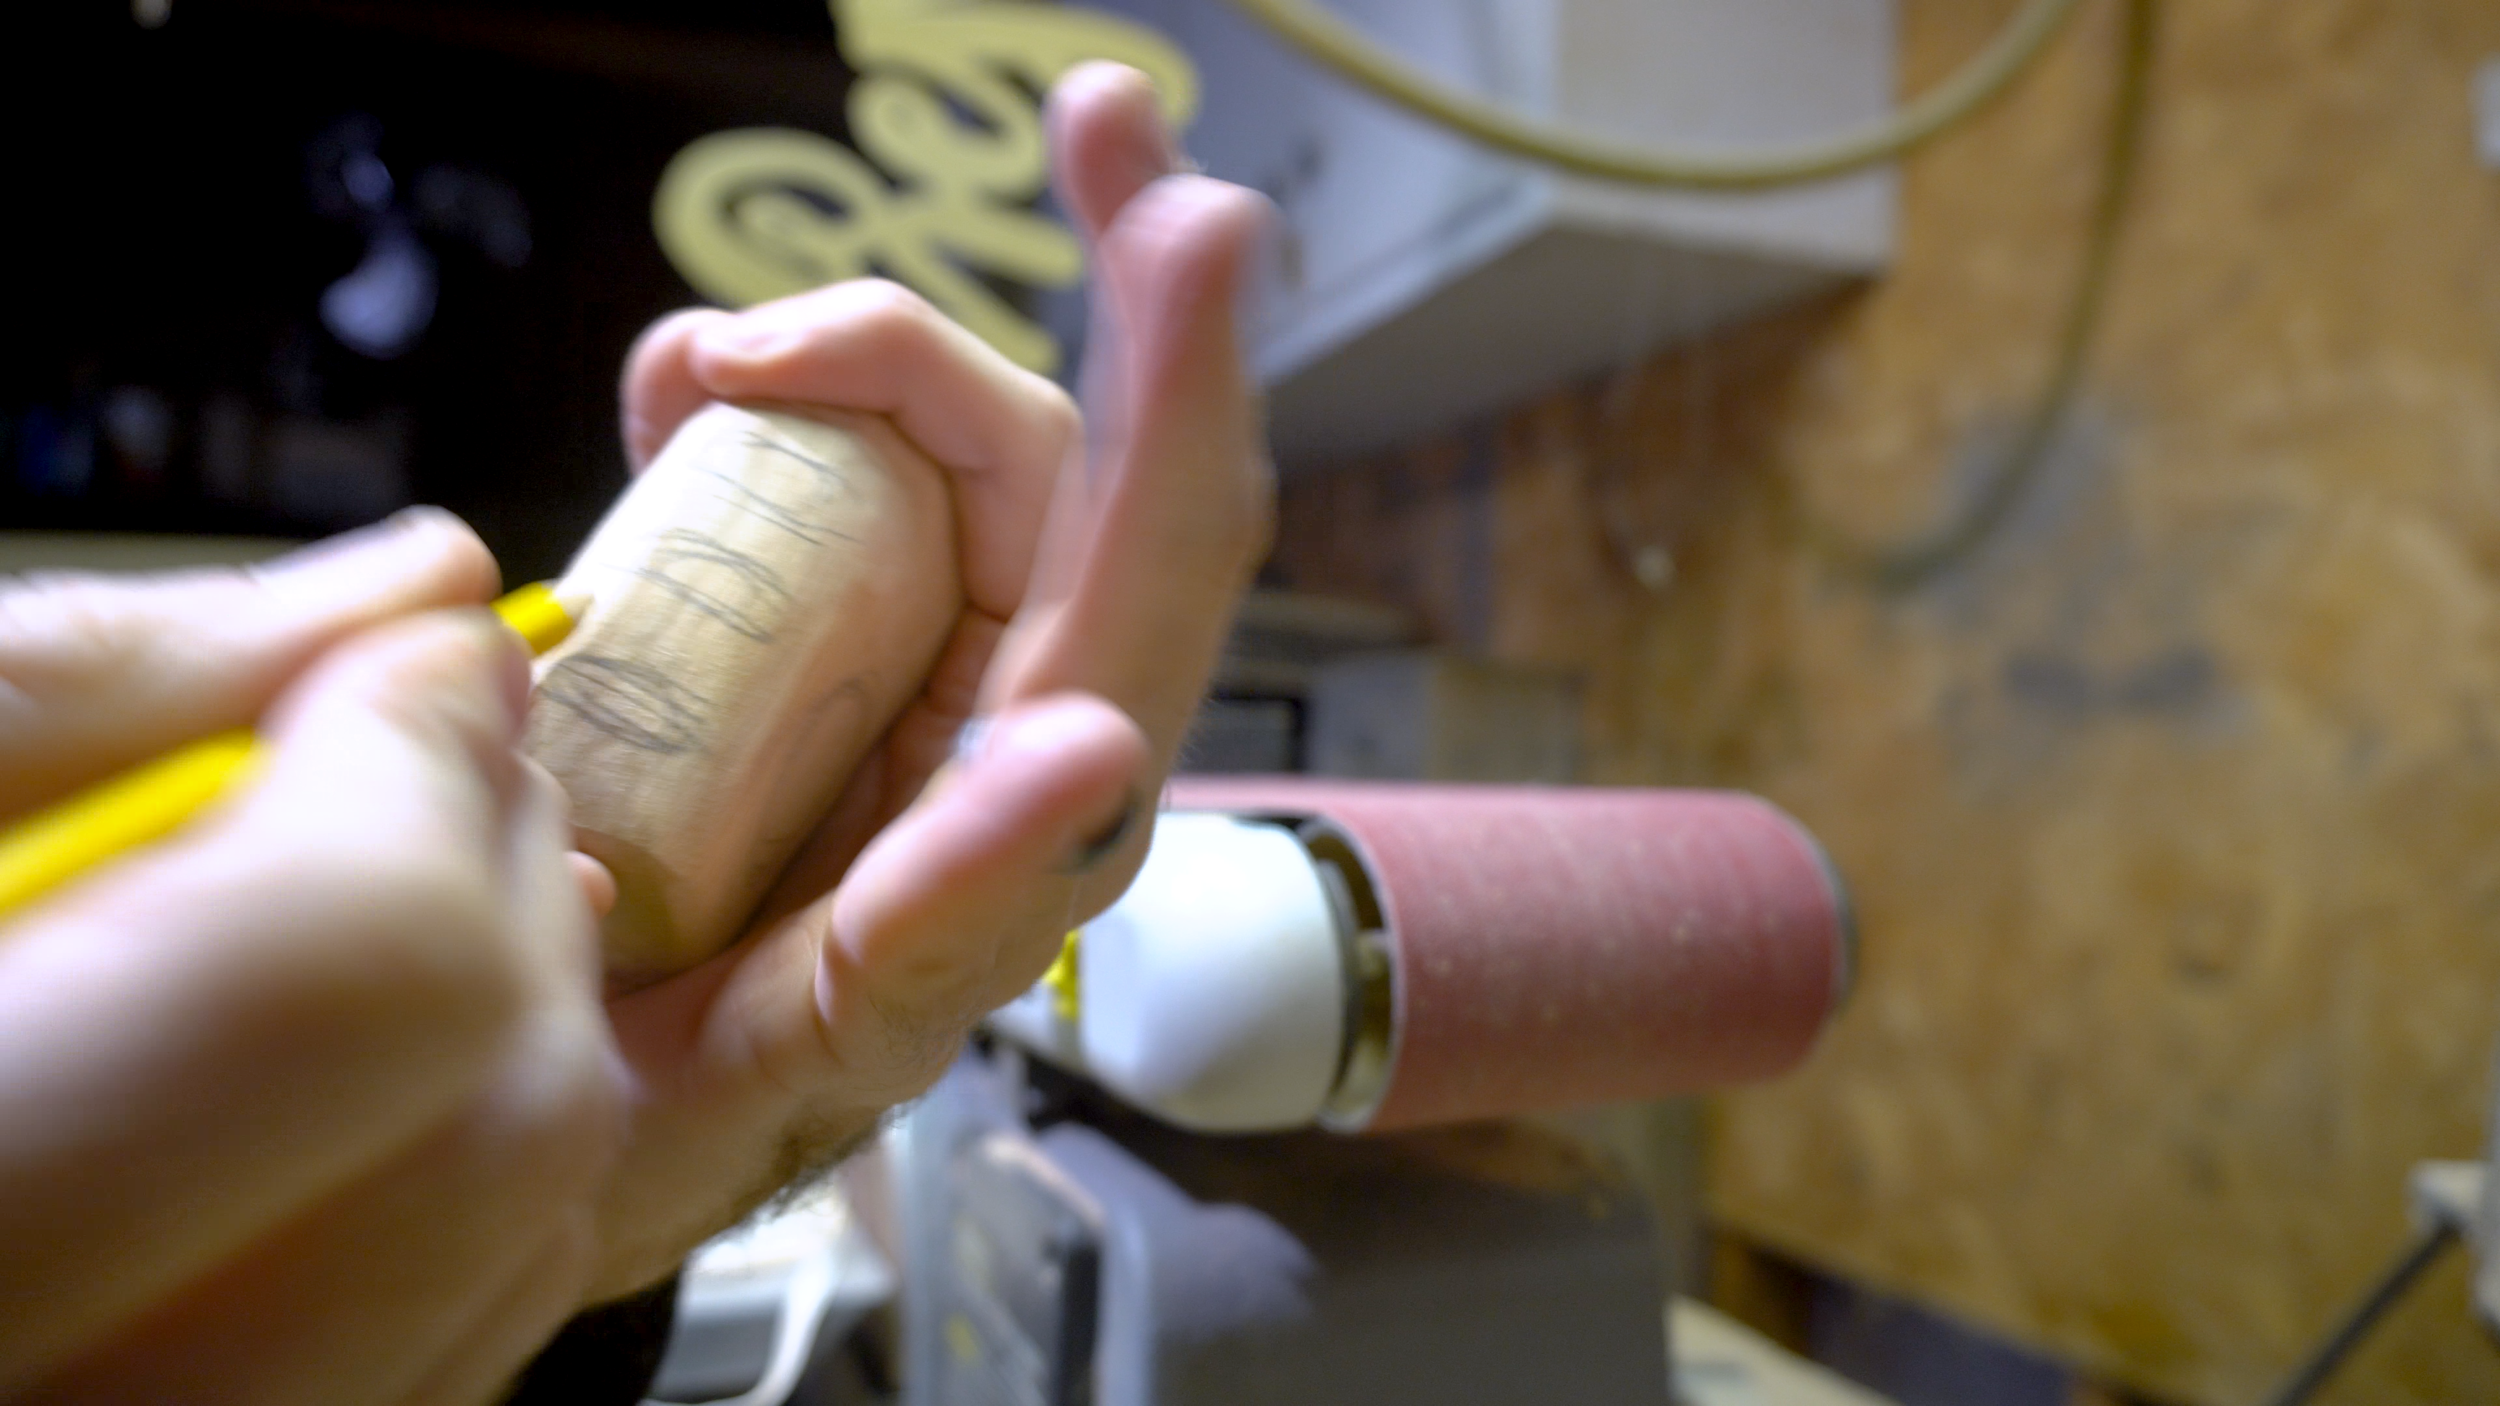
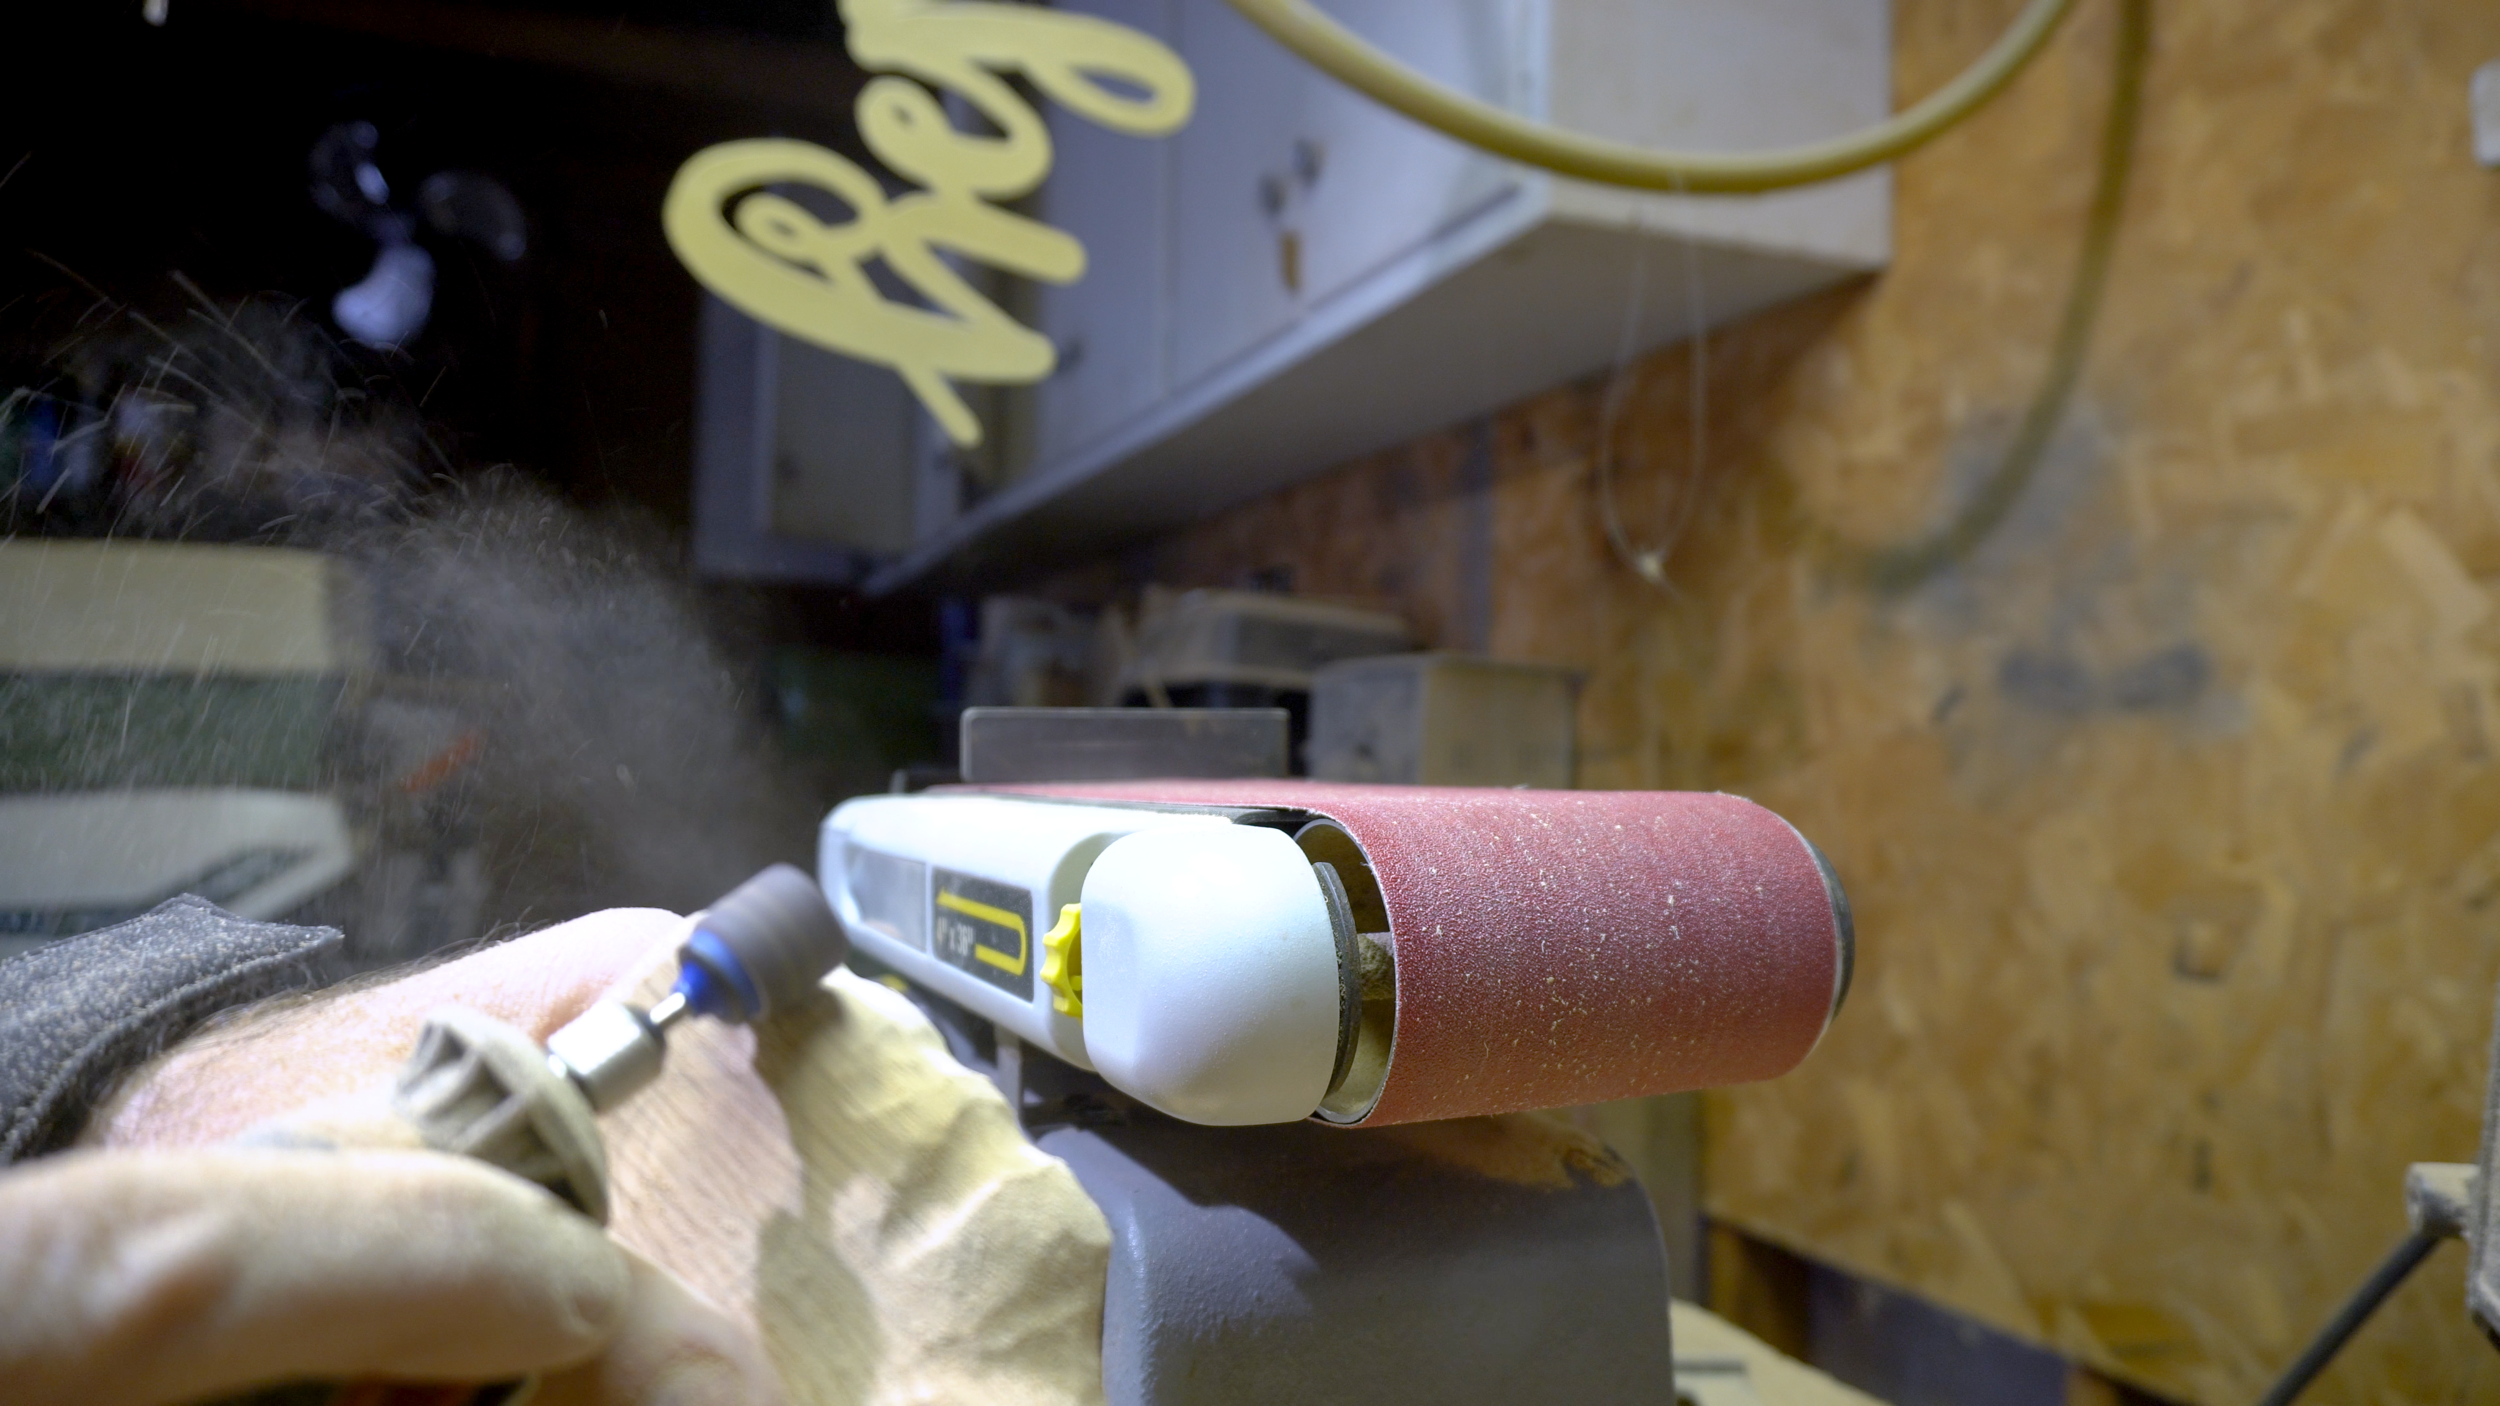
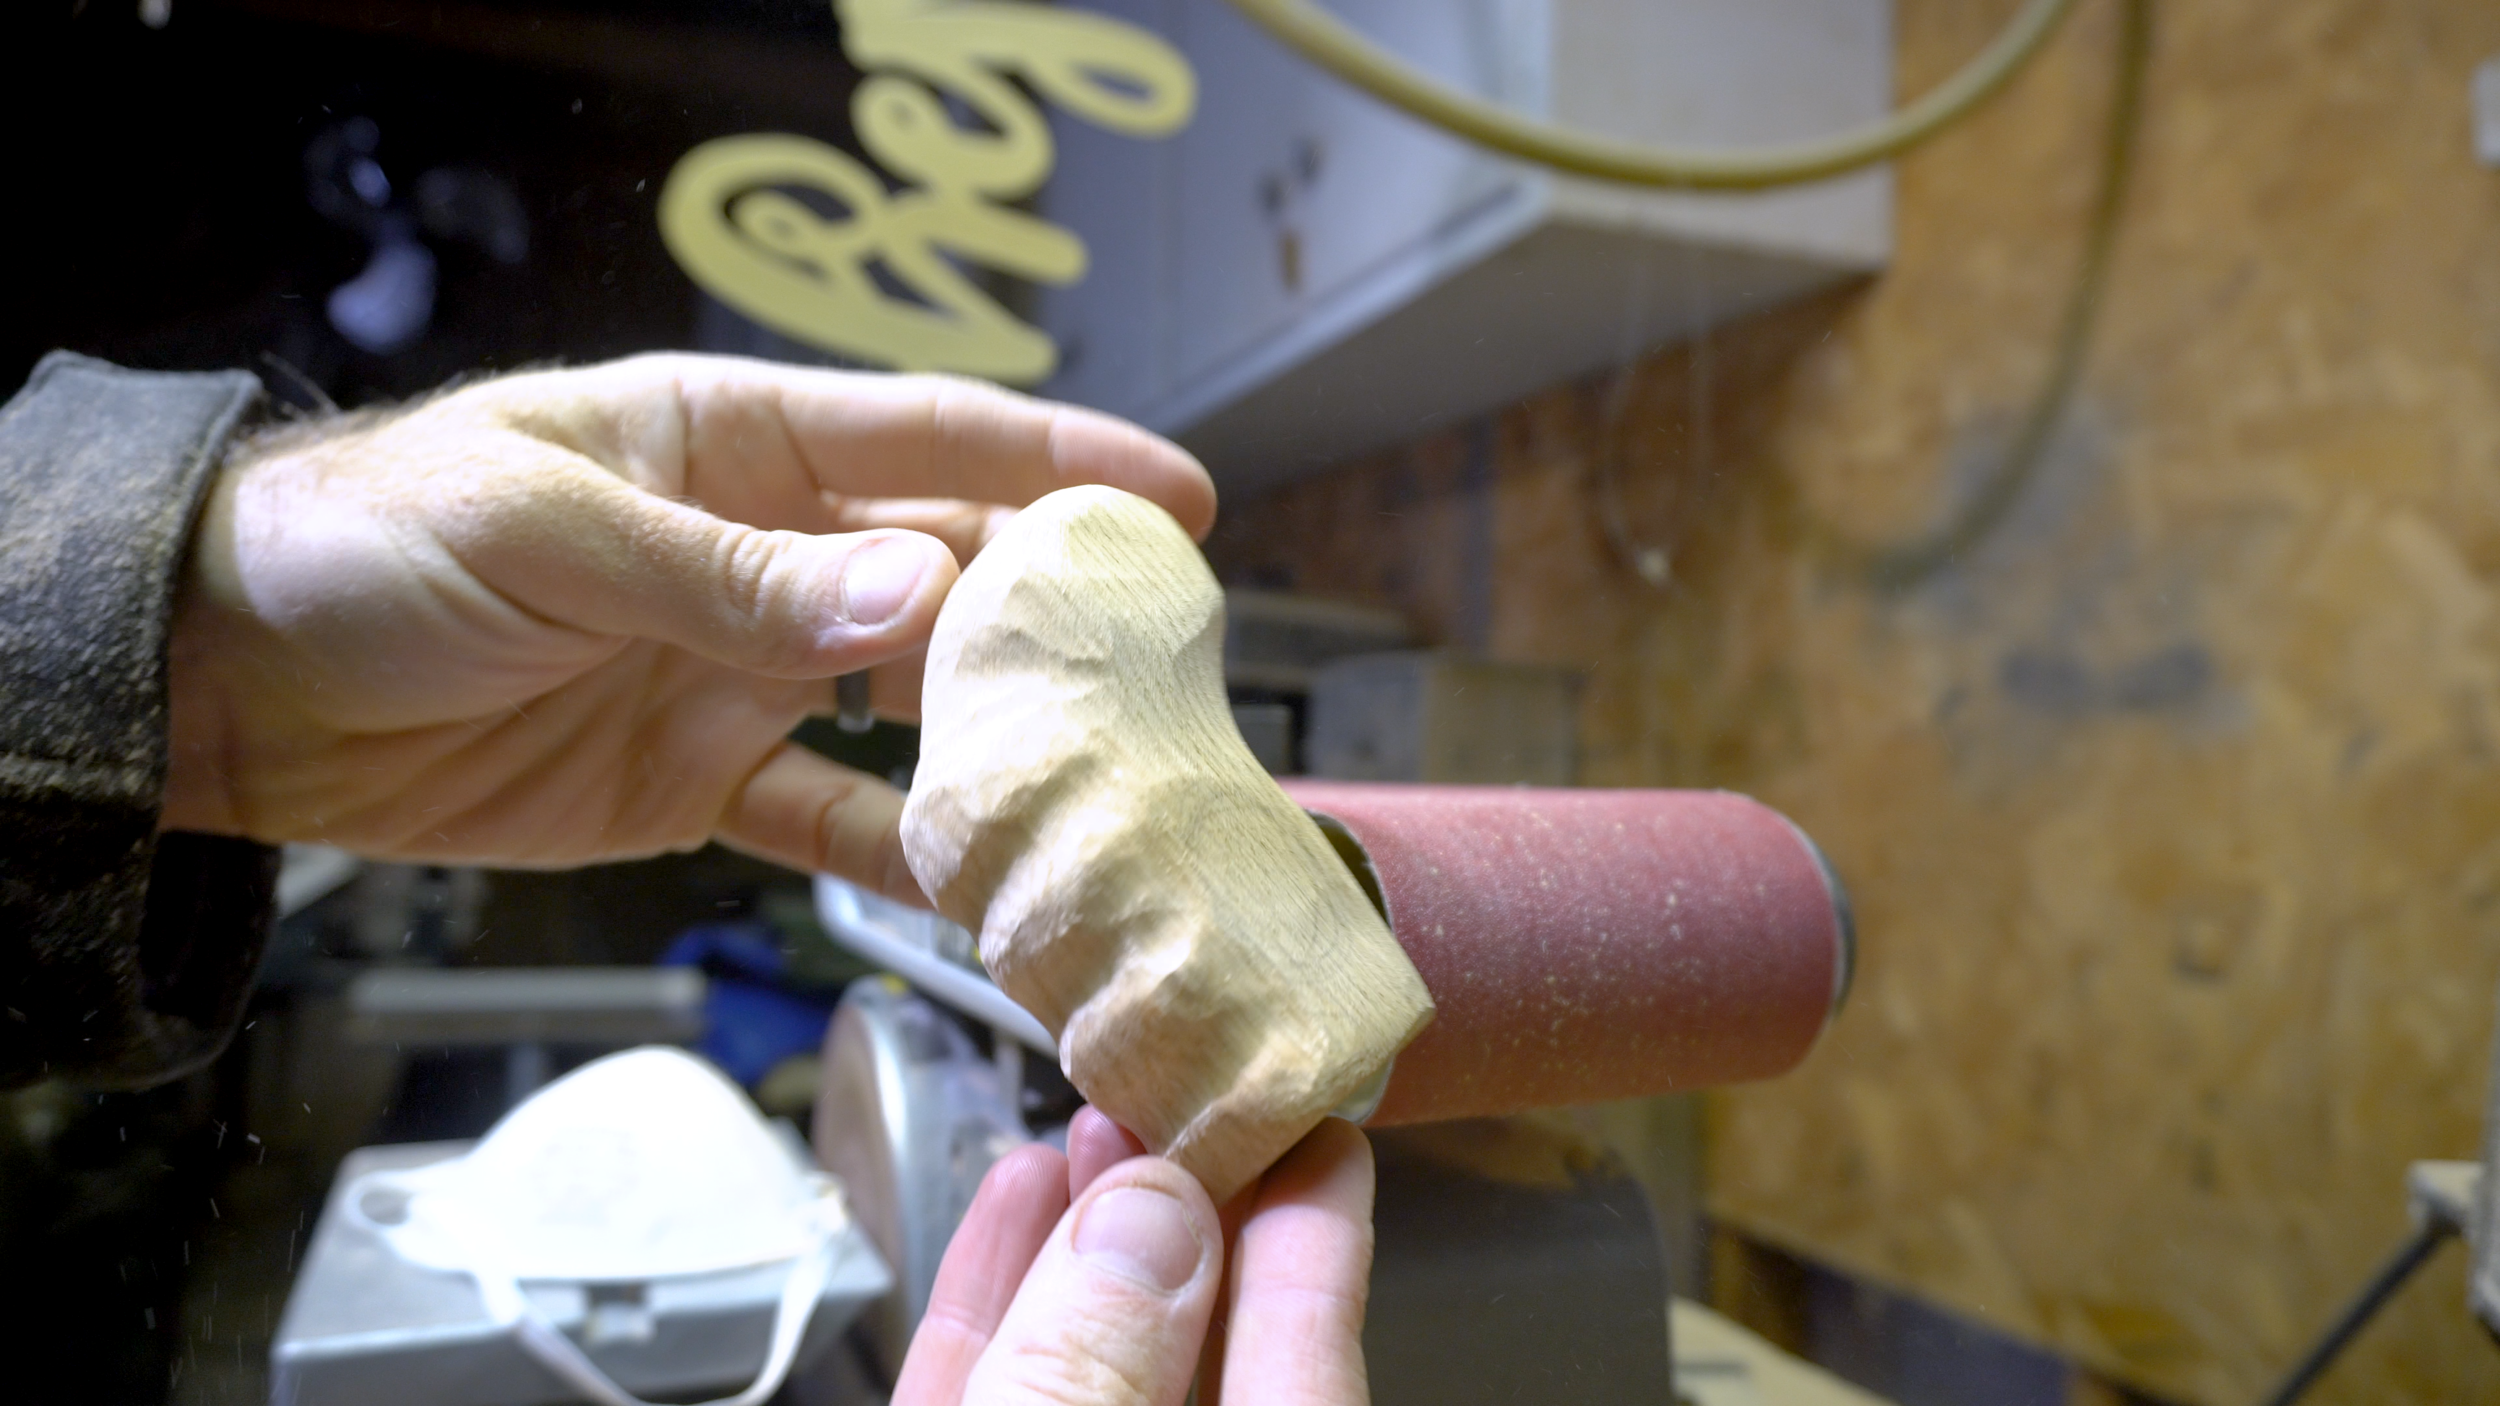
Now let’s work on one of the more traditional contoured handgrips. Grab your wood and sketch out a rough handgrip shape, basically a big fat upside down L, on one of the pieces. Cut that out using a handsaw, a coping saw or a bandsaw. Then trace that for as many pieces as you’ll need to glue together. Once these are all cut out, use wood glue and clamps to create larger pieces - we’ll be shaping each of these into our handgrips. Mark spots where you’ll want to cut away, and if you’ll be doing two grips be sure to make opposite marks on them. I used a belt sander with a rough grit paper to shave away the parts I wanted, but you could also use a dremel or rotary tool with a sanding drum or any other woodworking bits to carve out a rough shape. Be sure to check in on the shape periodically - since you’ll be holding these you don’t want any hot spots - mark places you need to cut away and keep going until you’re happy - just be sure you have enough room for a 1 ½” hole for our rosette screw to fit in. Once your main shape is done grab your dremel and a rough grit sanding drum and sand out some notches for your fingers. If you need to, mark where each one will lay, and then sand a notch there. After this is done your grip should really be starting to take shape. Repeat these steps for your other grip, but be sure you’re making an opposite grip, not an identical one.


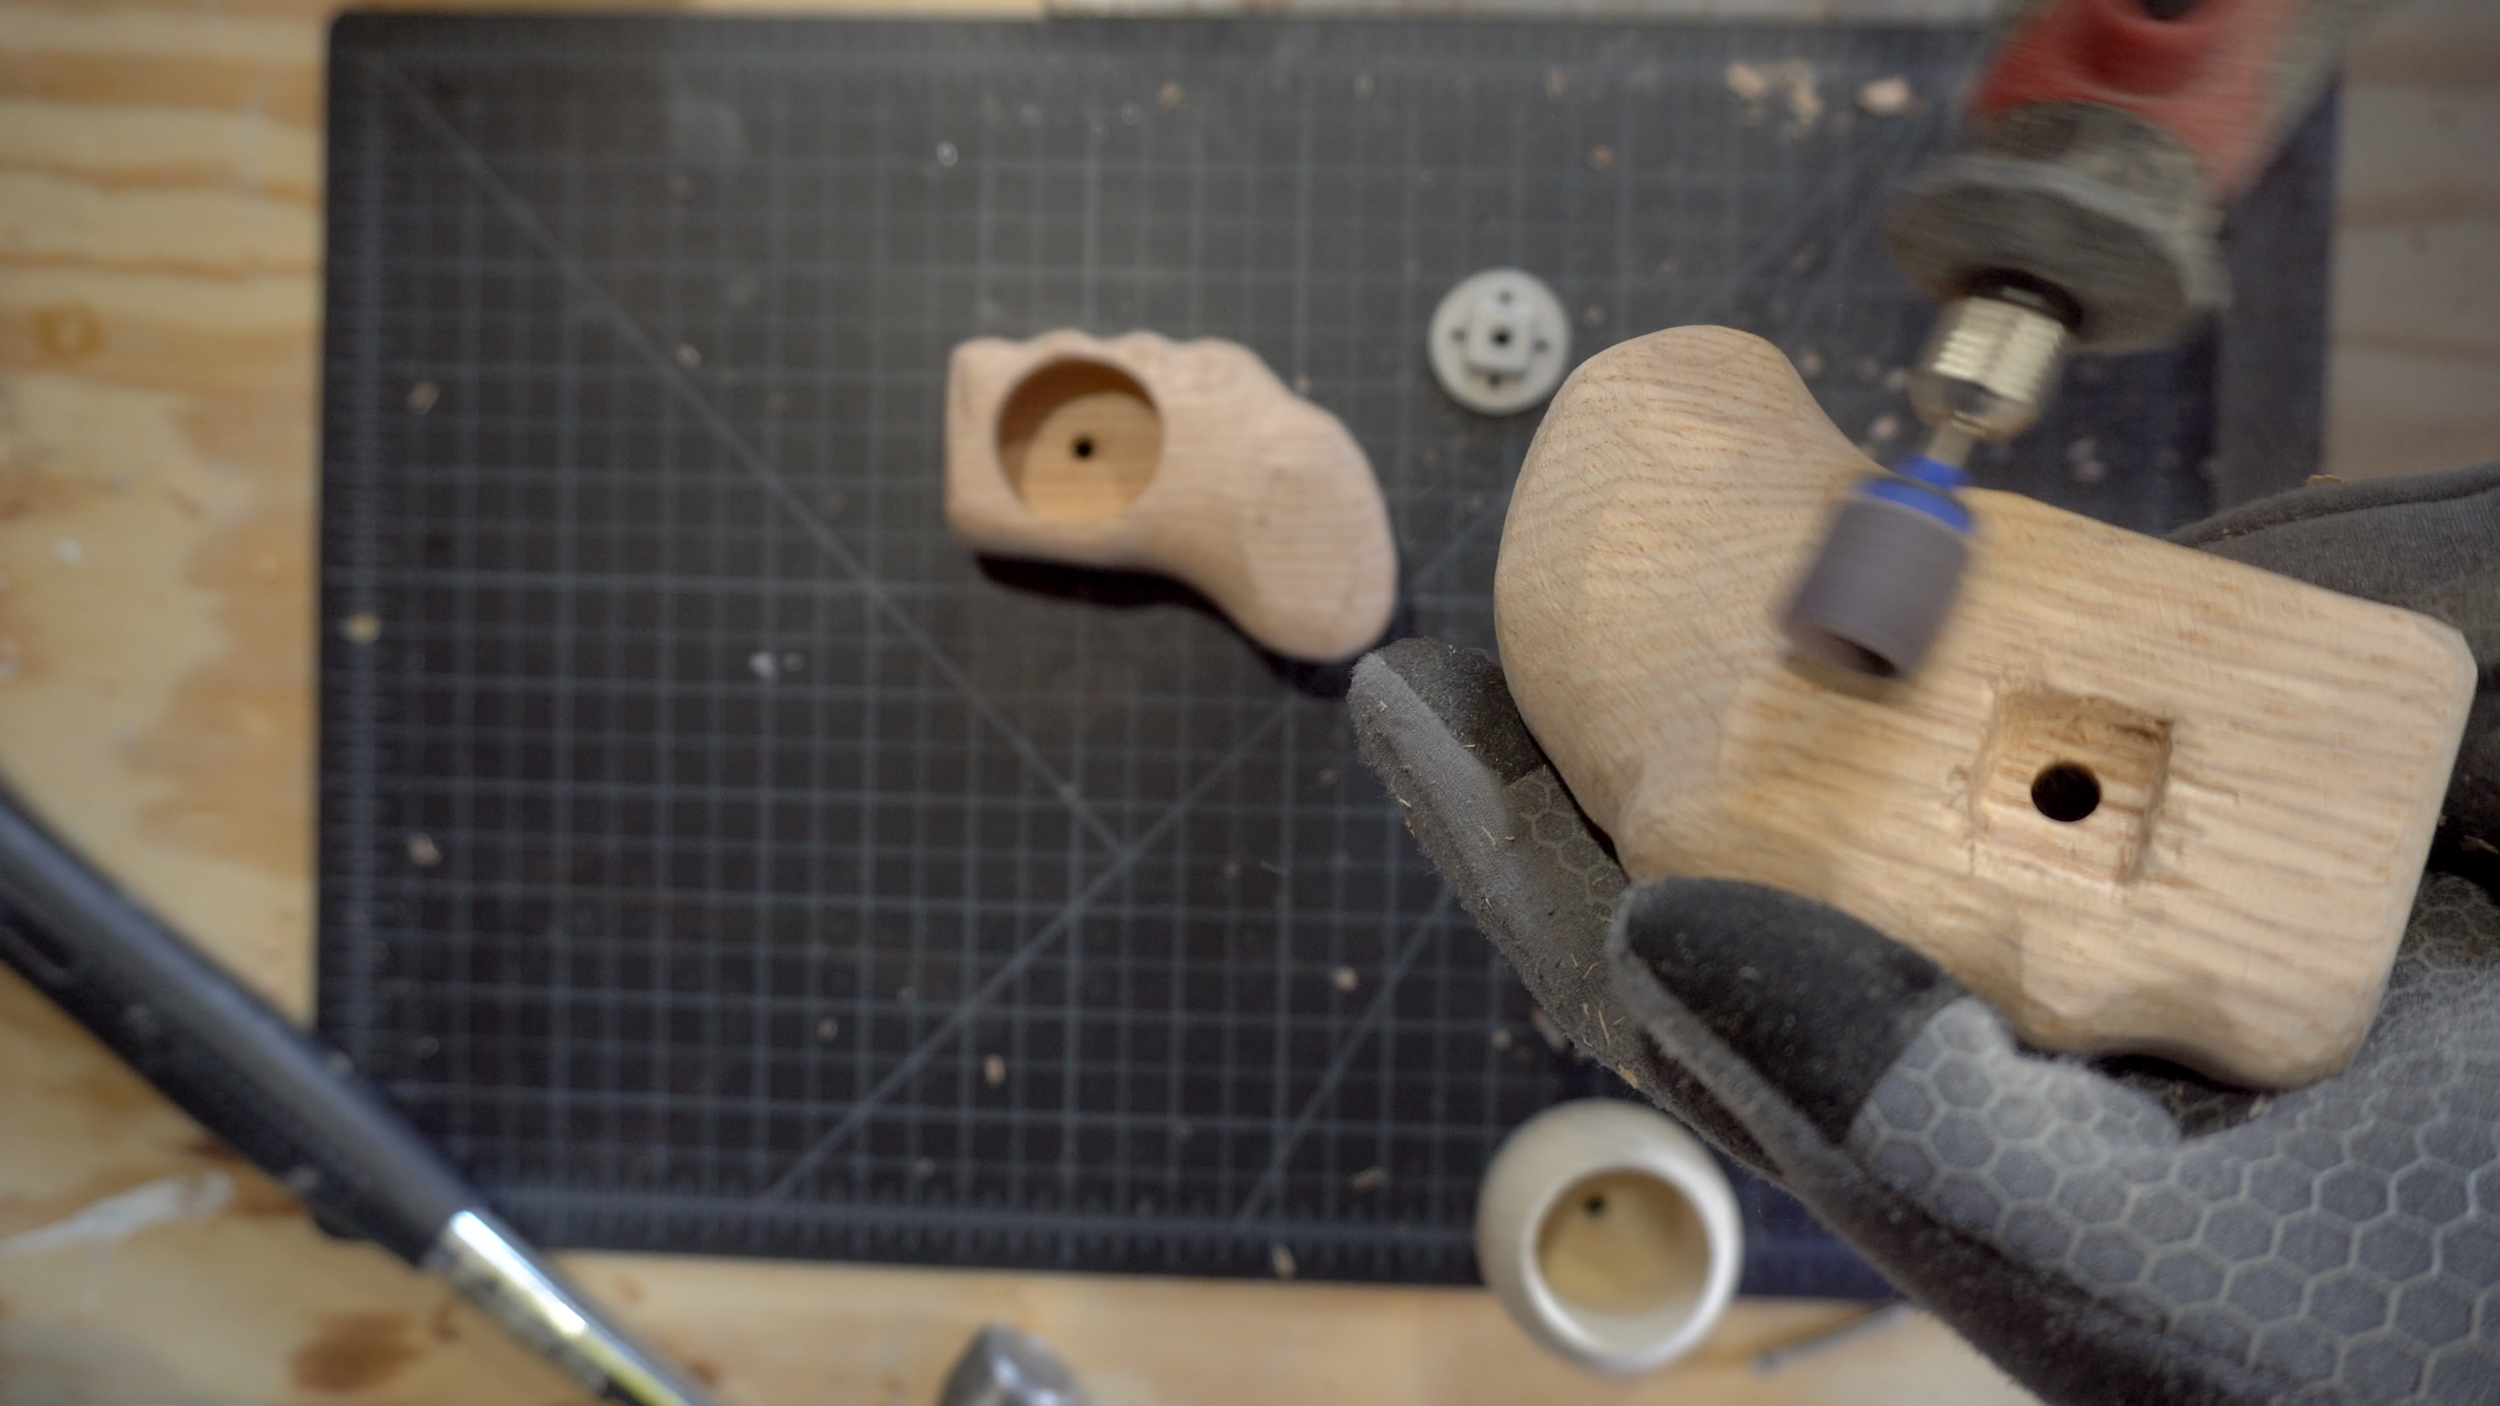
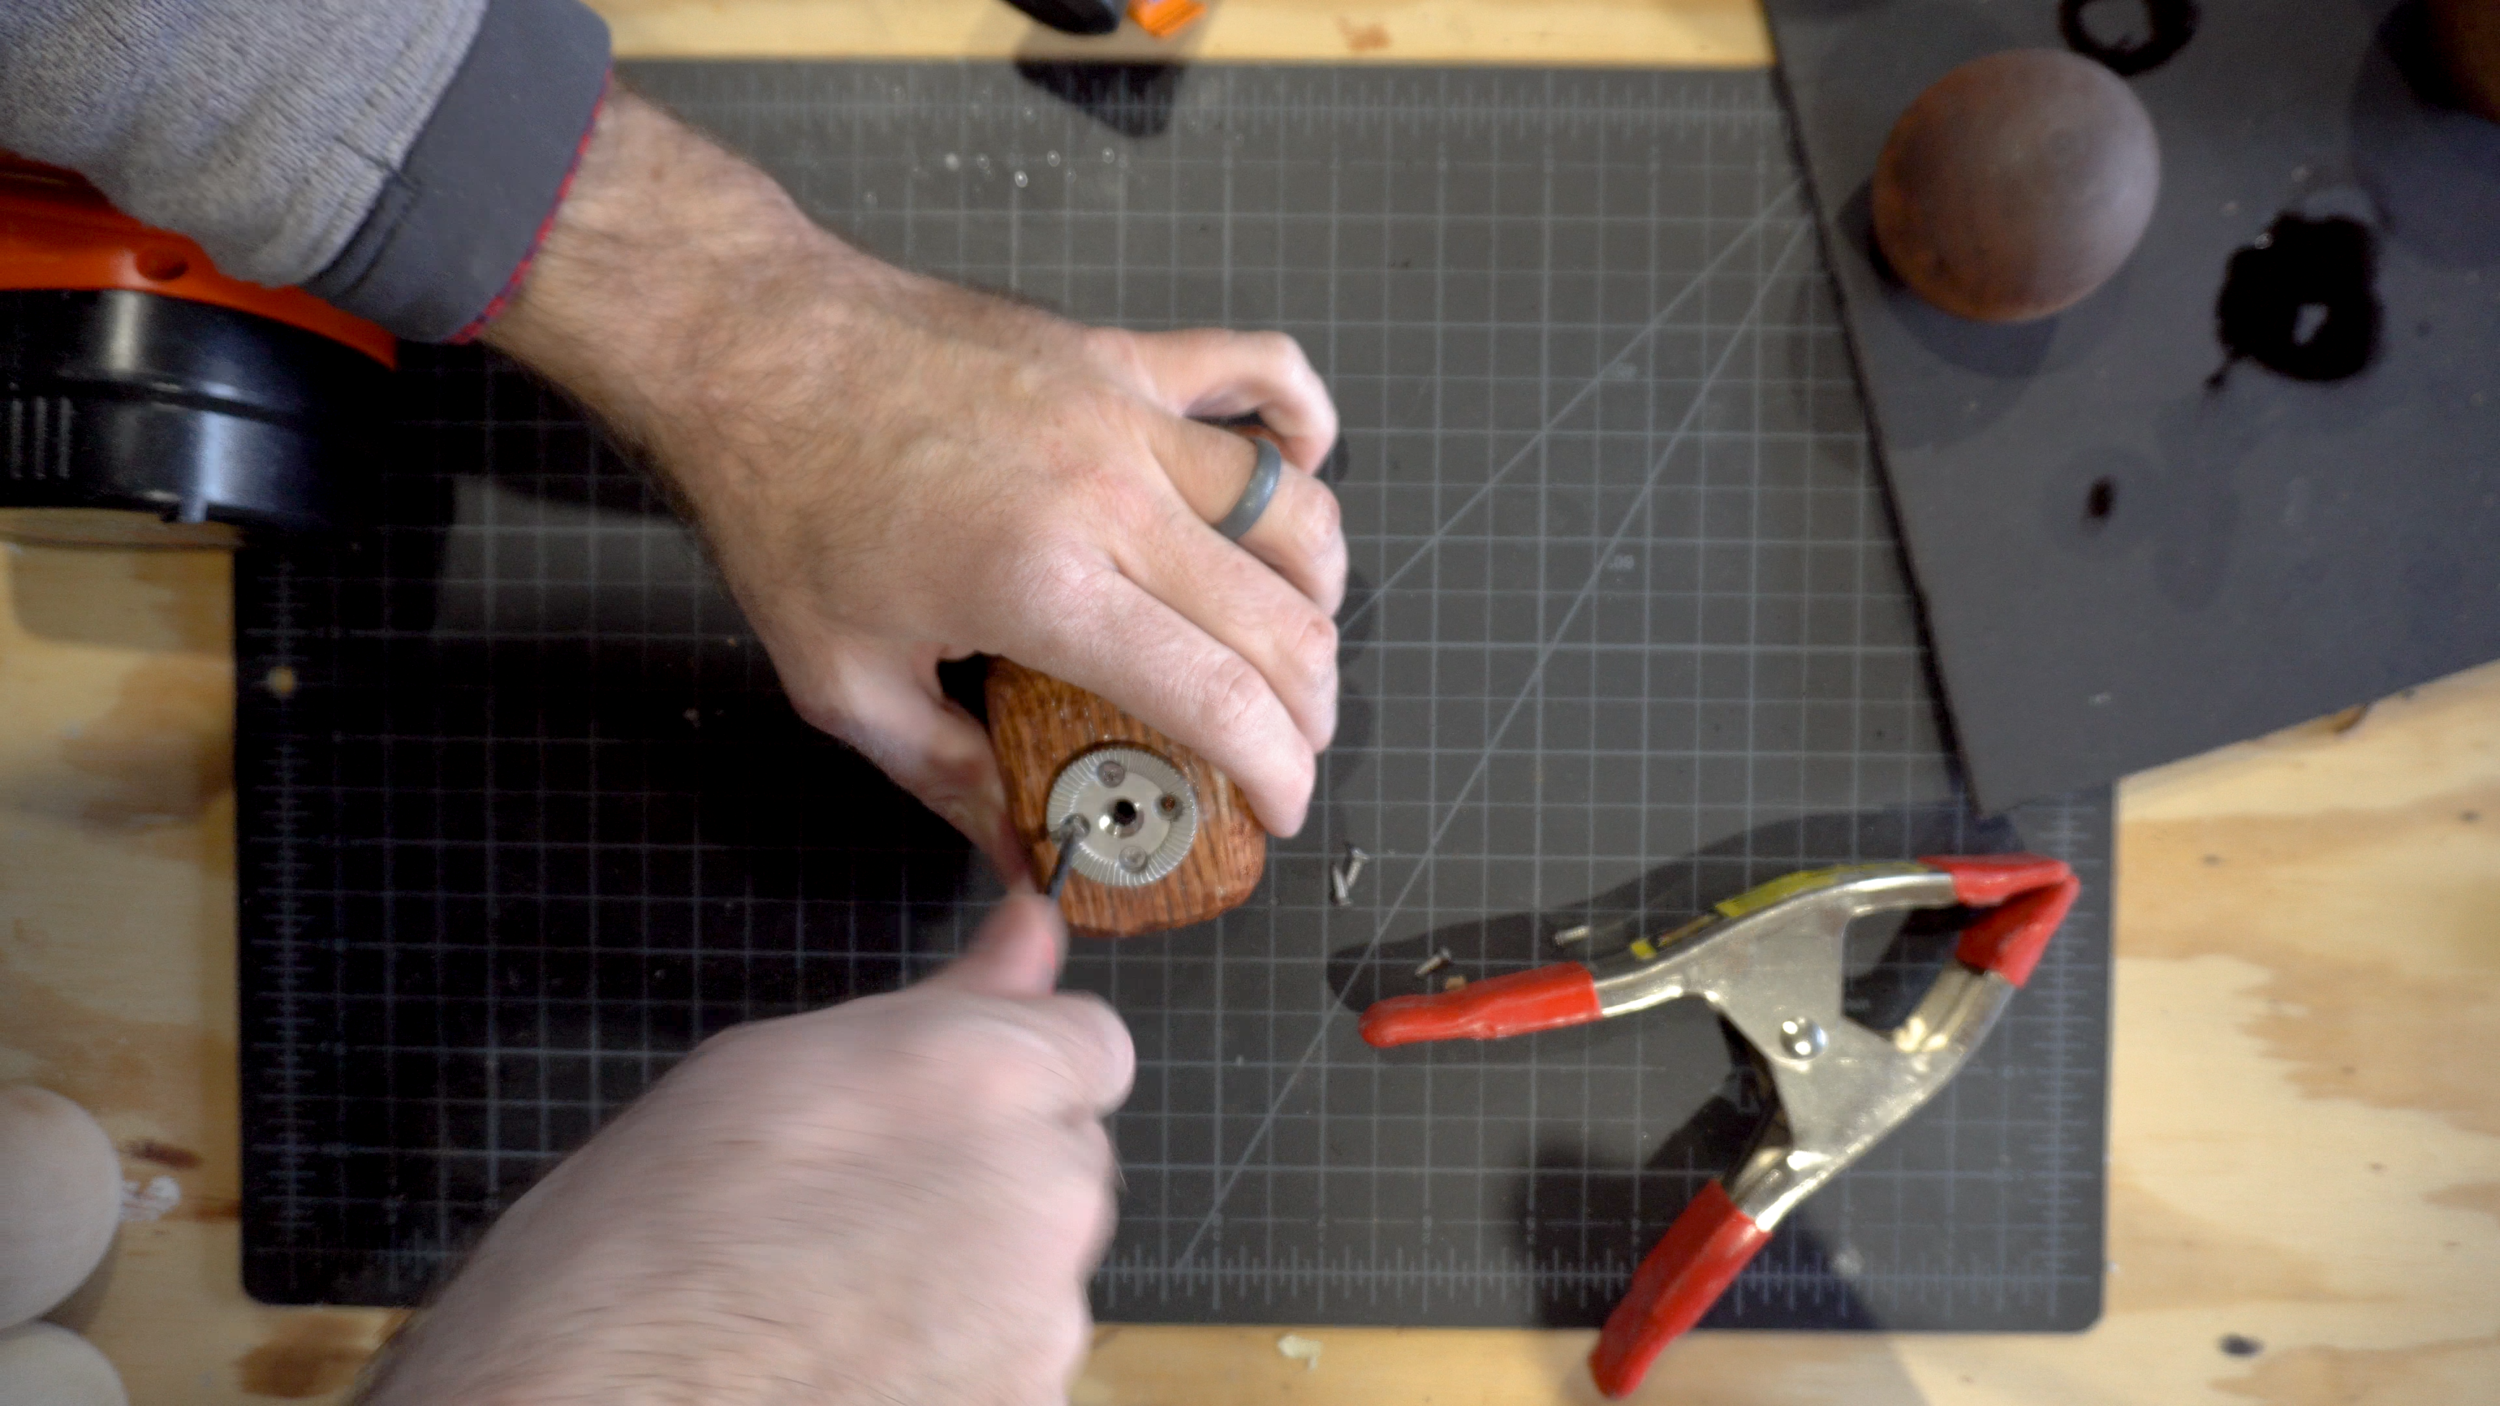
After you’ve got a shape you’re happy with, it’s time to drill some holes. Find the center of your grip, and then with a 1 ½” forstner bit drill a hole into the outside of the grip. Be VERY careful that you don’t go all the way through, we’ll want to keep around ½” here - or the width of the entire rosette - so we can attach everything. I used a drill press but you can do this with a simple electric or power drill. Now on the back side we’ll want to cut a square hole again for our rosette to sit. Mark out a ⅝” square hole like we did on the spherical grips, and then using your chisel like we did earlier make some notches and then carefully cut out the rest of the hole. Be careful not to go too deep, and check your rosette regularly to see how where you still need to chisel away pieces. Again it should fit snug and flush against your grip. Repeat for your other side if needed.
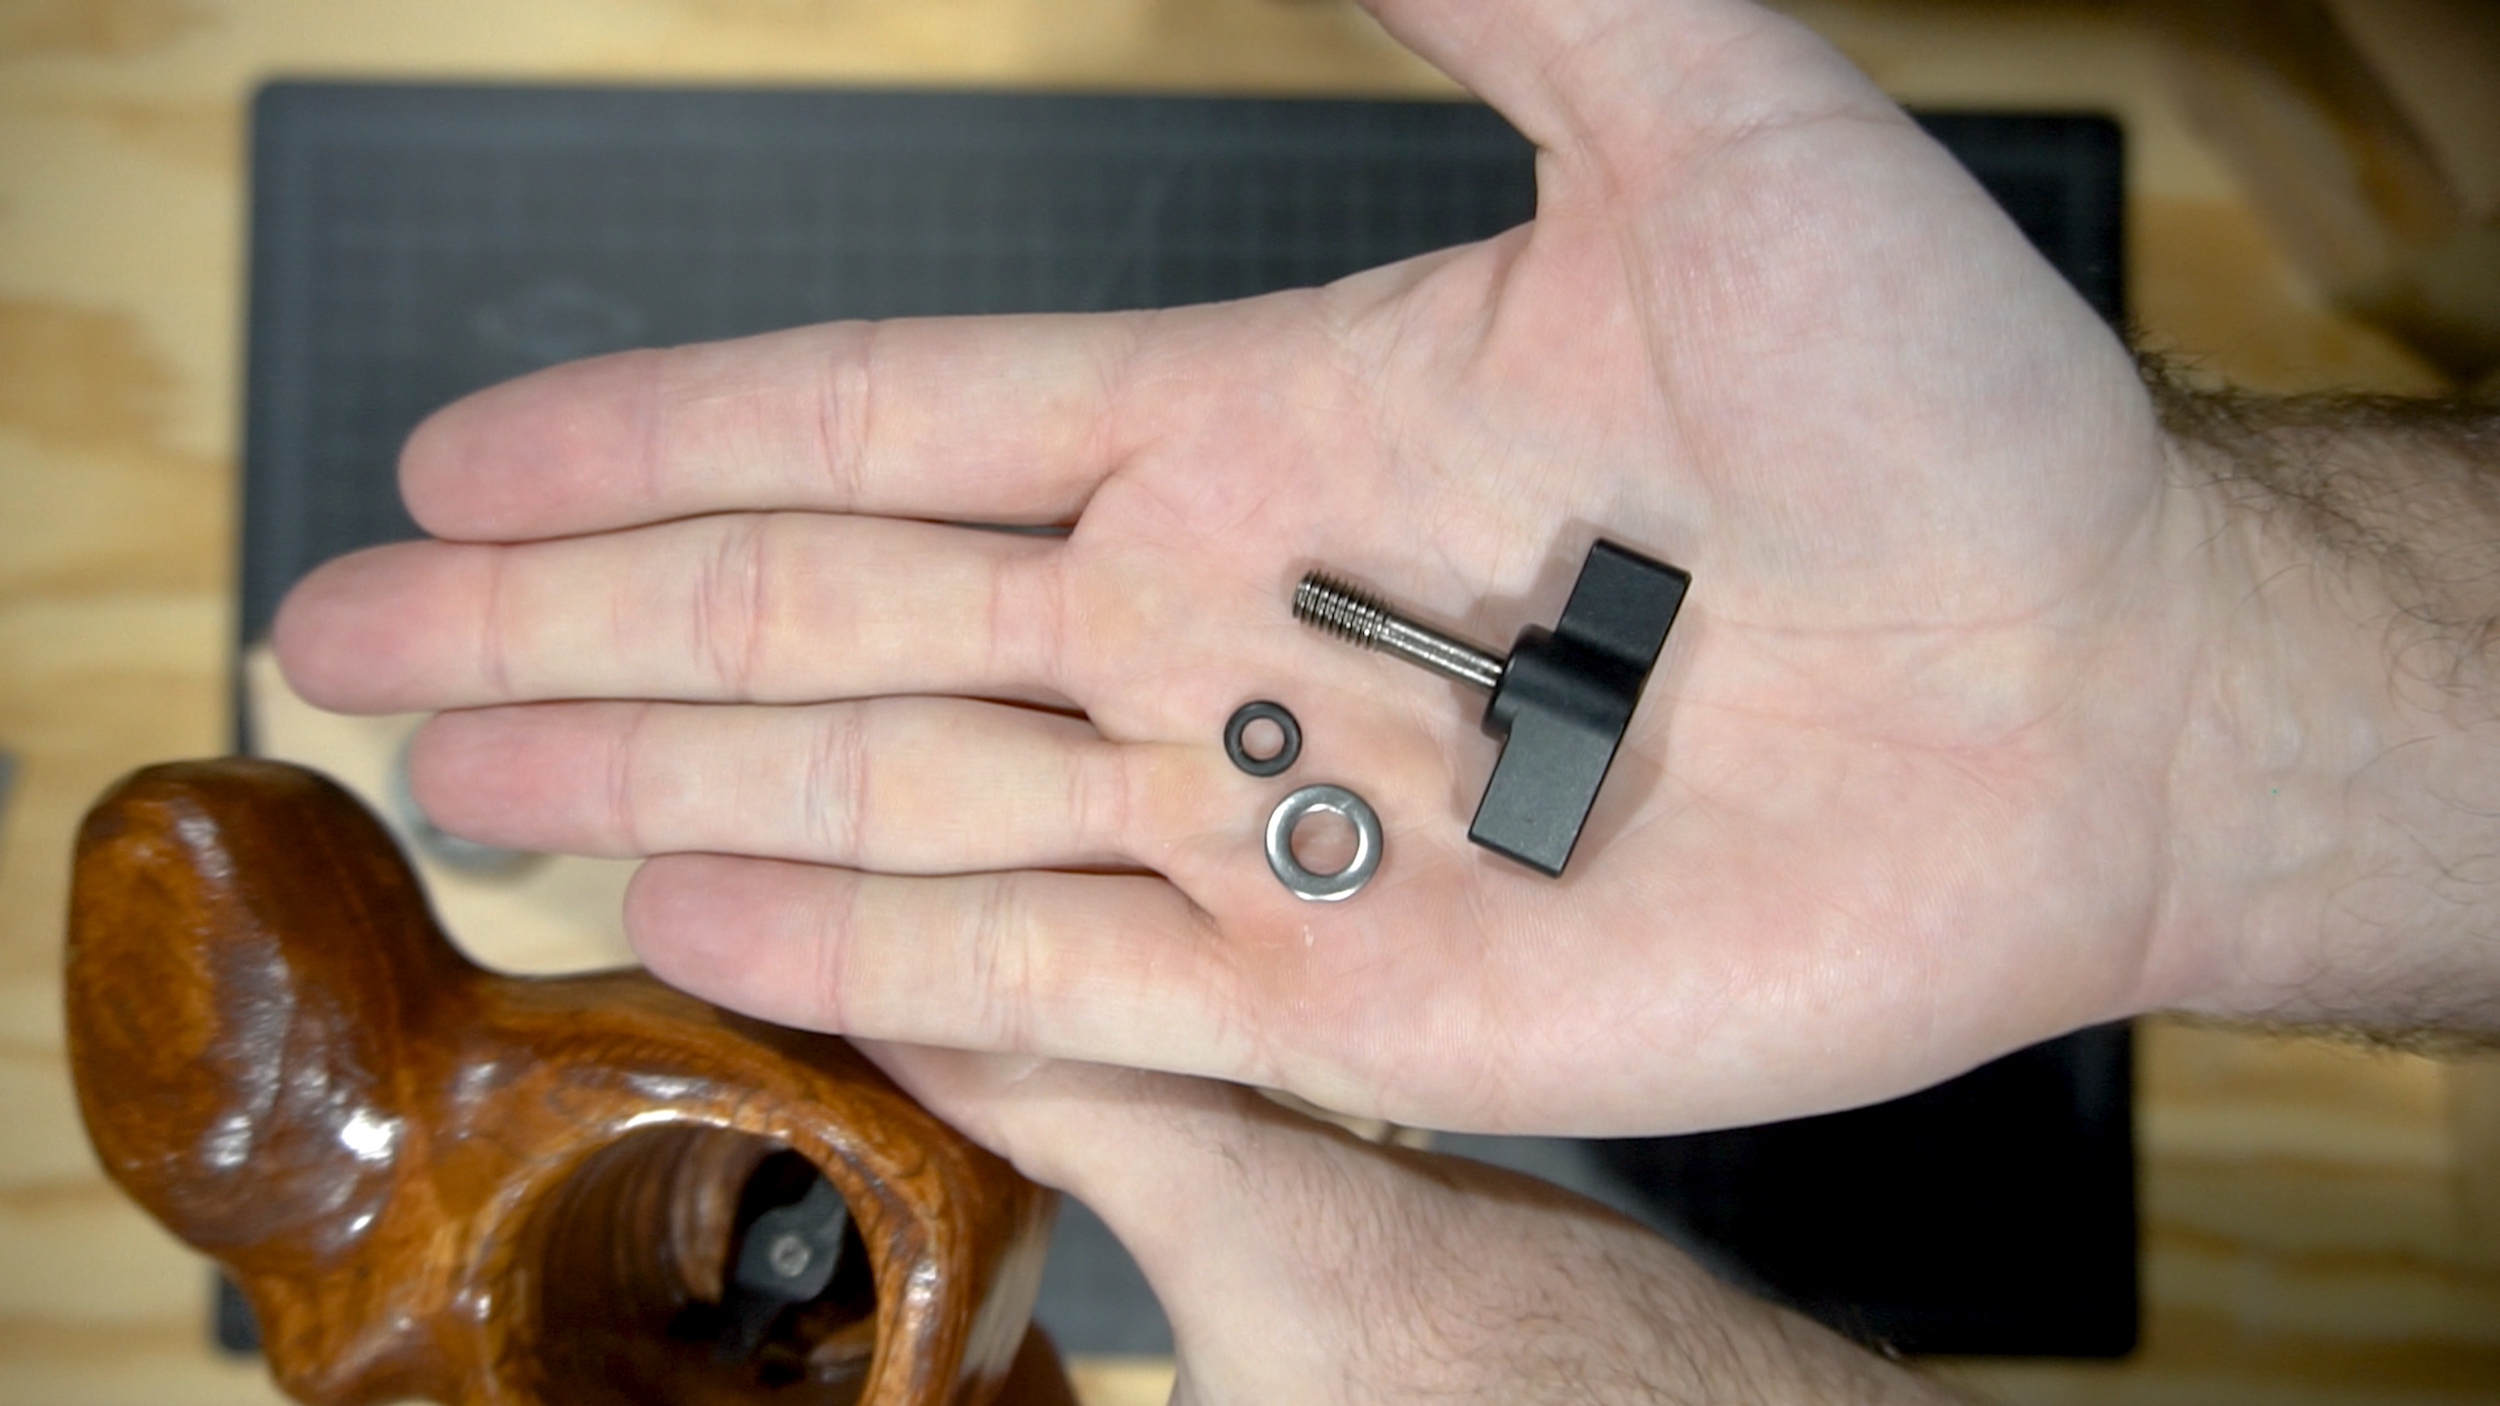
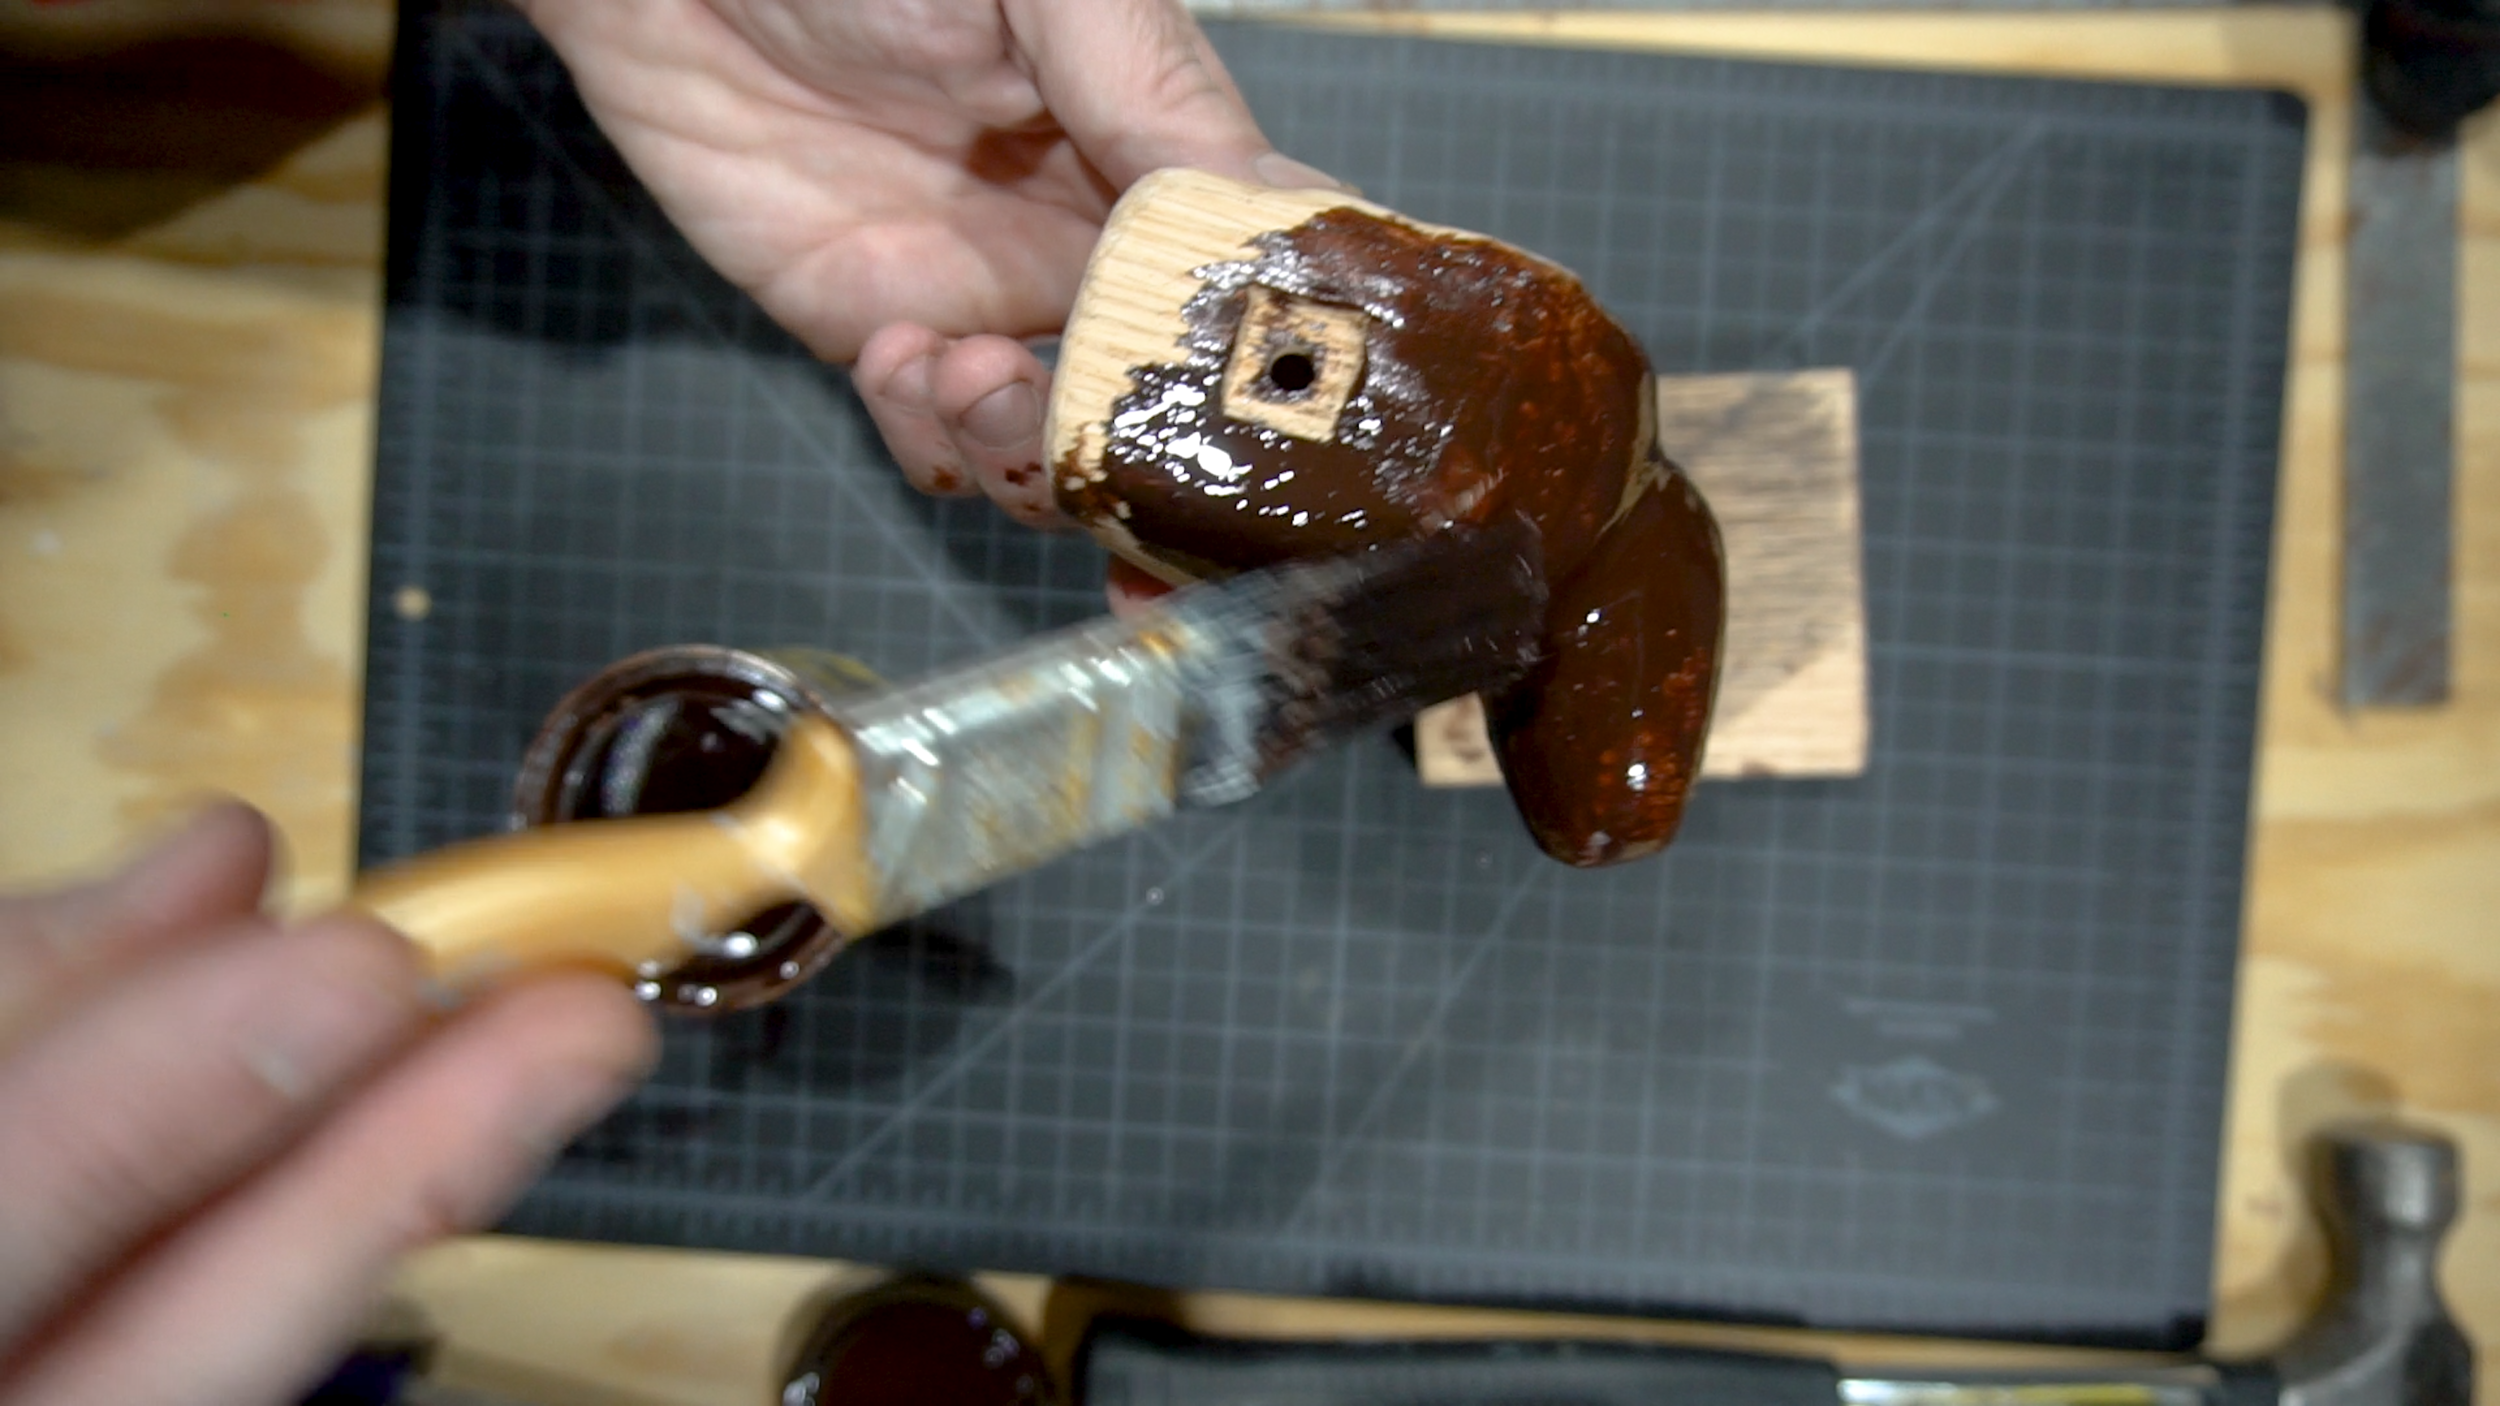
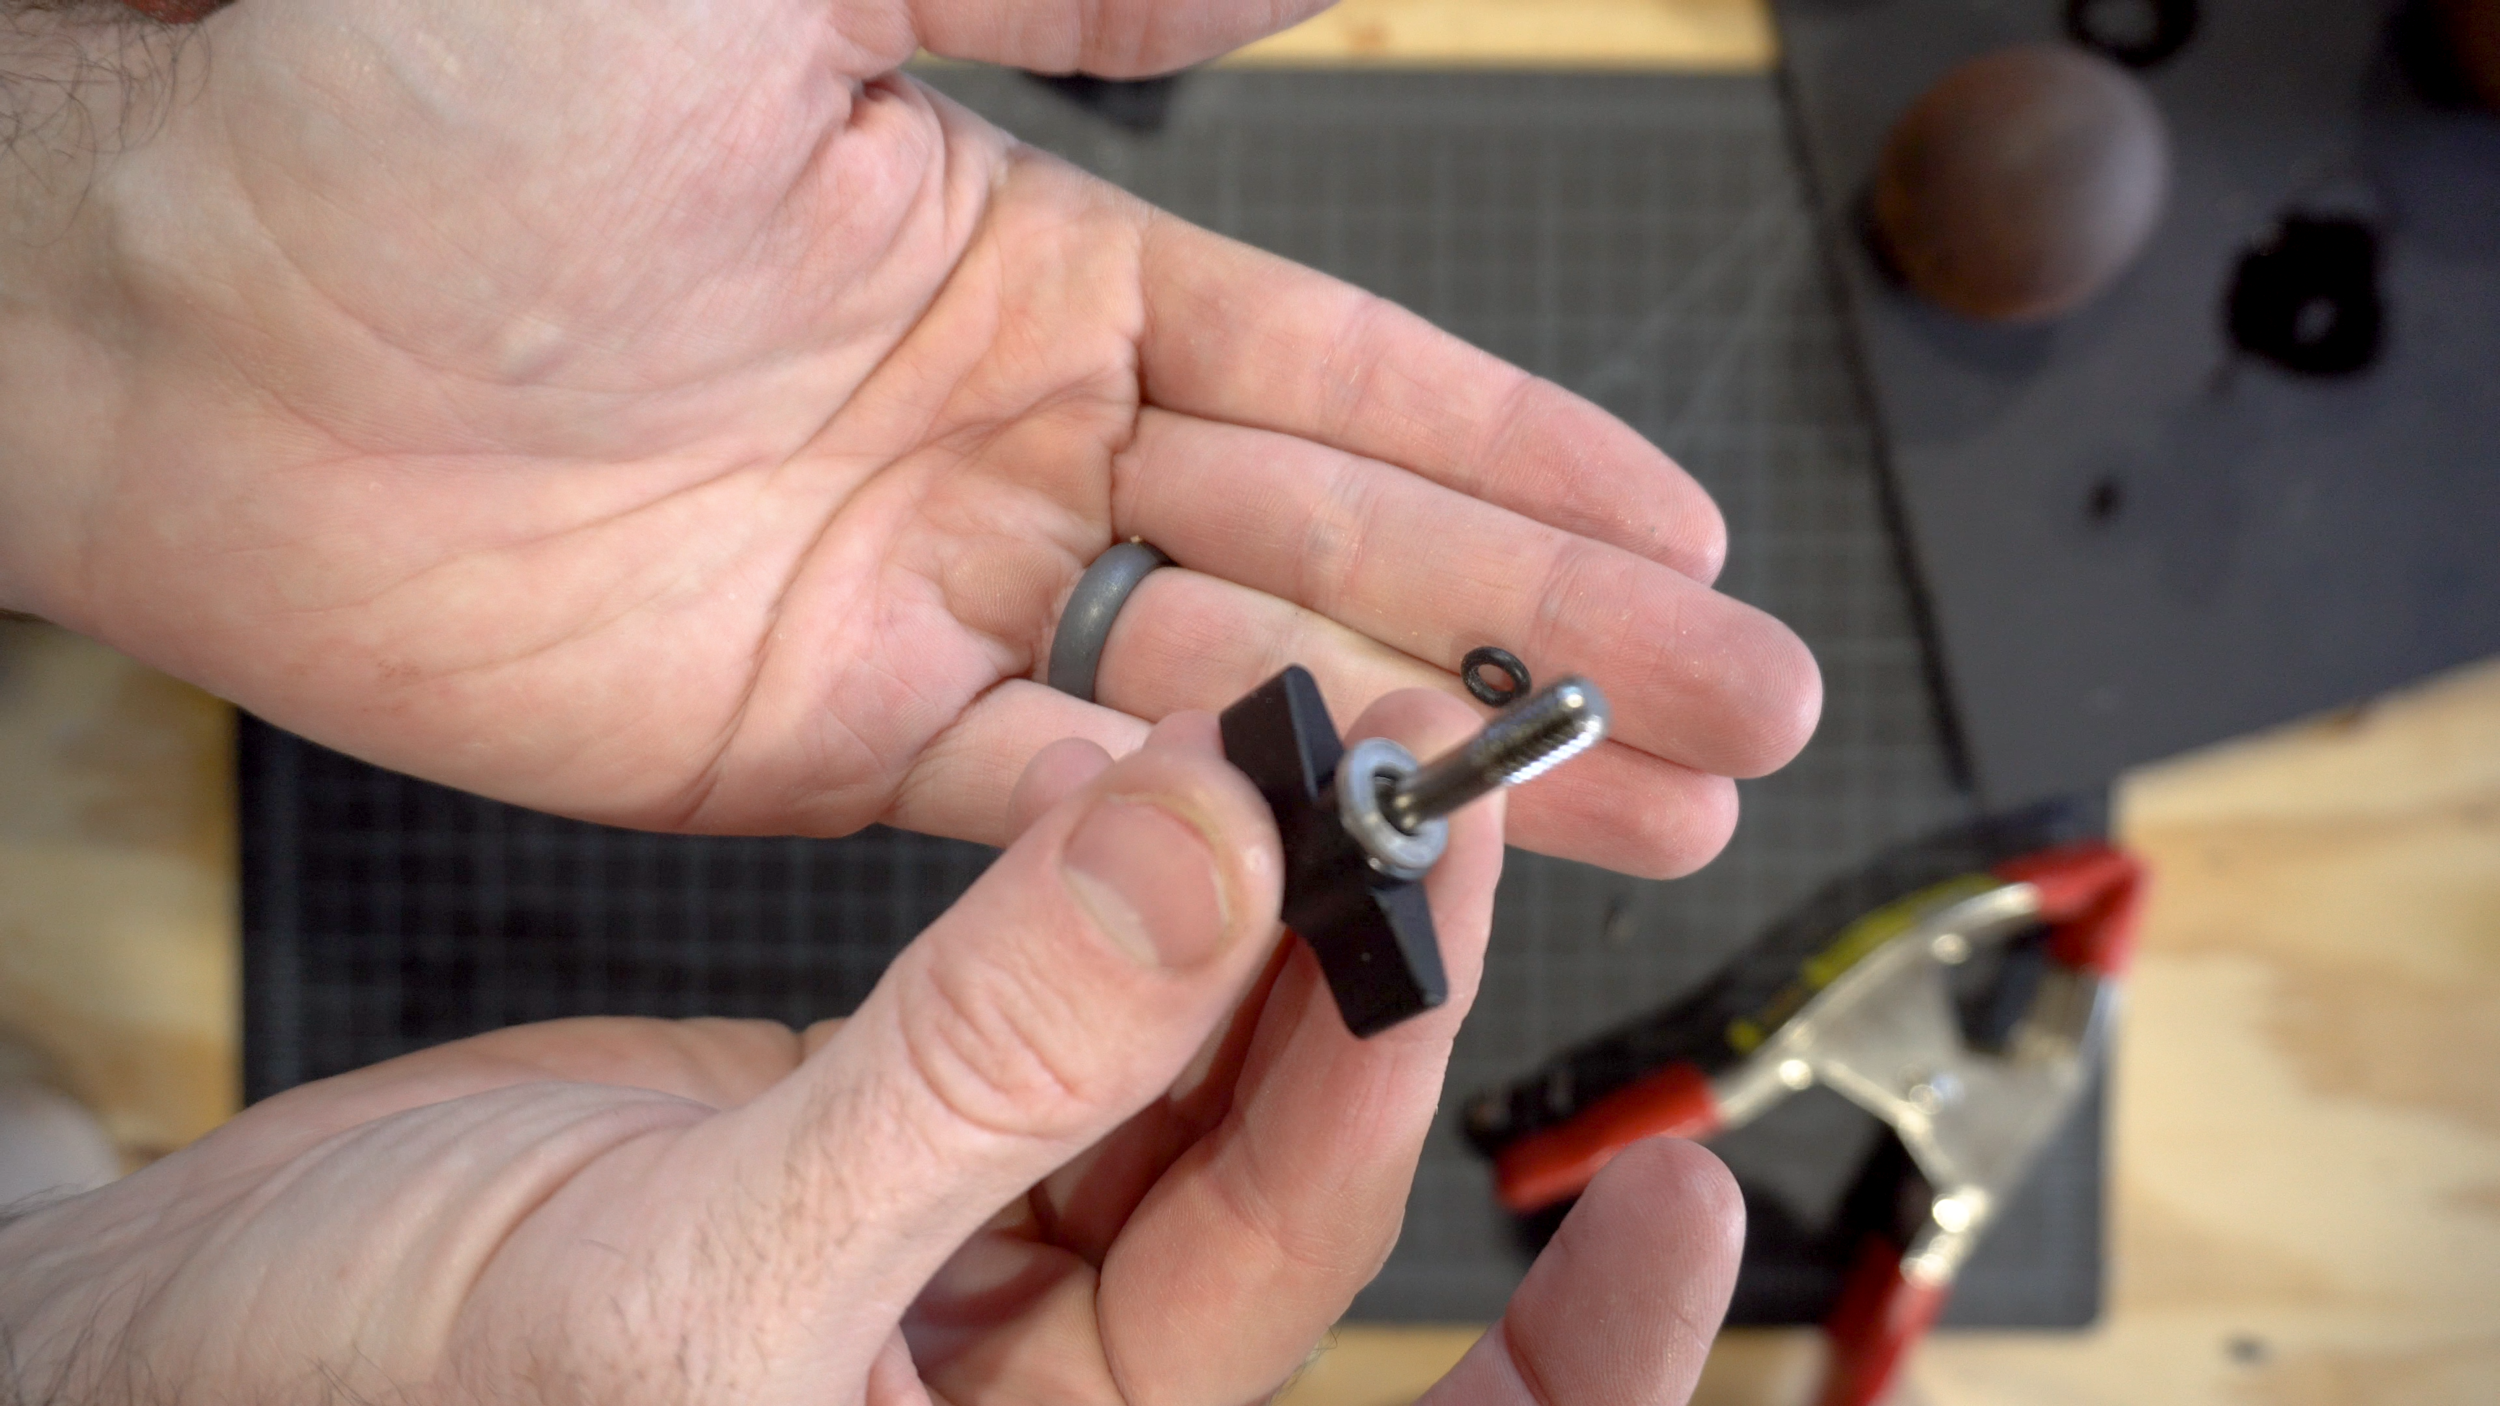
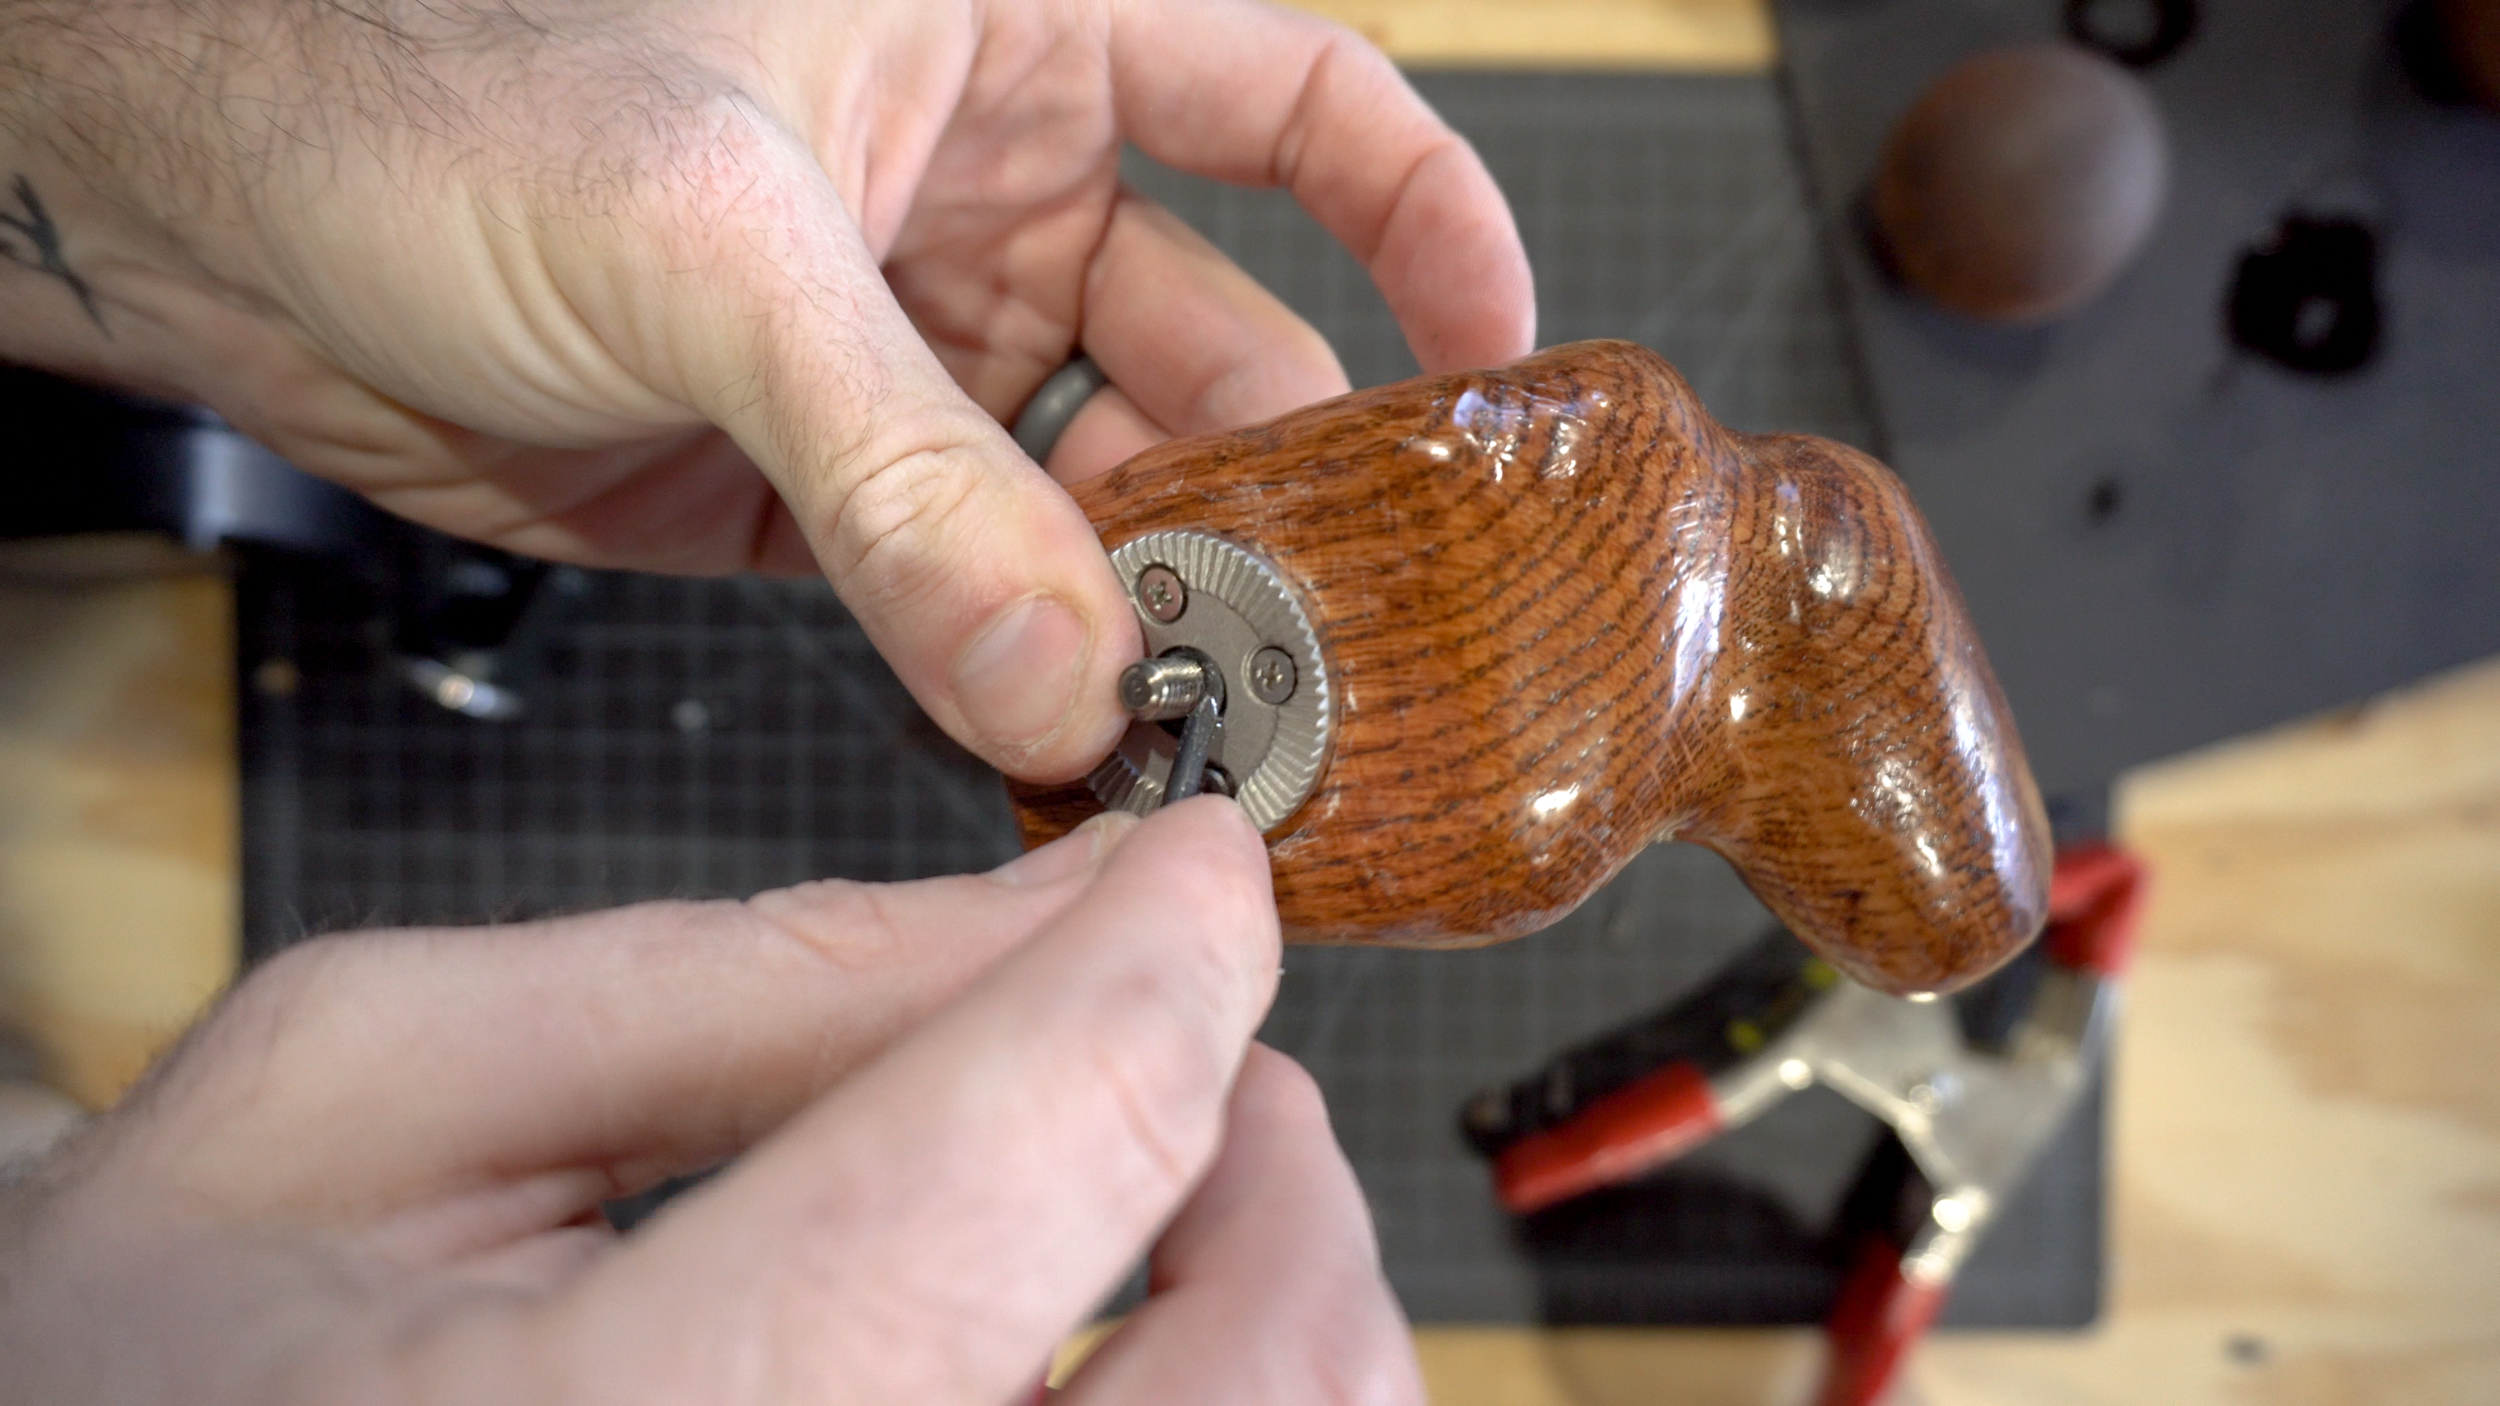
Grab your dremel again and start sanding down the edges of everything with a higher grit sanding drum - we want to smooth everything out now - I used some 120 grit drums followed by 240 grit ones to get a nice smooth finish on the entire handle. Do this until your grip is nice and smooth to the touch. Then grab your stain and put a few coats on, and follow that with a couple layers of polyurethane for a protective coat. Then grab your unthreaded rosette, use a little super glue, and attach it to the backside of the handgrip. Clamp that down for a few minutes and let it dry. Now drill a few small pilot holes and then use some more of those smaller screws to secure the rosette to the handgrip even more. Then, get your SmallRig screw and feed it through the hole from the inside, and use the rubber ring to keep it from sliding back out - I had to use a small screwdriver to help me get this on.


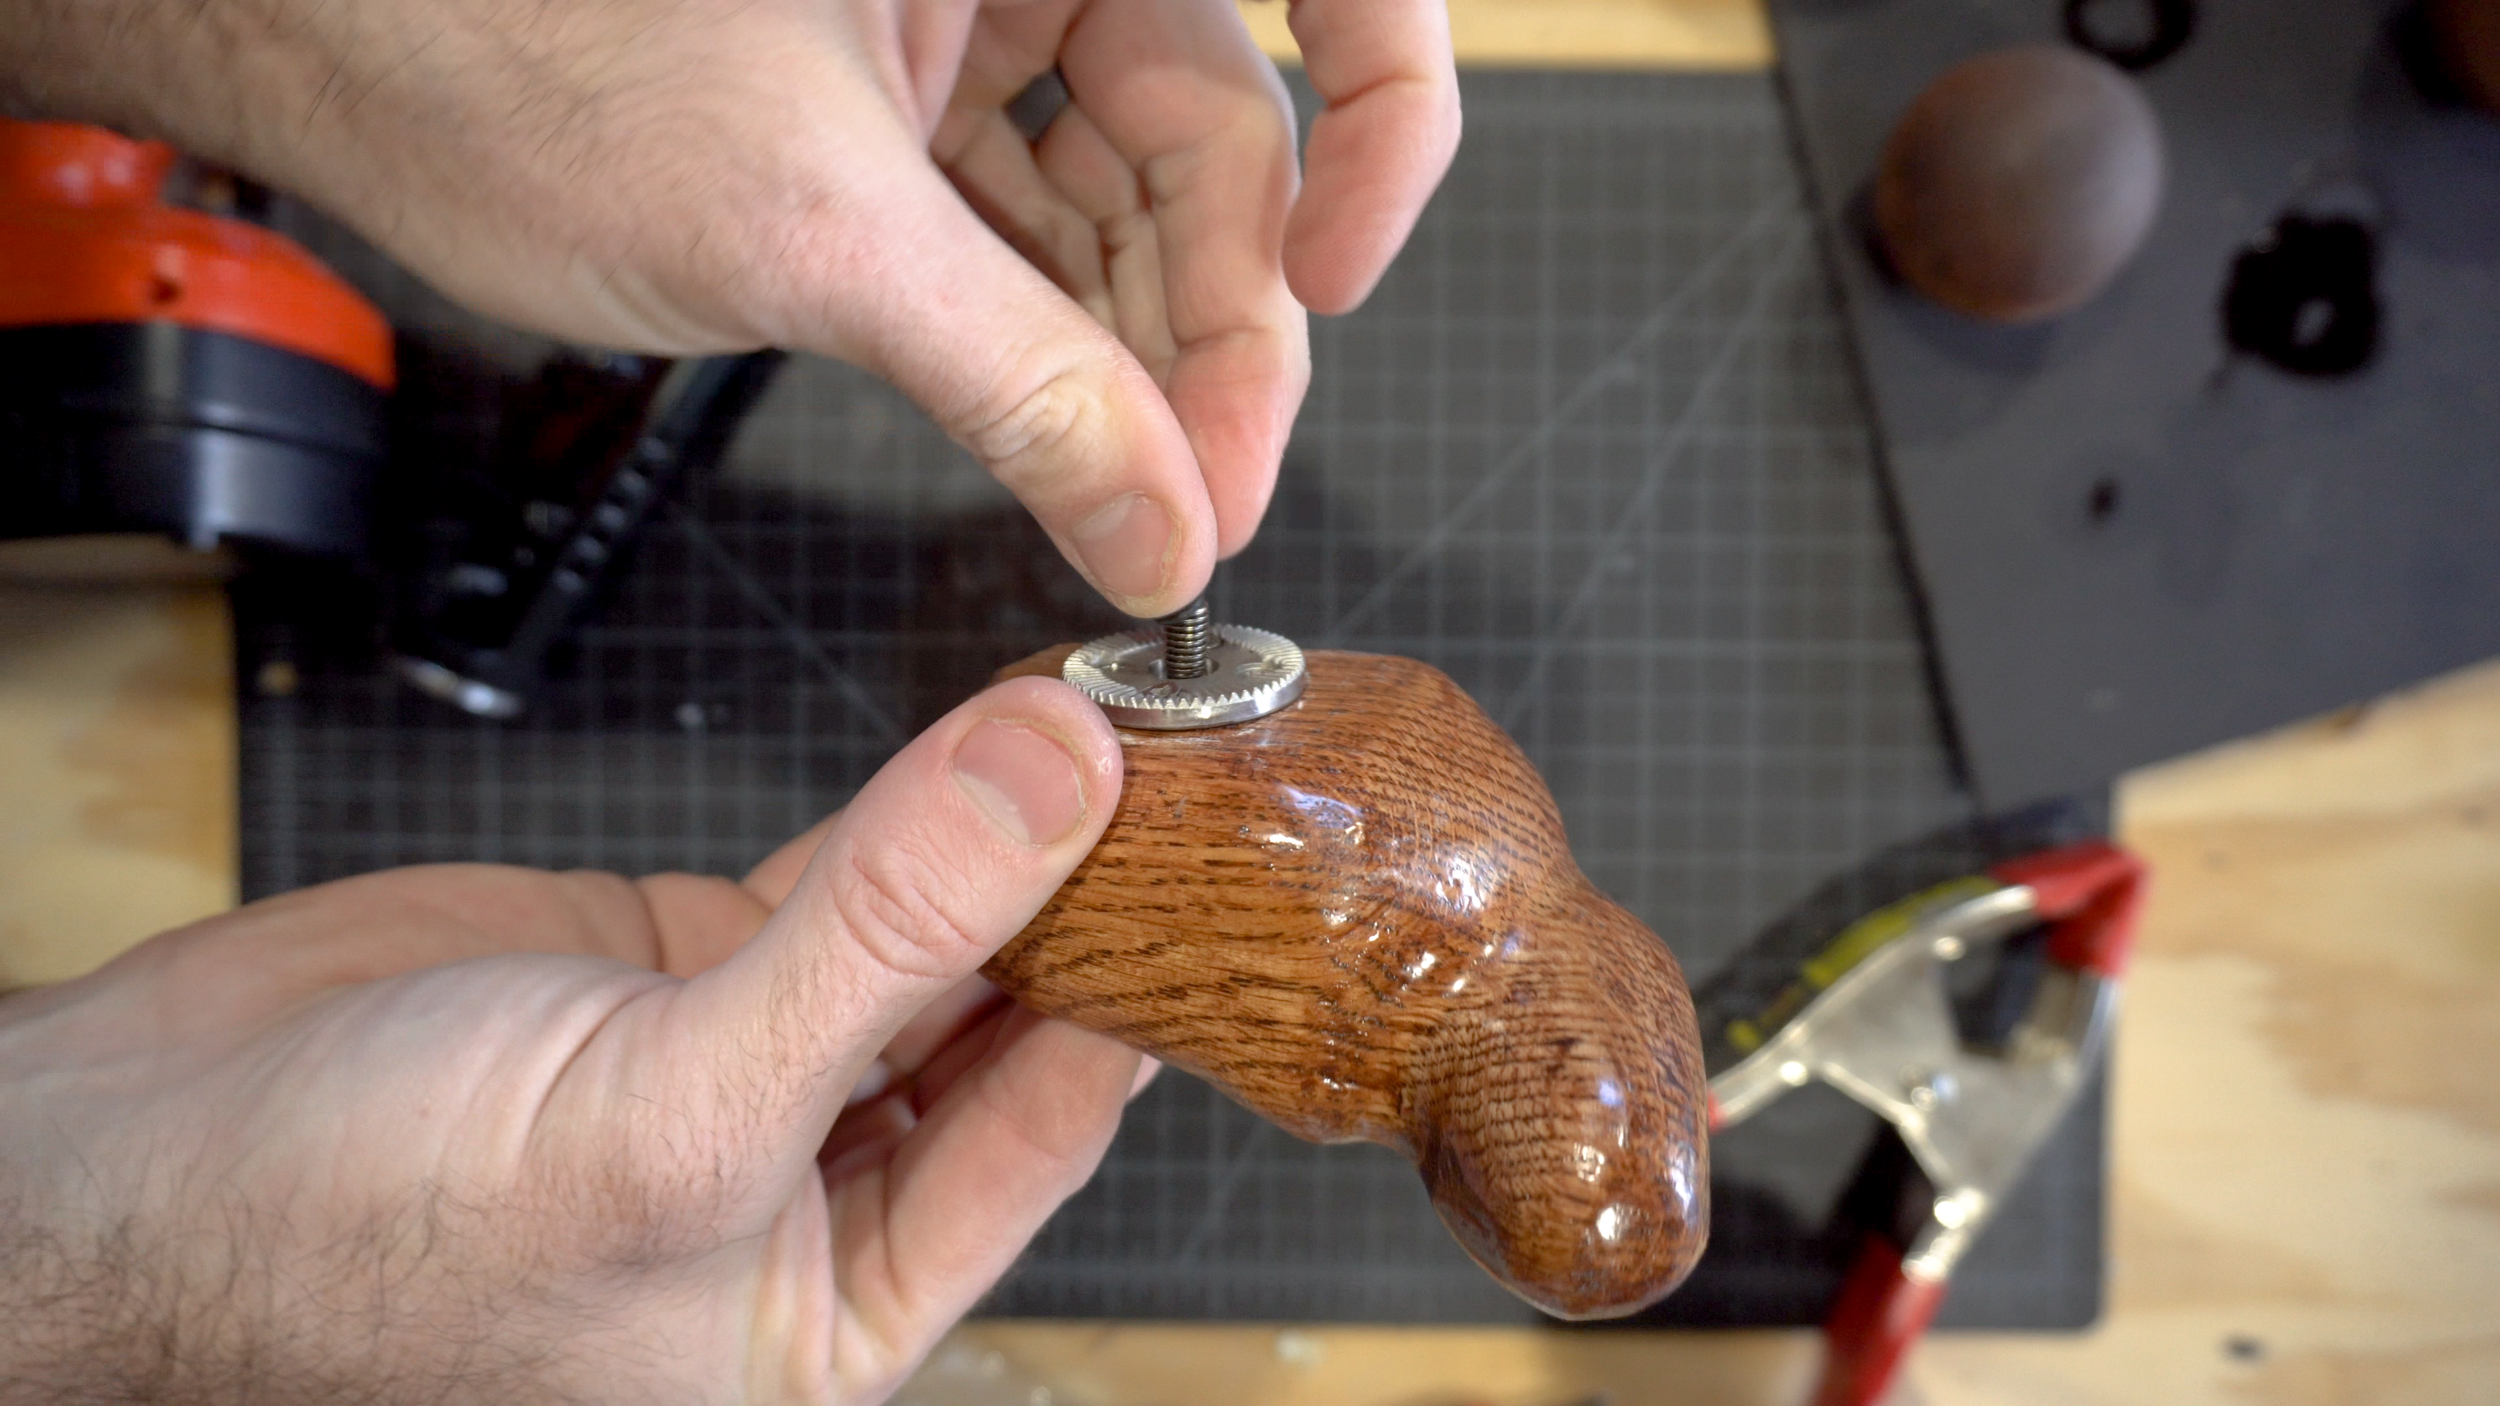

Now you should have another custom wooden handgrip for your rig!
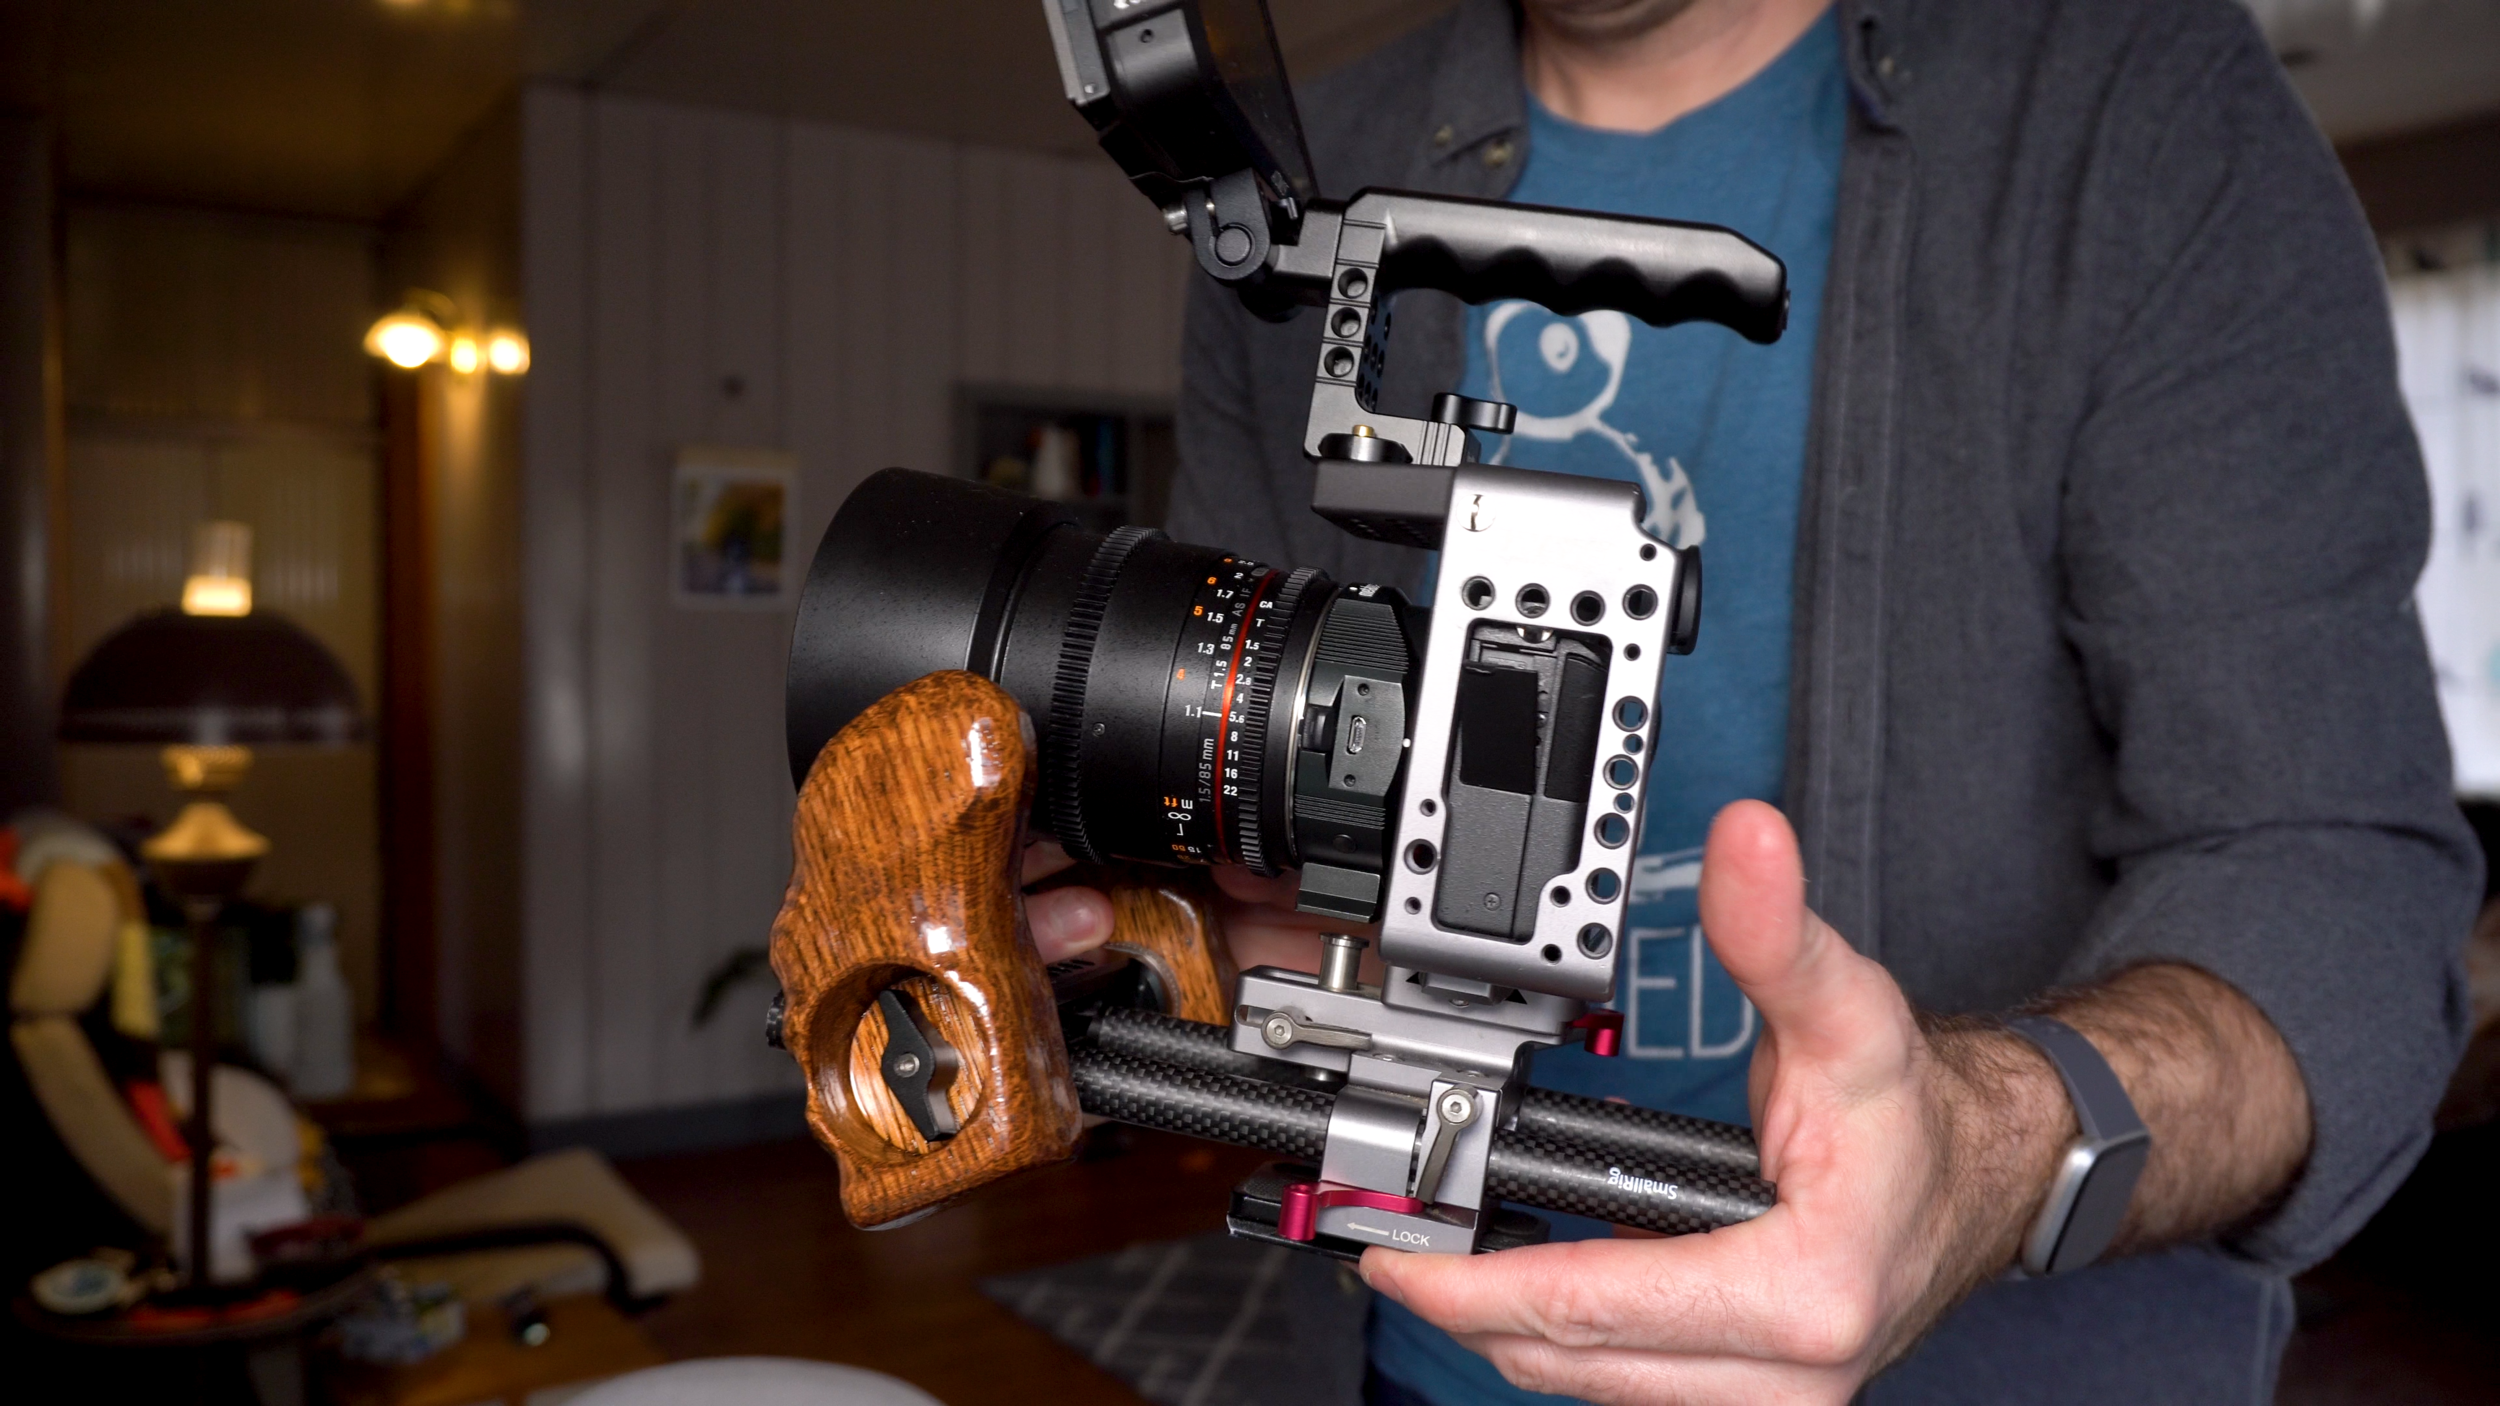
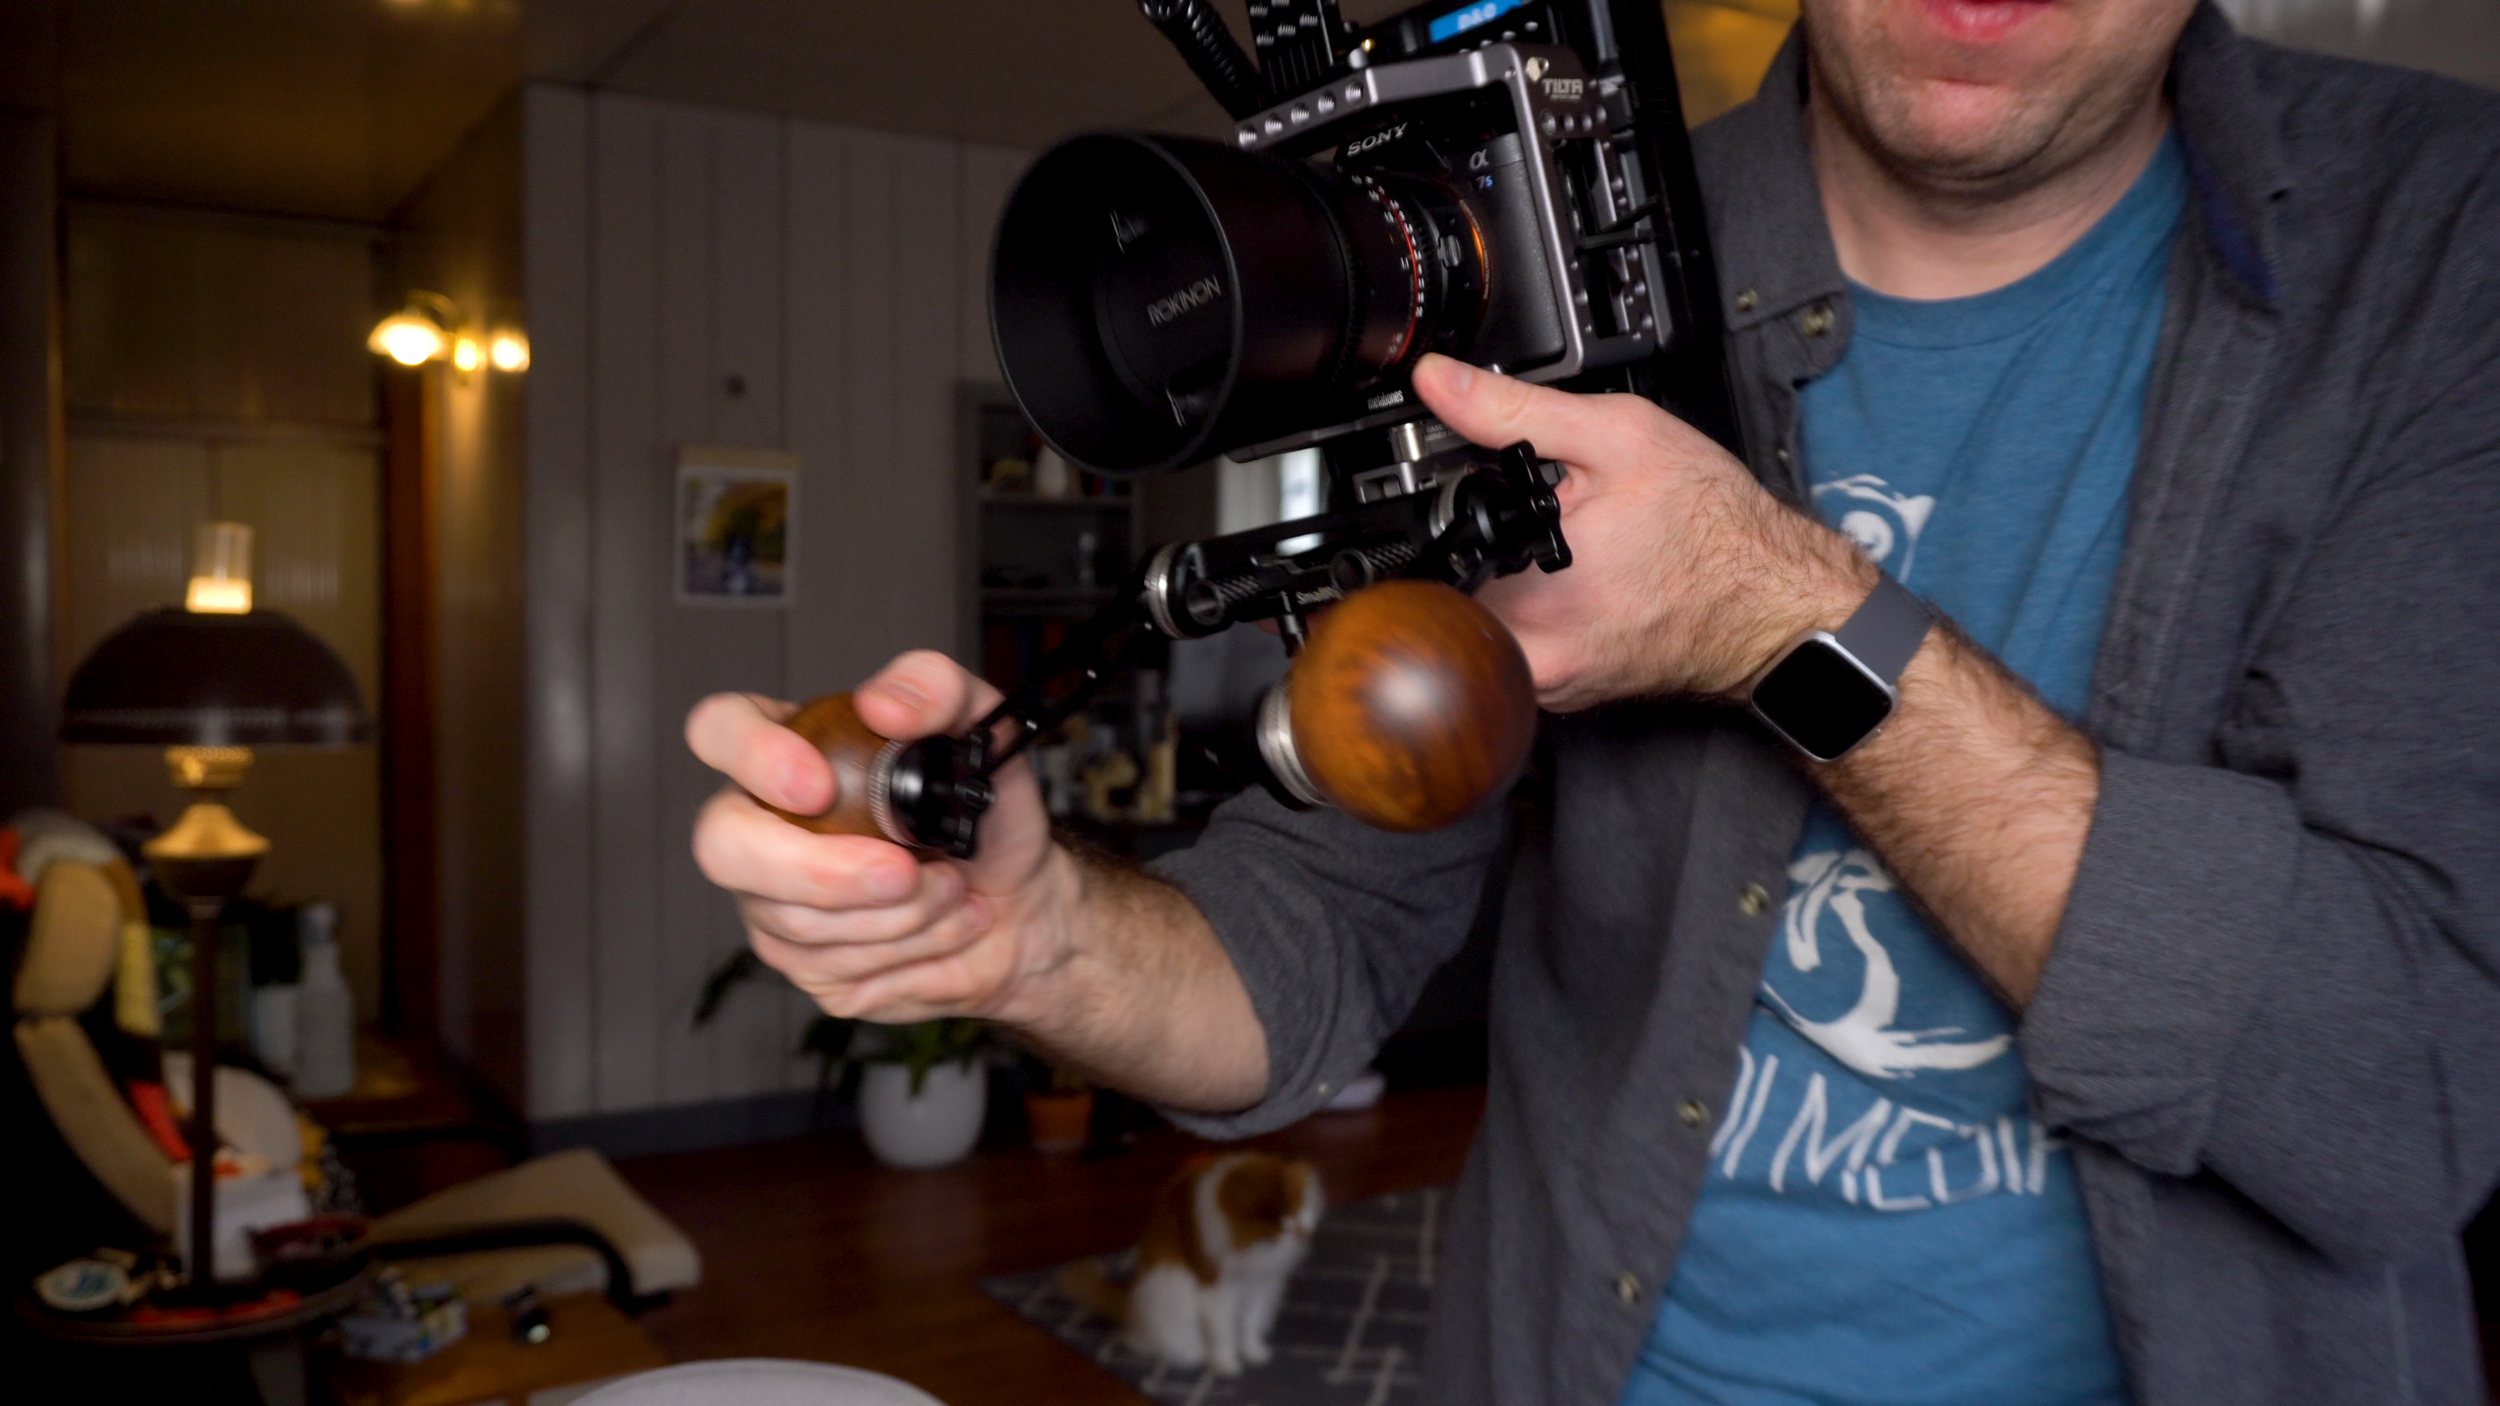
To attach these - the traditional contoured grip will attach to a rosette mount via the SmallRig wingnut that’s in the grip. For the round grips you’ll want to use the wingnut to attach from the backside of an open rosette, here I’ve got them attached to my shoulder rig with a few extension arms. You could easily drill a 1 ½” hole into the outside of the round grips just like we did with the contoured ones - you will want to swap out your threaded rosettes for unthreaded ones though if you go this route.
So there you have it folks, DIY wooden handgrips for around $12 per grip. Add these to your favorite handheld rig, shoulder rig, or even gimbal, and get shooting!

If you have any comments or questions about this DIY project please let us know. If you end up making any of these yourself email us a pic or share and tag us on social media - I’d LOVE to see them. If you want you can watch the video version of this tutorial HERE.