
Product photos and videos are commonplace in our industry - whether we’re filming a product for a client or just selling some old gear on eBay most of us have needed to get a product shot at some point. Product photos and videos are a great way to showcase an object or highlight neat details. These are traditionally easy to set up, and with just a few materials you can create your own product photo or video booth to shoot products in - I normally just set one up in my office - i.e the spare bedroom I work out of. But sometimes we simply don’t have the luxury of filming in a studio or a controlled location, or the project budget doesn’t allow us the time or flexibility to do so. In circumstances like these being able to take our product booths with us can be a lifesaver and can add a huge amount of value to the production - but how do we do it? Well the basics remain the same - we need a booth, a background, and a soft light - and we need to be able to transport them. In this tutorial we’re going to make our own PORTABLE product photo and video booths for under $10.
MATERIALS
Booth - 20”x30” white foam board (x2 pieces)
Background - 22”x28” posterboard (x1 piece)

You can find the white foam board at most craft and hobby stores as well as like Walgreens and WalMart, Meijer, etc. for around $4/piece, and the poster board you can find usually in the same aisle, for $2 or less (shop local when you can!)
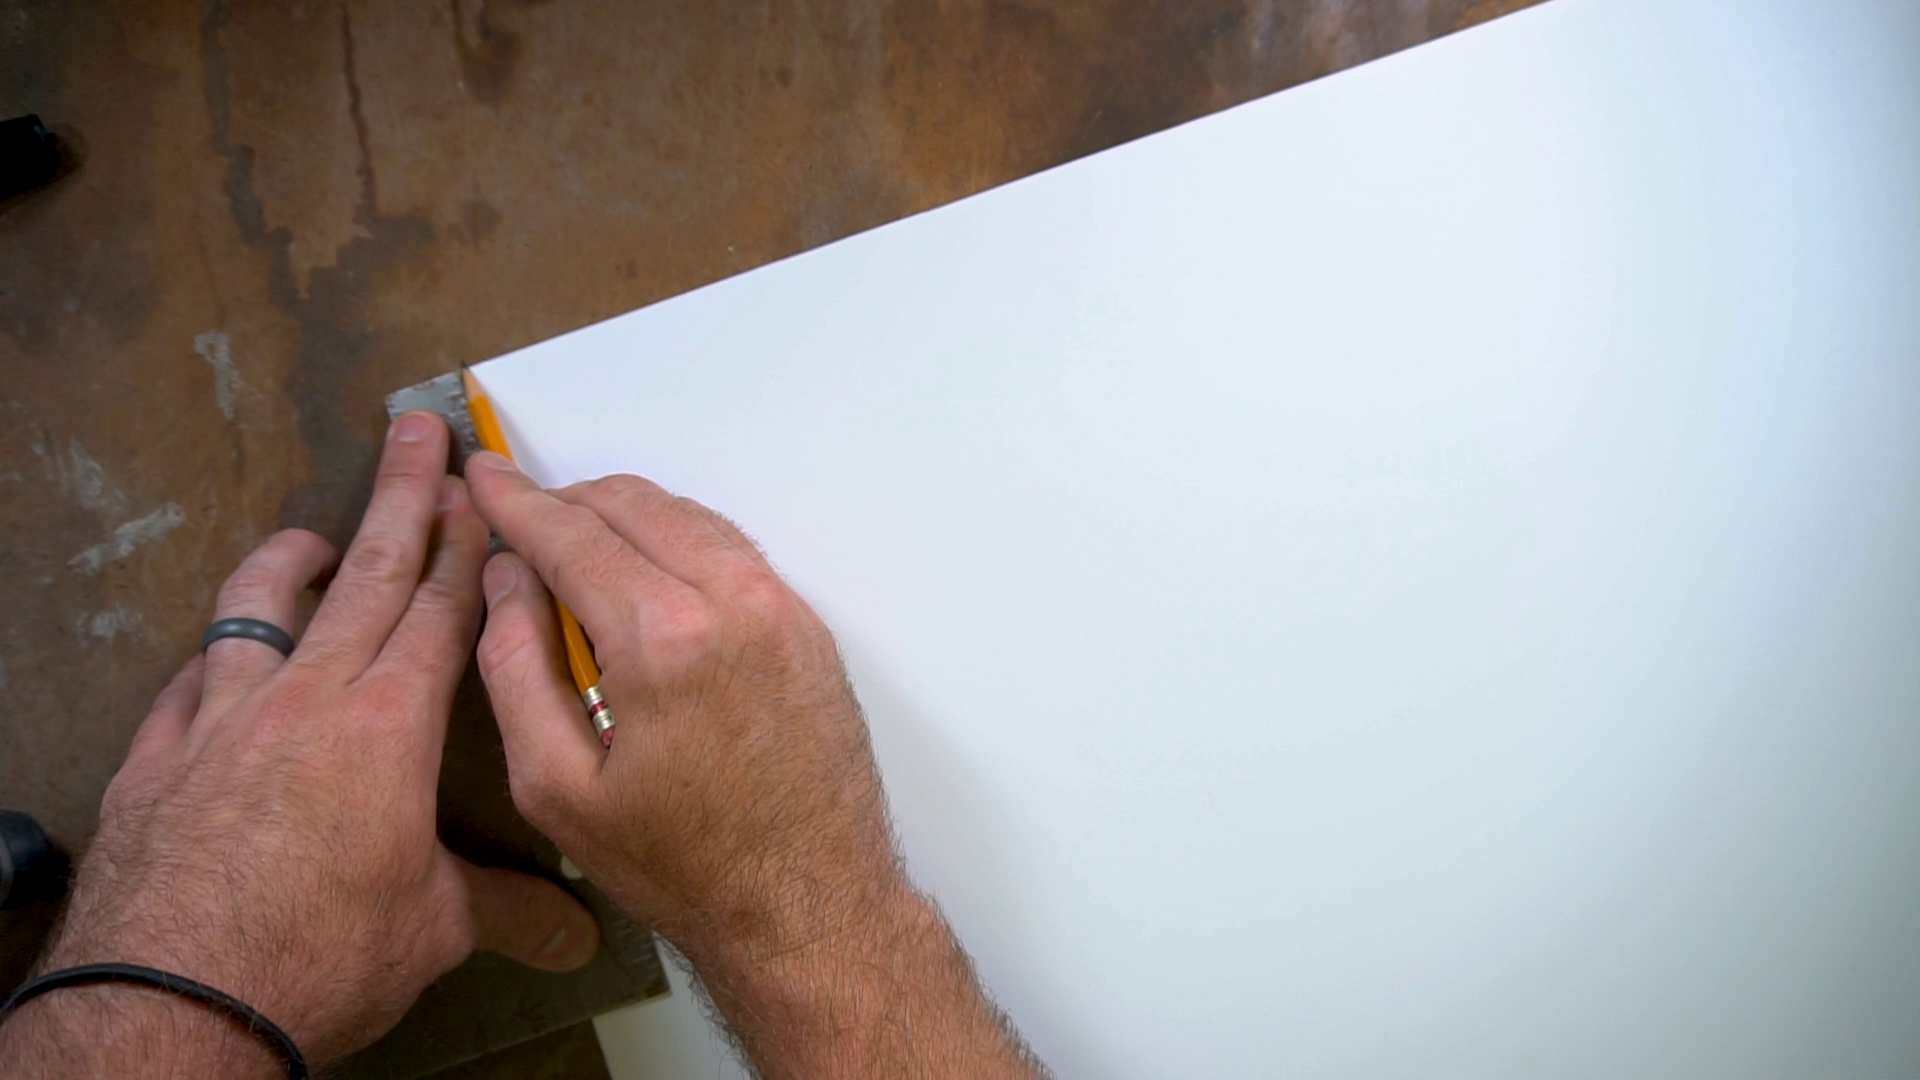
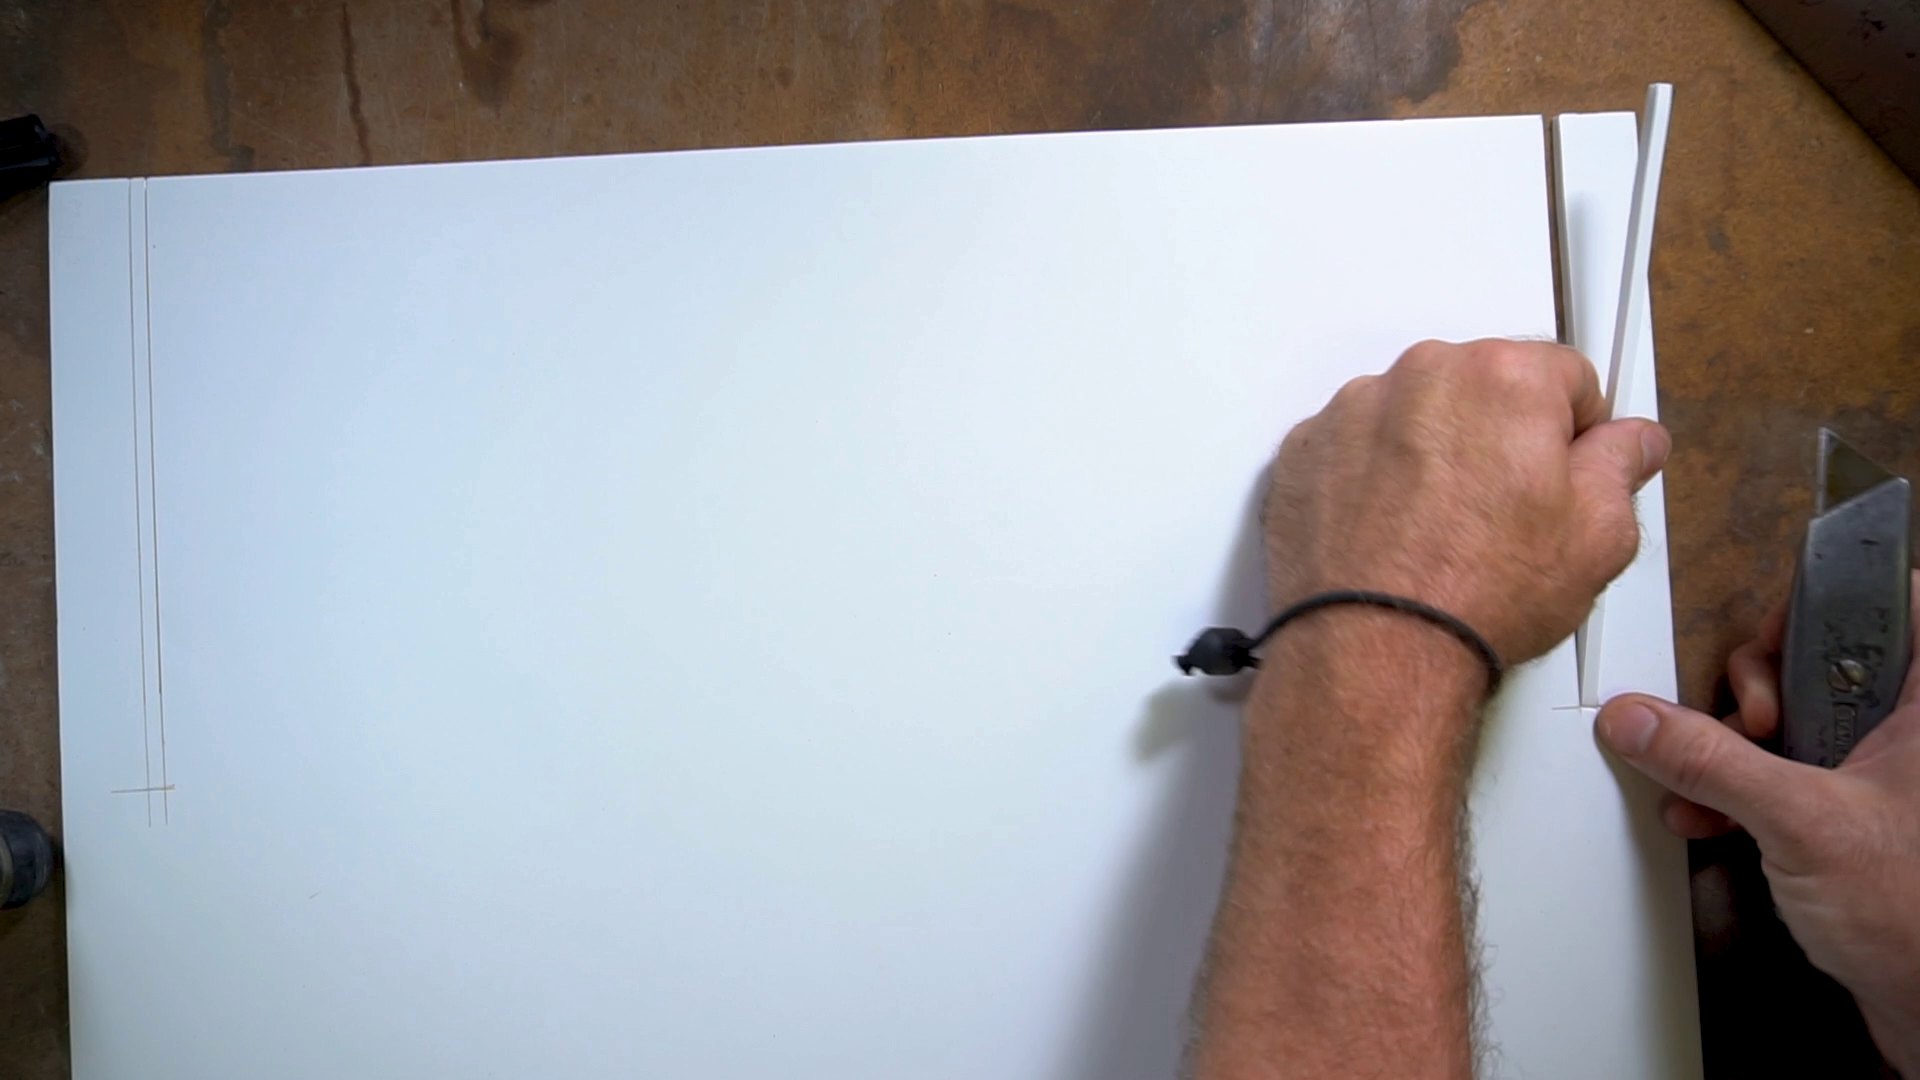
First thing you’ll want to do is take both pieces of foam board and cut them in half so we have four 15x20” pieces of foam board - two of these will be our sides, the other two will be the front and back - you can just set two aside for right now, we’ll work on the sides first....
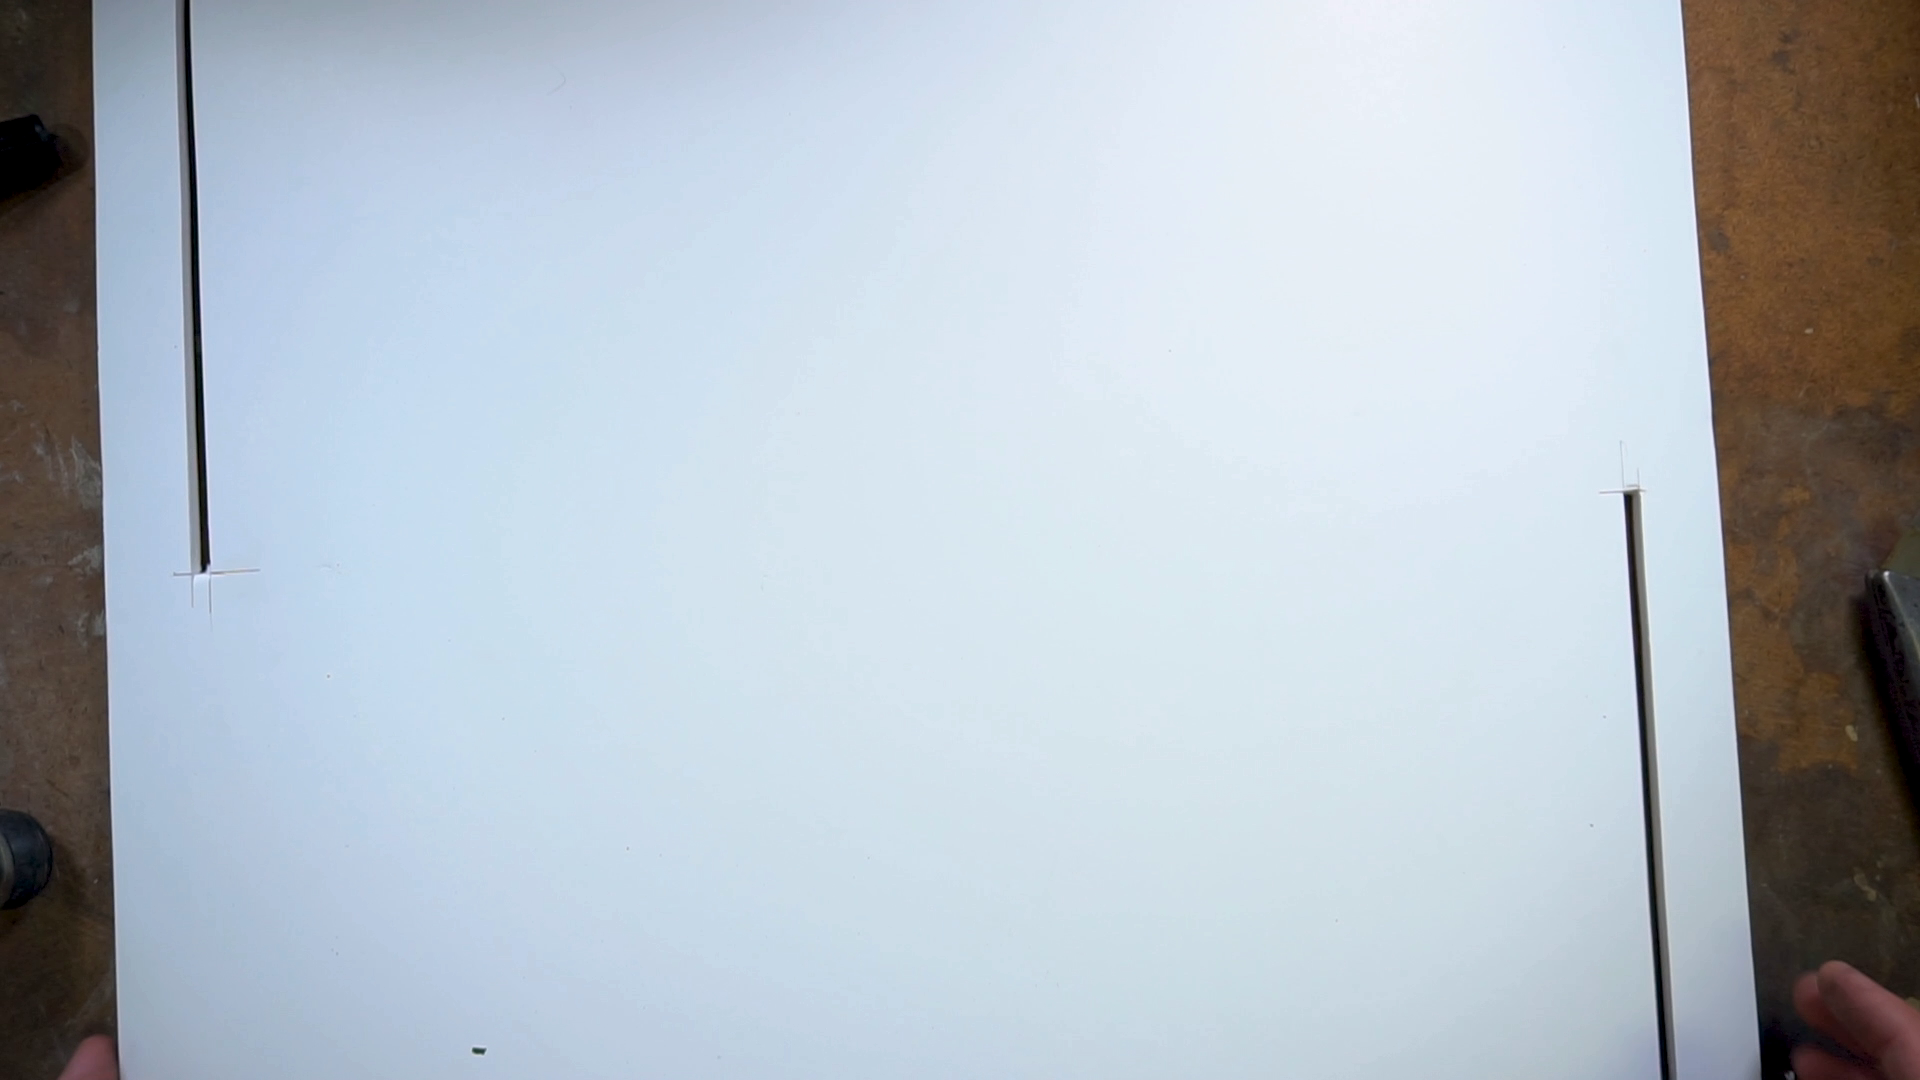
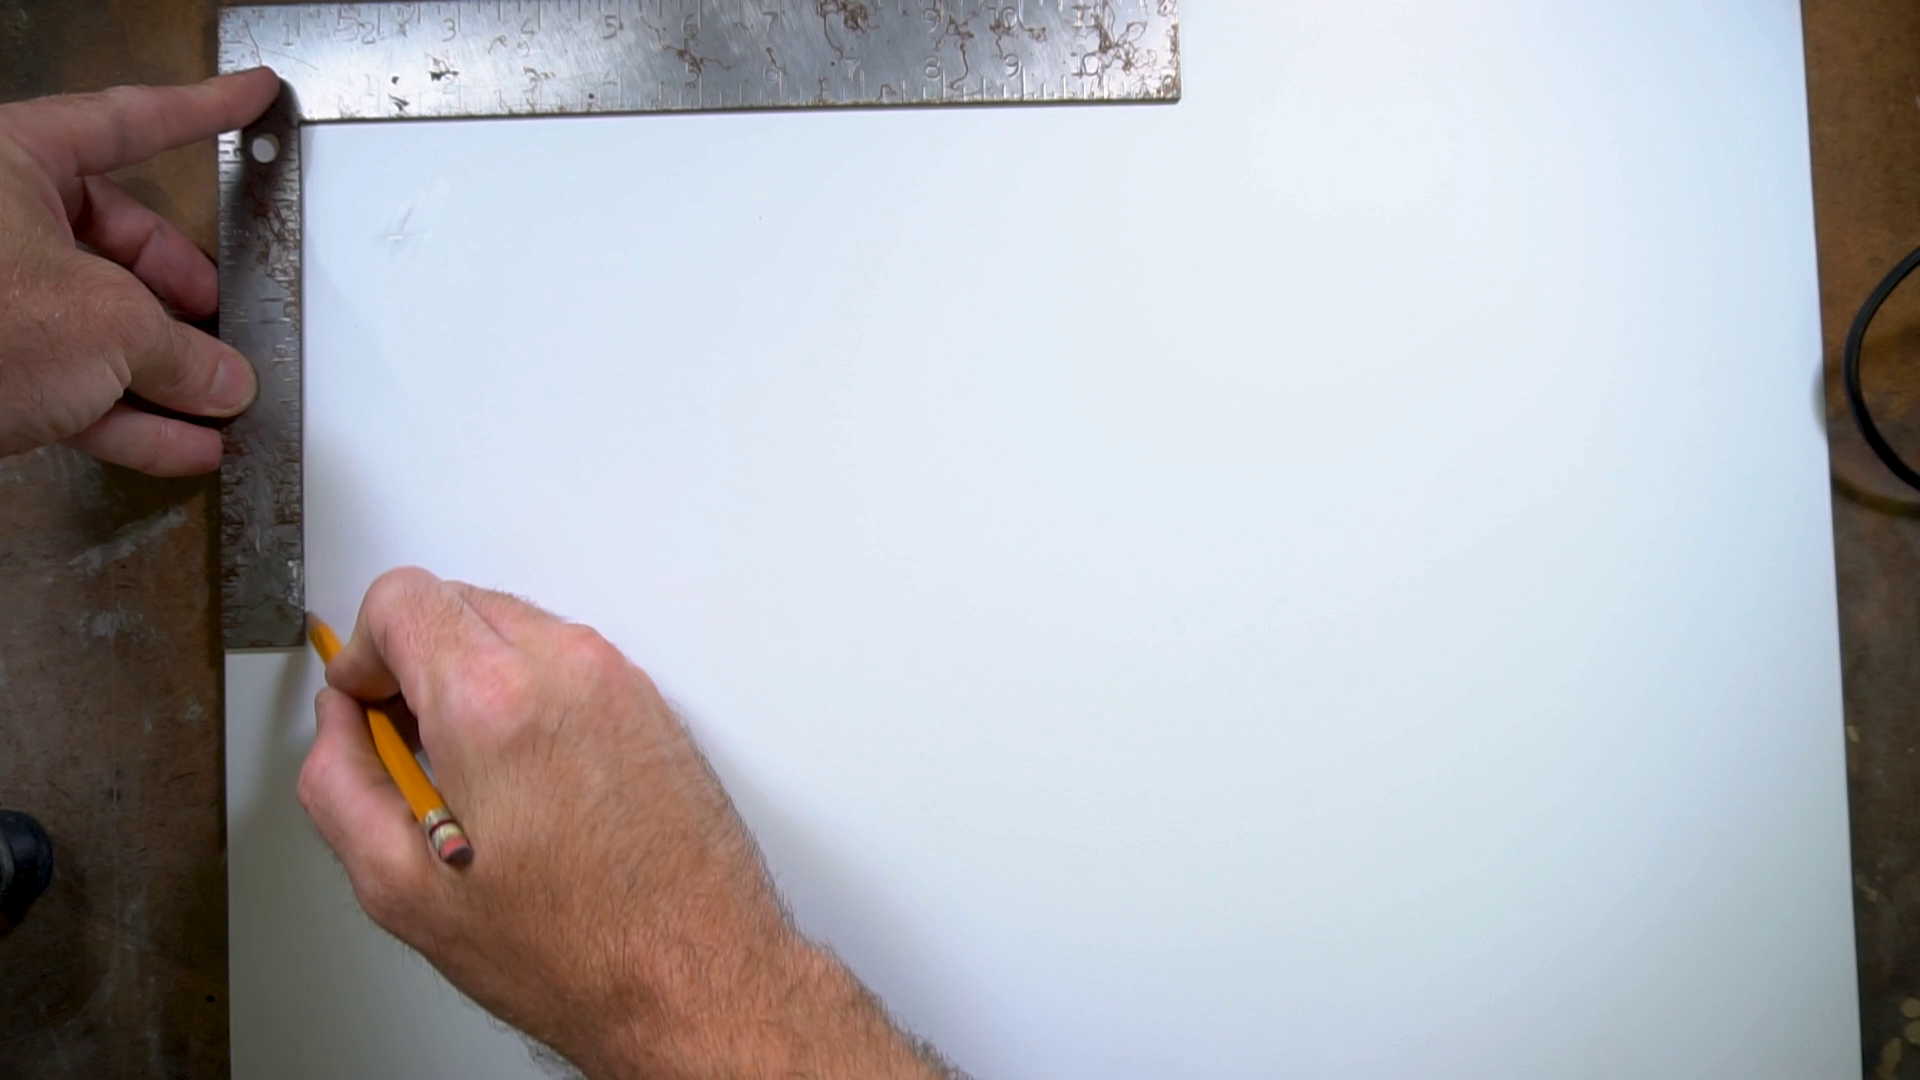
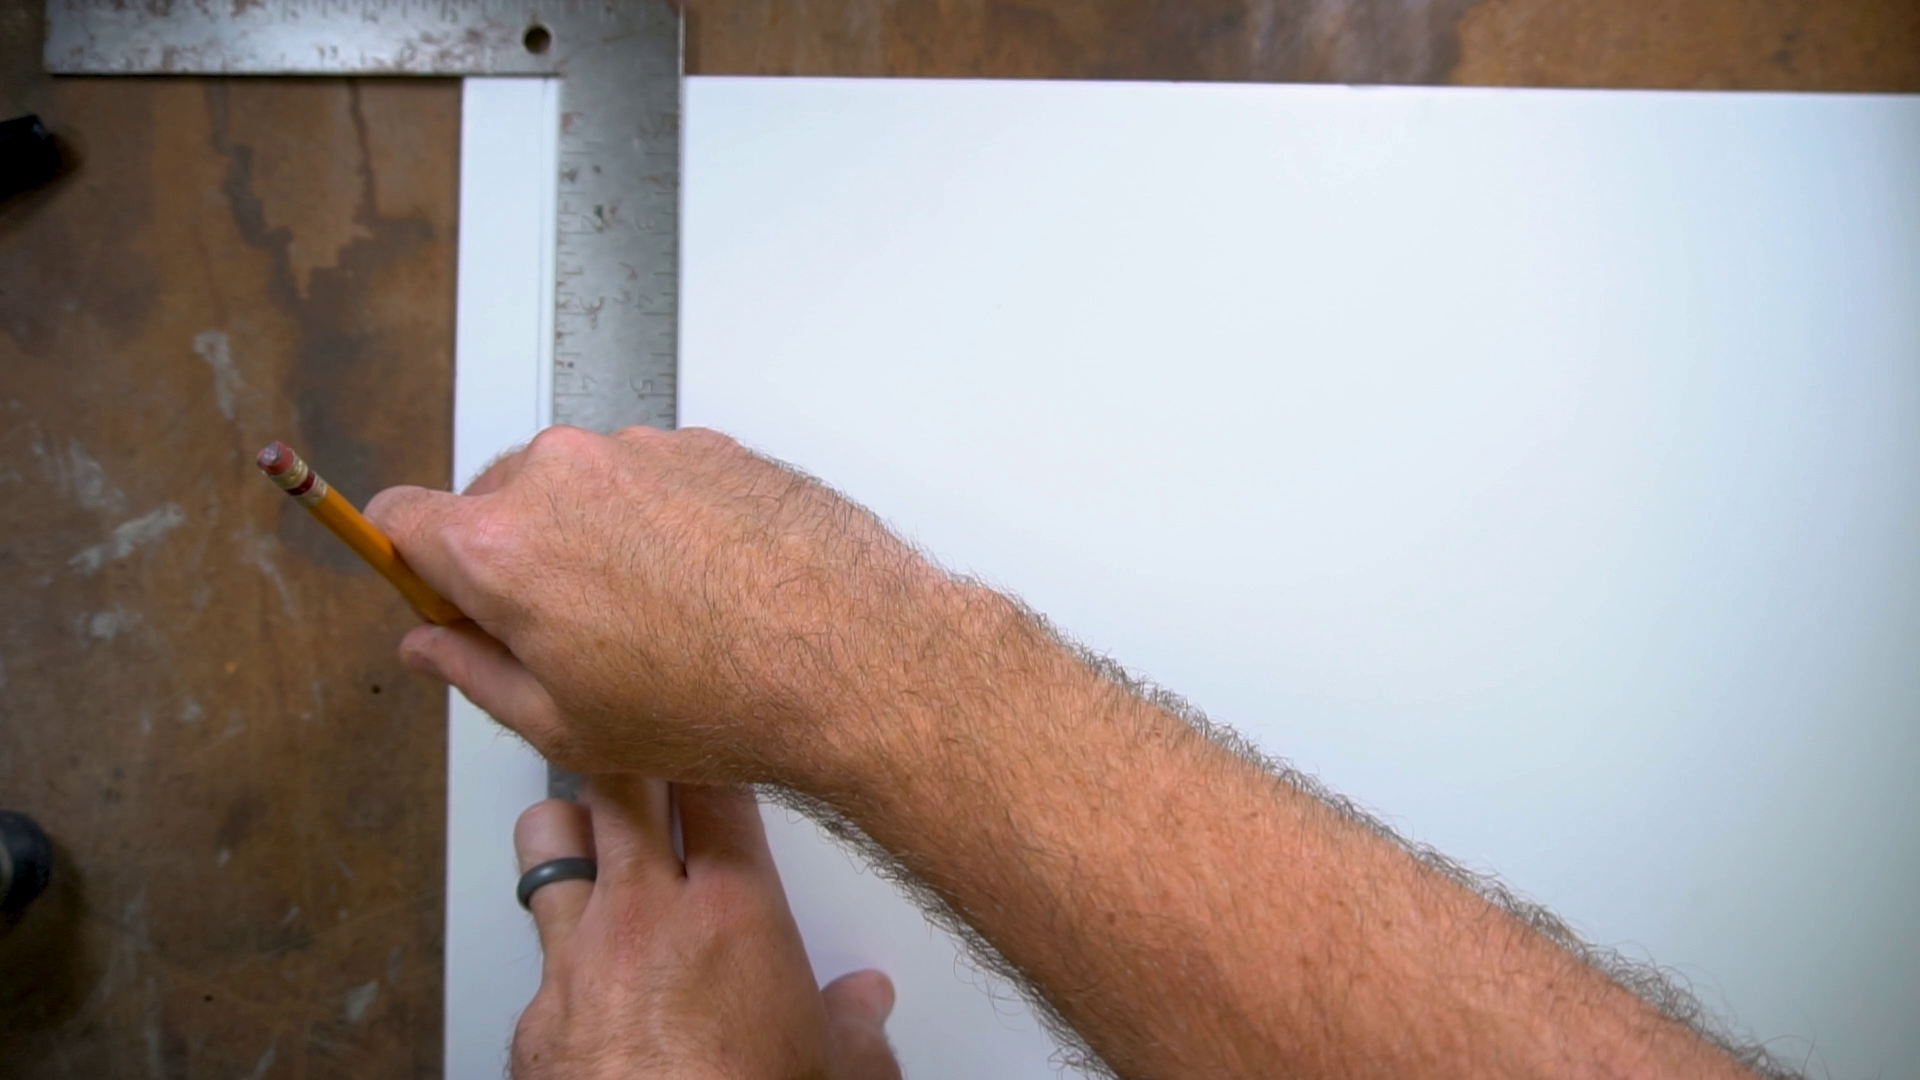
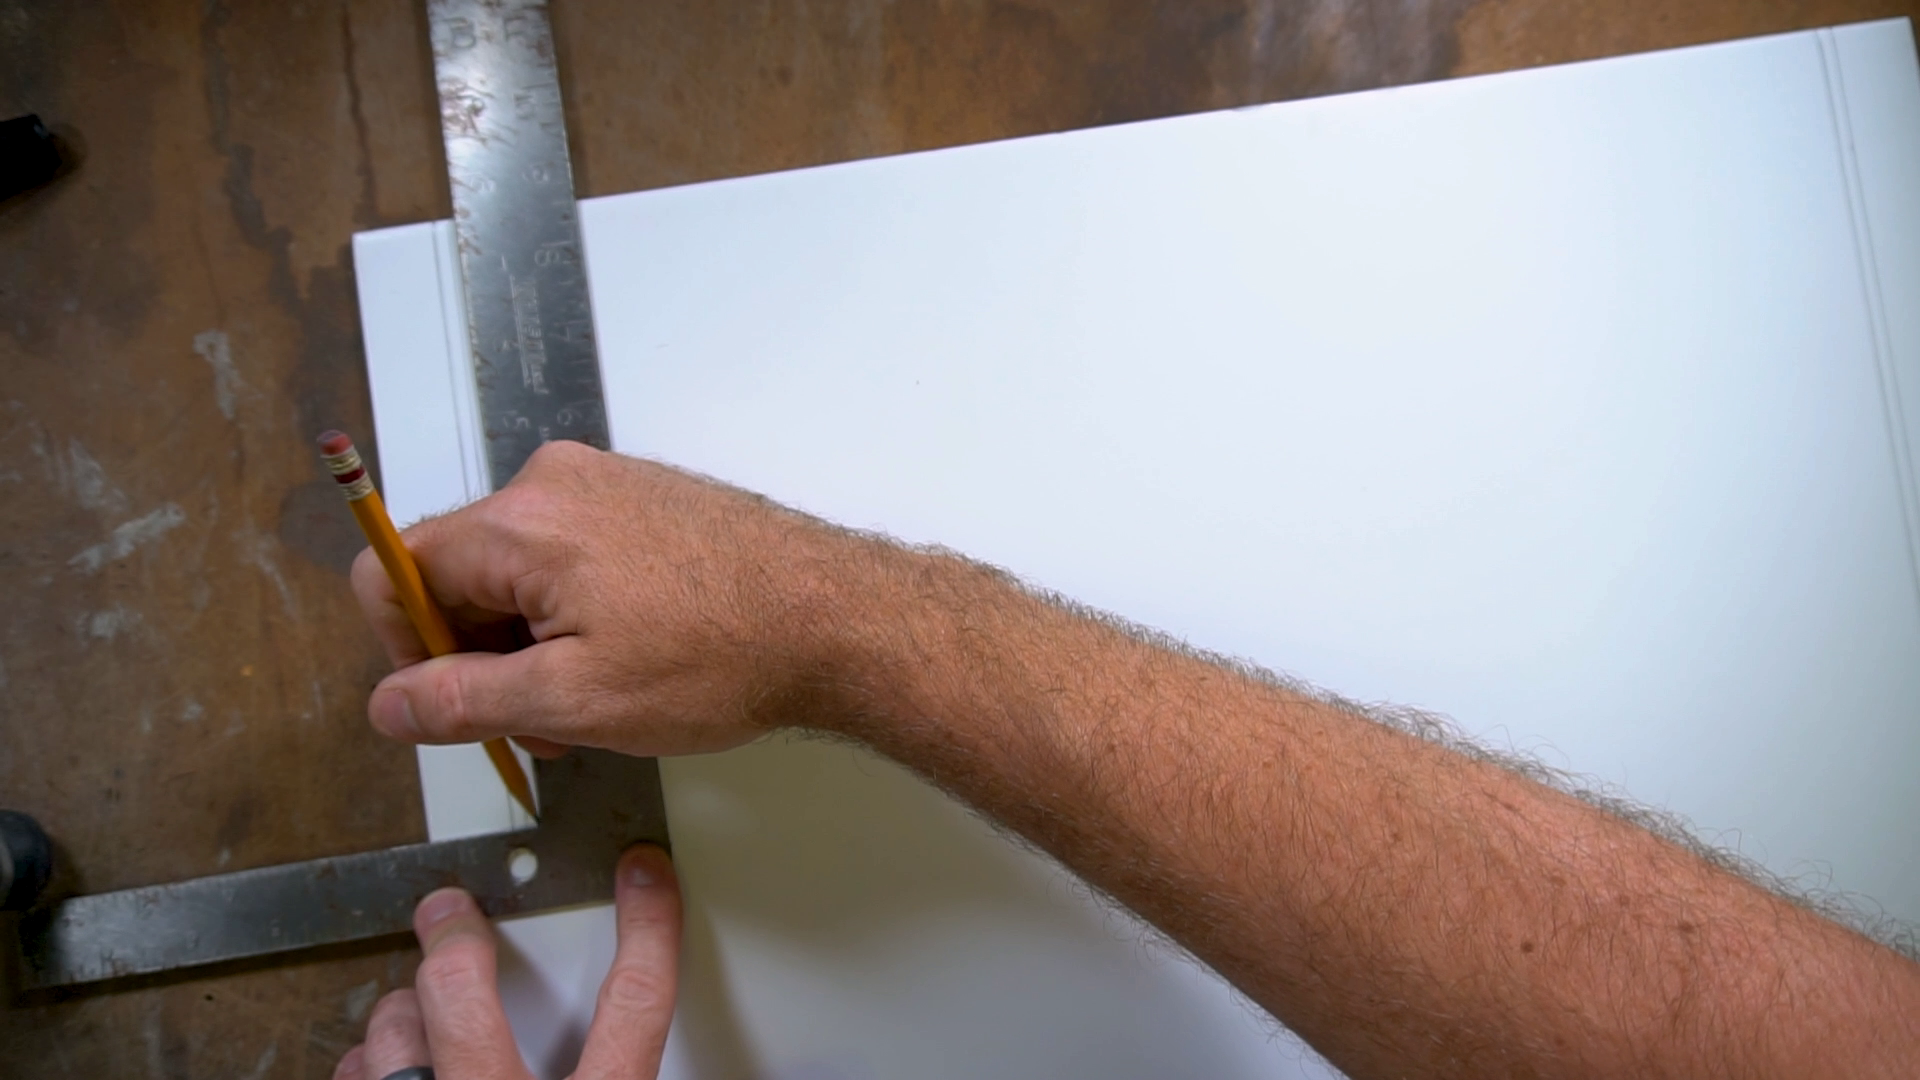
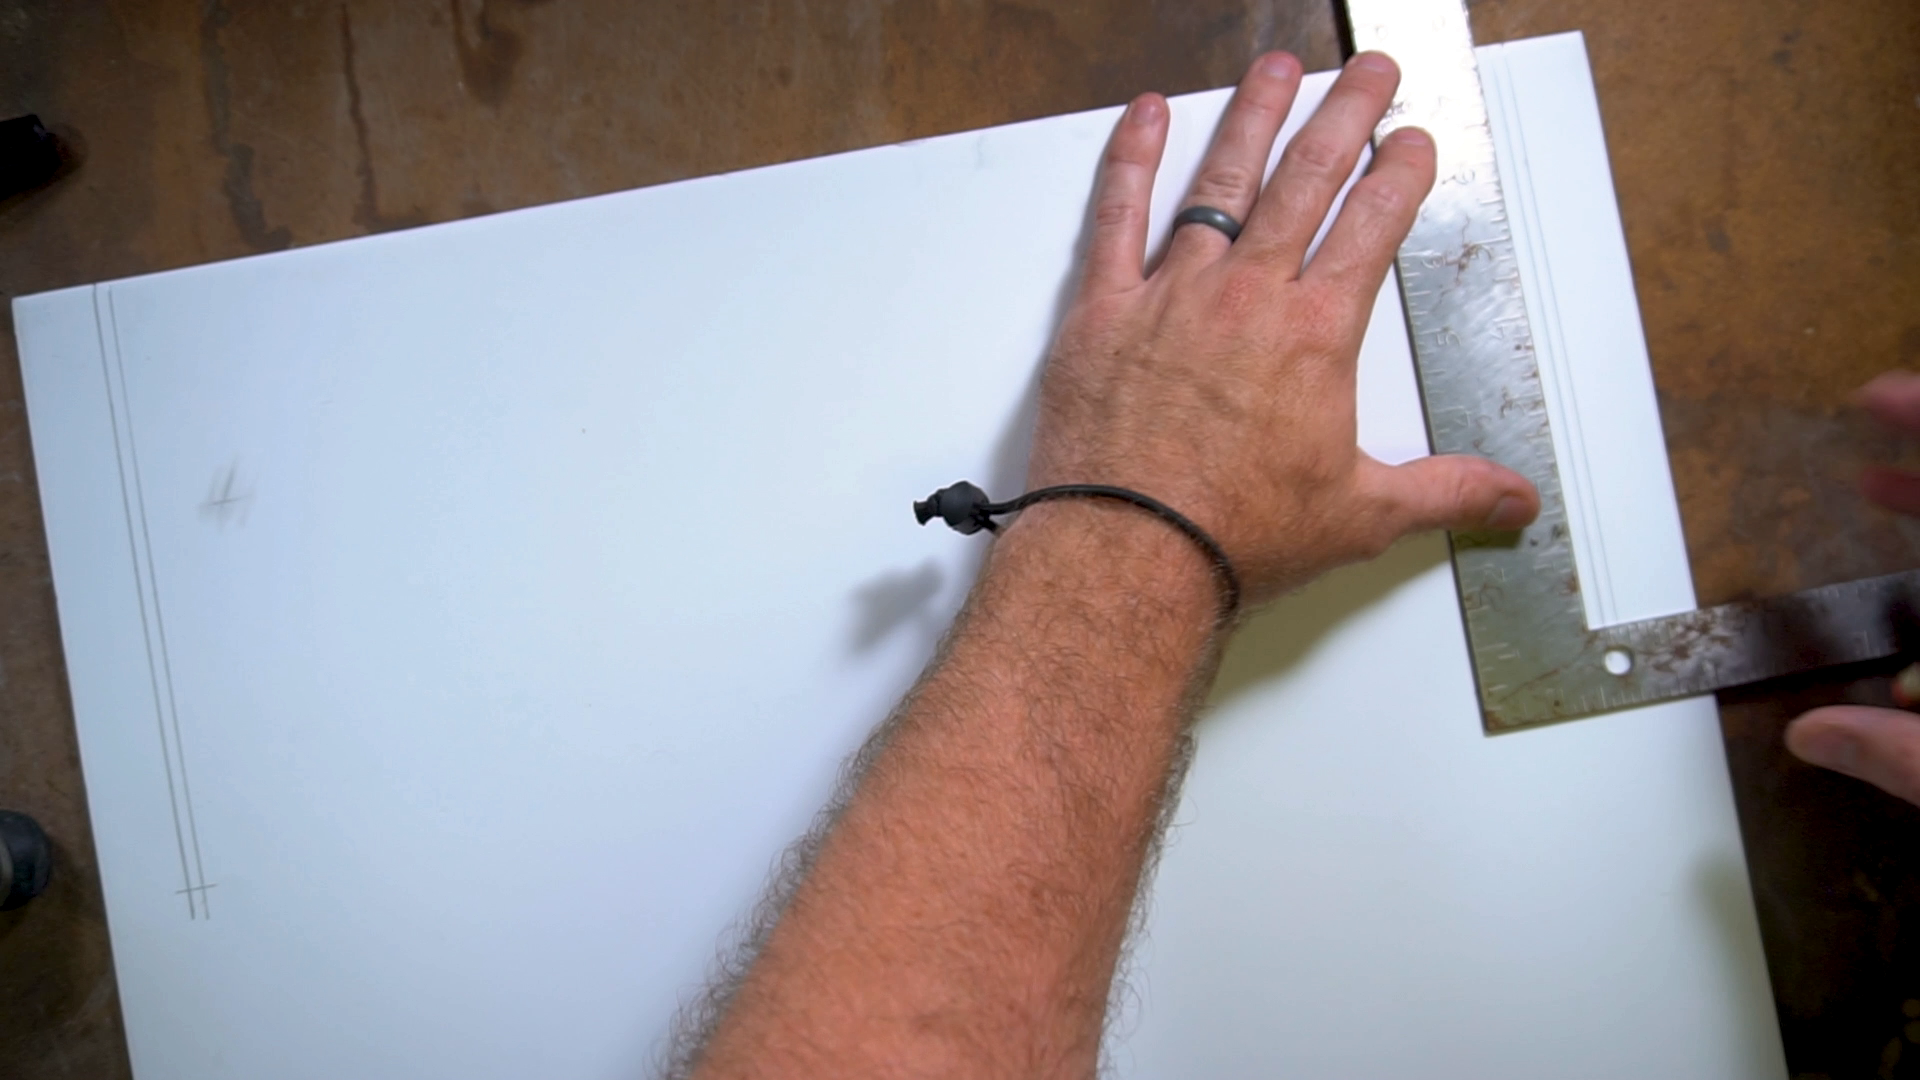
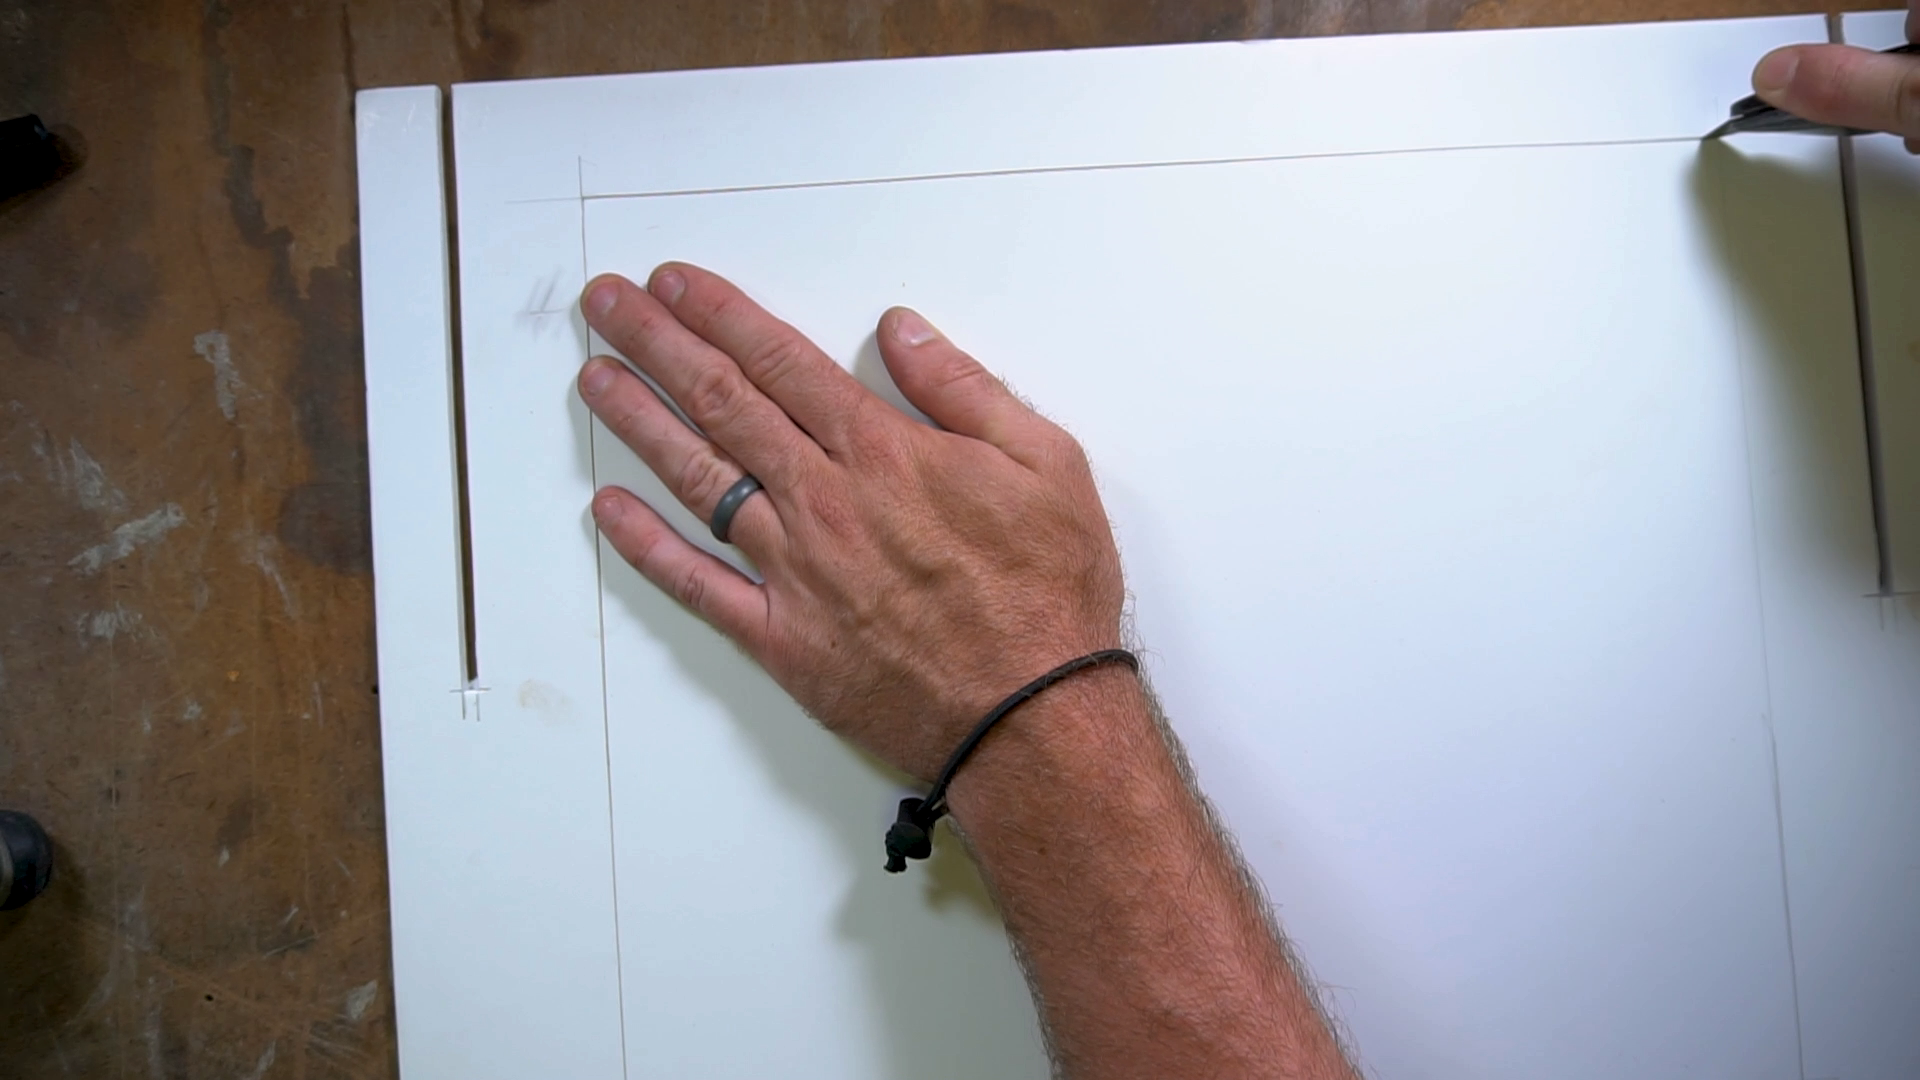
For the sides…. Take one of your pieces, and we want to measure and mark a line HALFWAY down the short side, so measure in 1” and then down 7 ½” and make a mark. Then, so we can create interlocking pieces measure over about ⅛” and make a parallel line. Cut that little sliver out. Then we want to make a similar cut but facing the opposite direction on the other end - so make another set of marks like we did earlier, and then cut that piece out too. Your piece should look like a big fat S. Then repeat that process for the other side piece as well. Set those two aside and grab the other pieces.
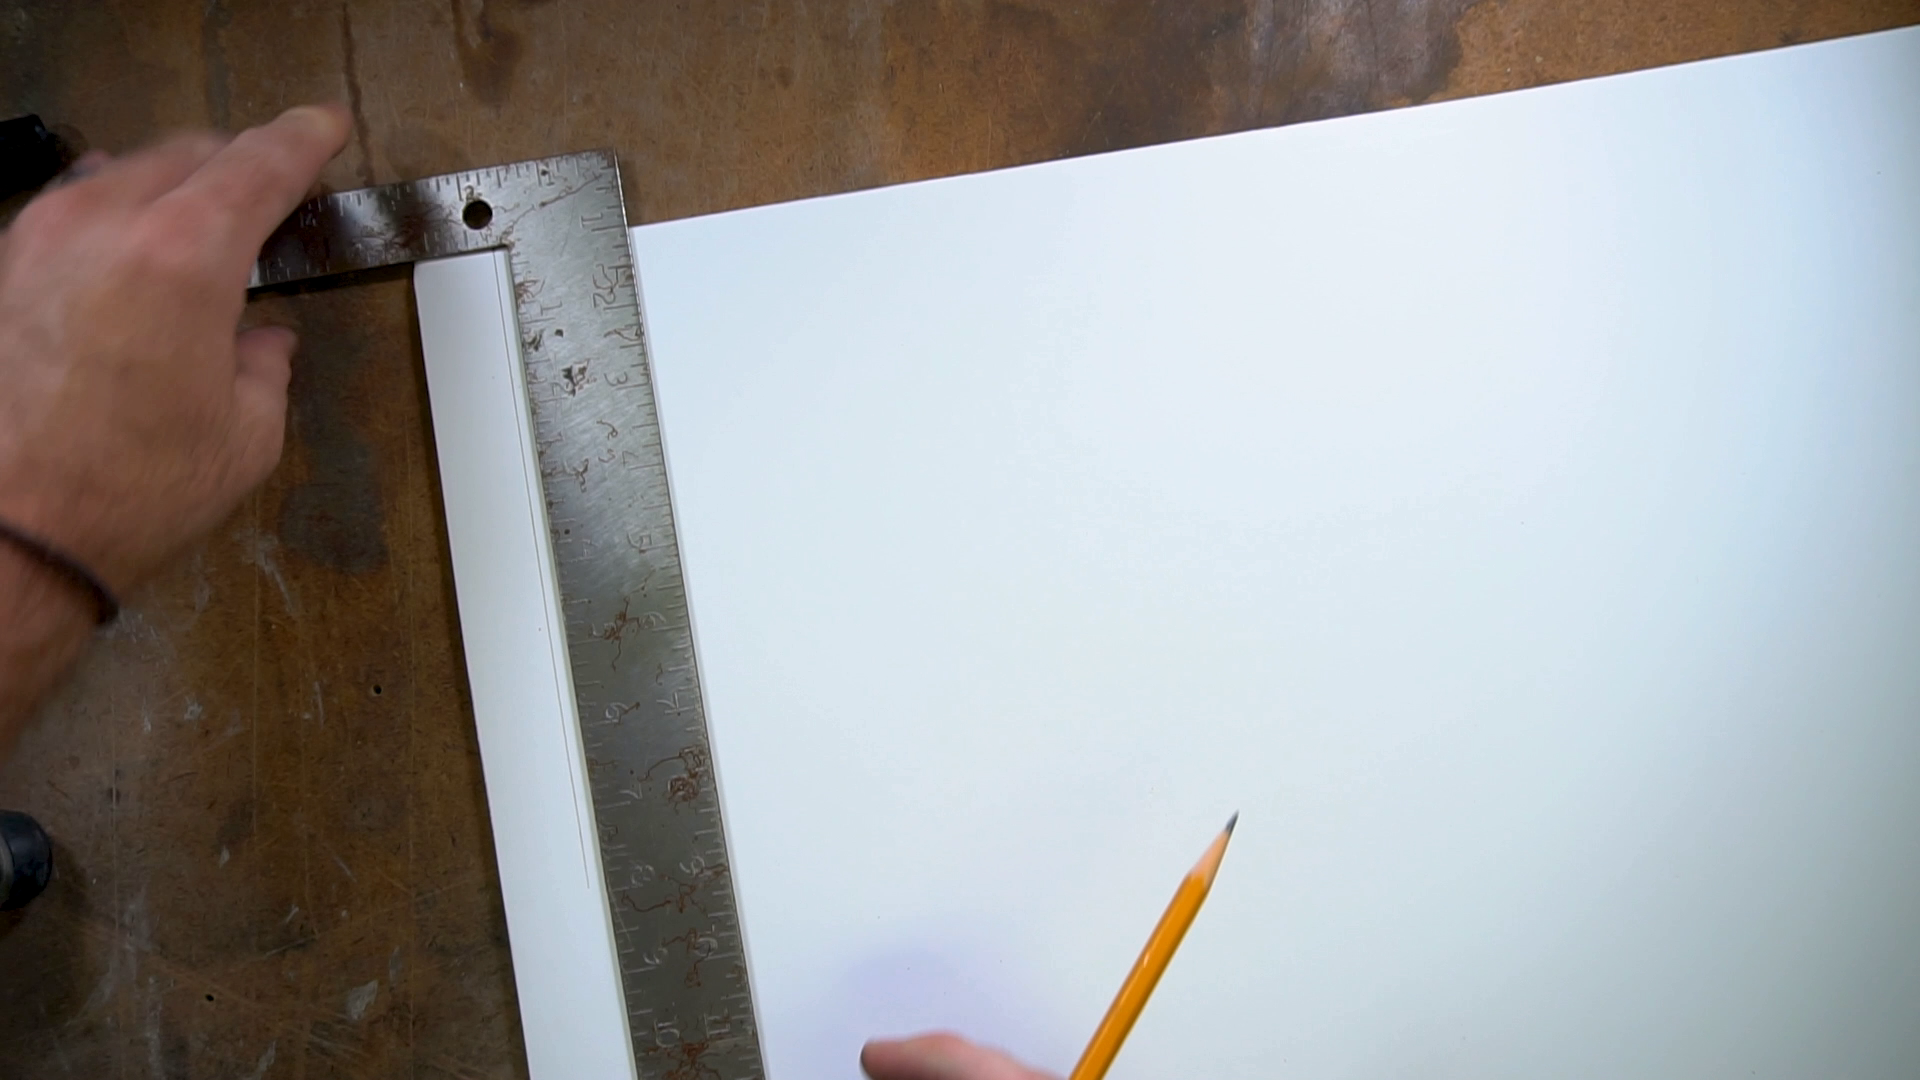
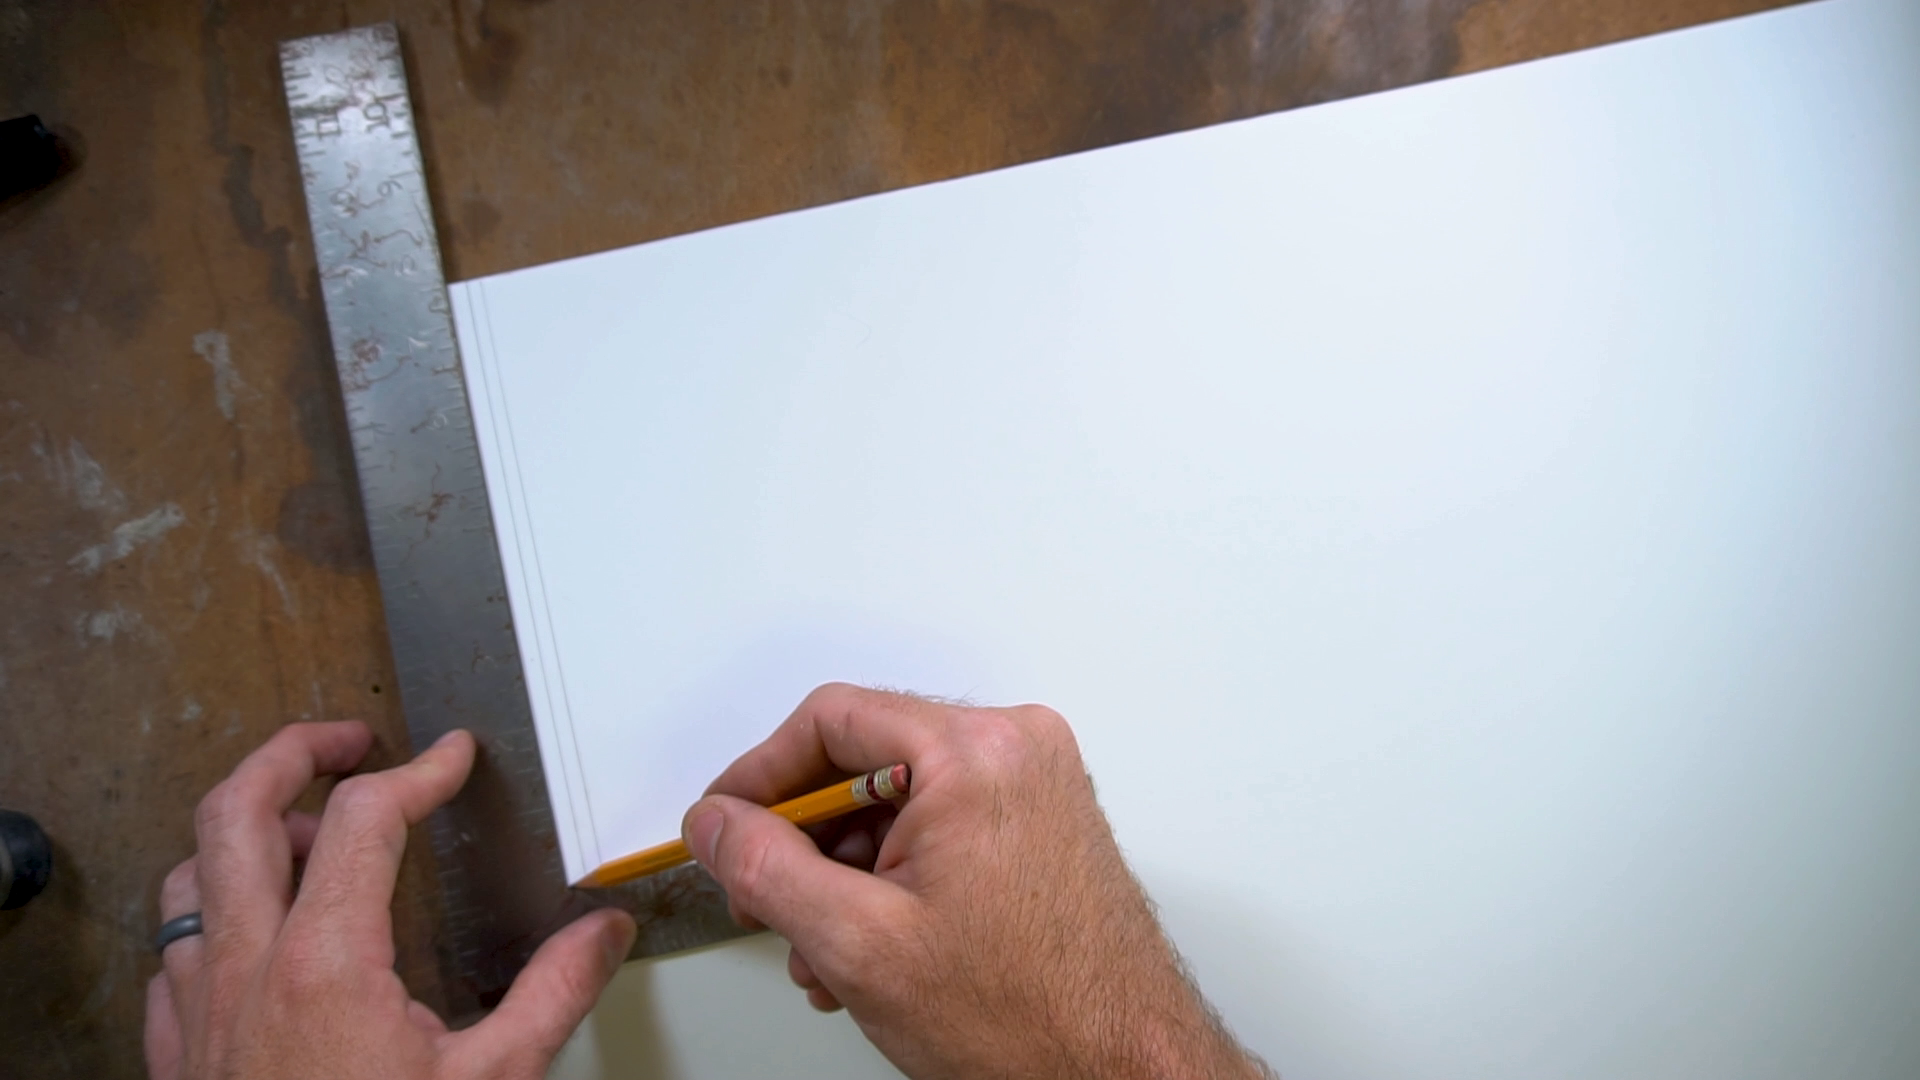
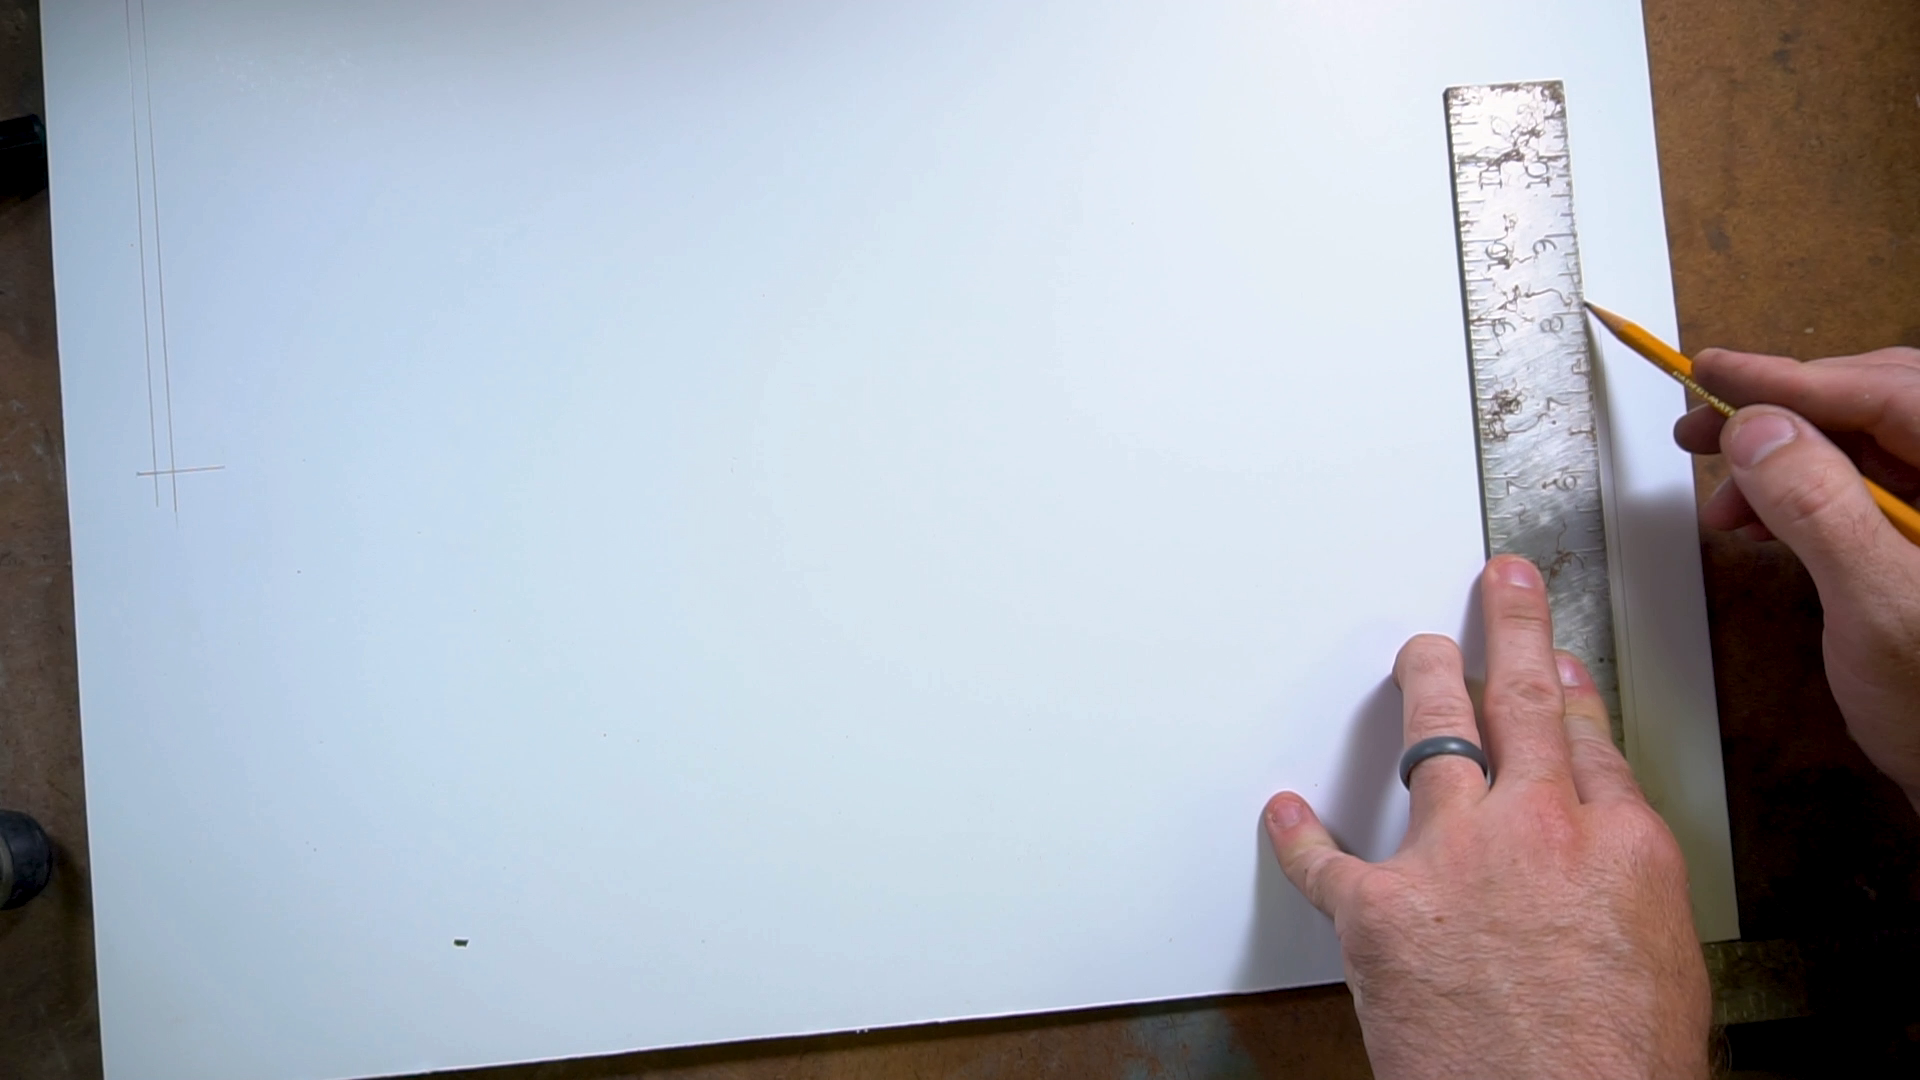

For the front piece you’ll want to mark and cut similar slits to the sides but we want them to be facing the same direction this time. So measure over an inch and make a 7 ½” mark, and then another mark ⅛” over. Cut that out, and then repeat for the other end. The front and back will look like big fat Ms. We want a window or opening to see the product through, so measure an inch in from the top and bottom and from the inner edge of the slits we cut, make a mark, and then cut that big rectangle out. For the back you’ll just want to make the exact same cuts as the front, but without the window or opening.


Putting this together is SUPER simple, just grab your pieces and let the little slits we cut interlock with one another. For the background you’ll want to grab your poster board and then measure and cut a 17” piece - this should slide nicely into the product booth - I usually just use a couple clothespins to hold it in place.
As for lighting you can grab pretty much any soft light and aim it from above - the white sides help give a nice, even light to our product, but you’ll probably want to soften it up a bit with a softbox, an umbrella, or some diffusion. You can even just lay the sheer diffusion part of a 5-in-1 reflector over the top and blast a light through it.
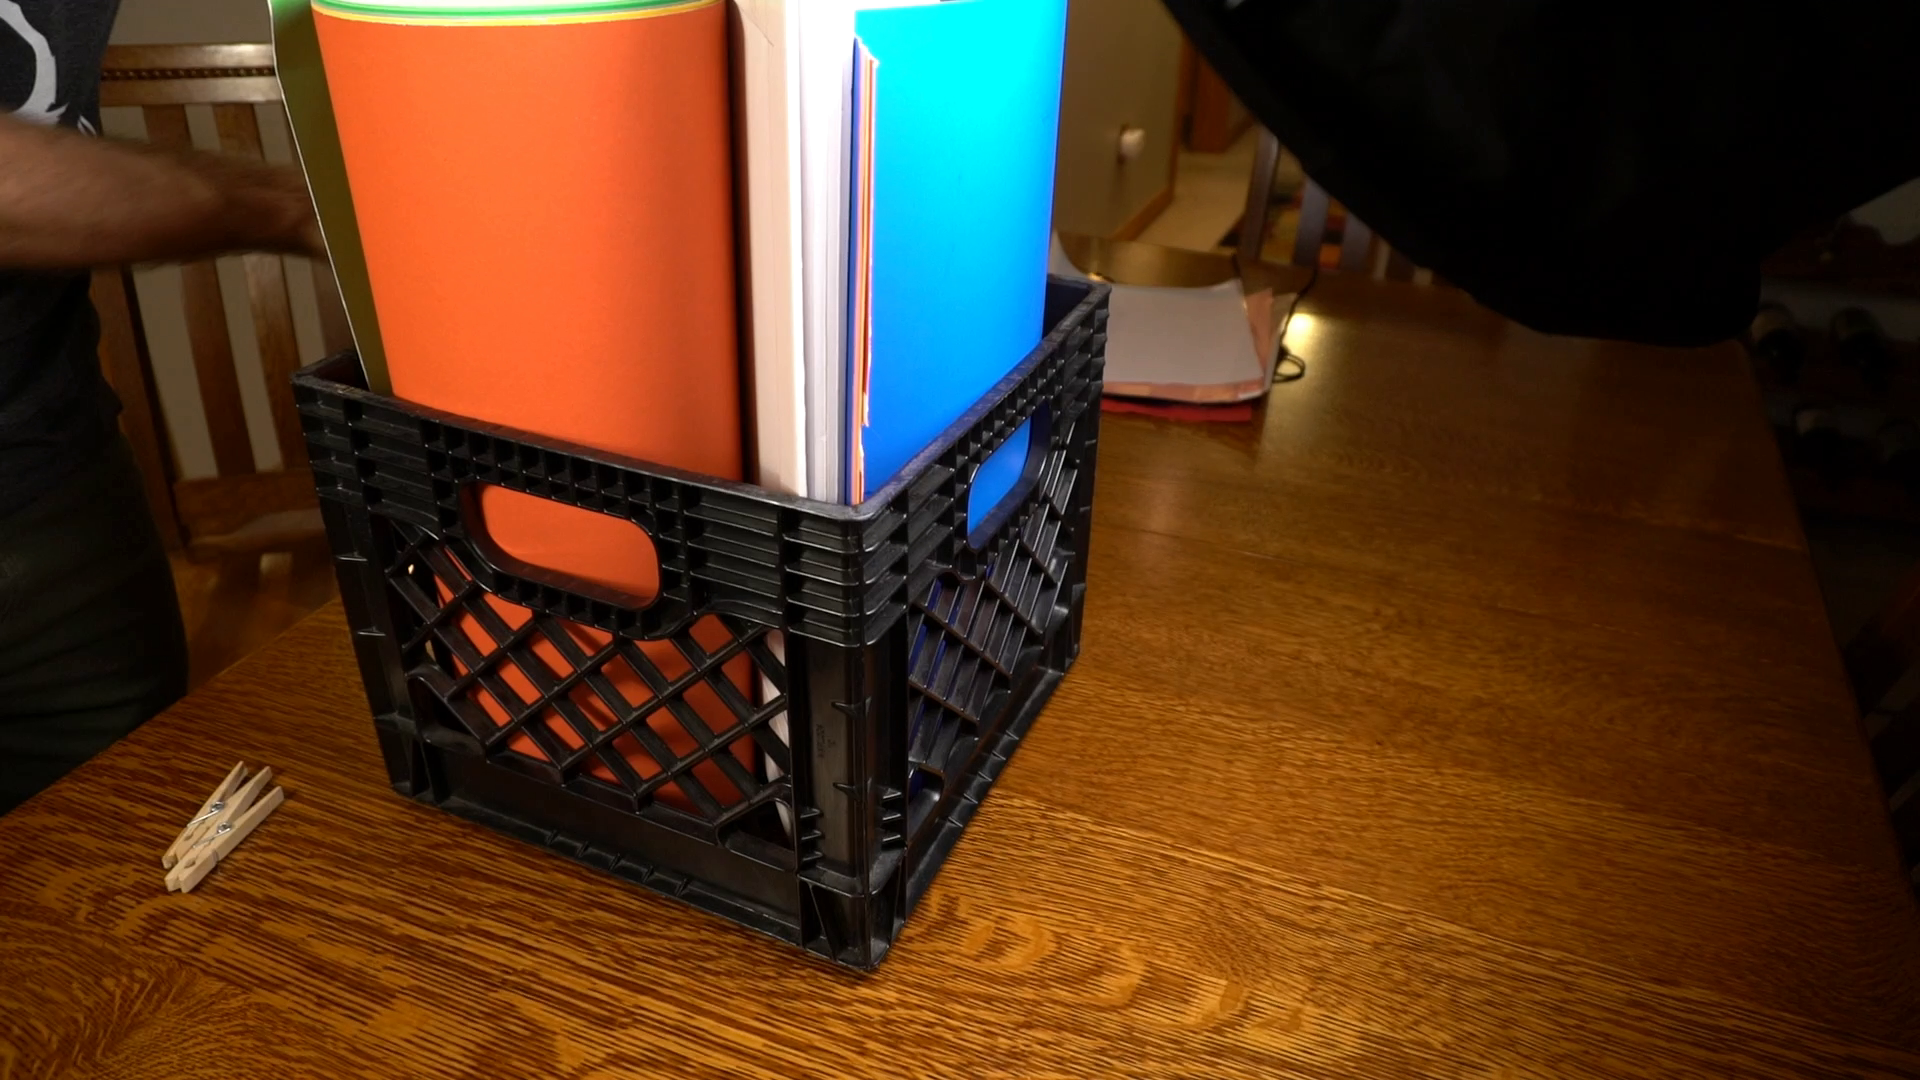
And there you have it - a portable product photo and video booth. Now this thing isn’t perfect, but the price and portability certainly make up for any shortcomings it might have. This whole thing, including a ton of various colored poster board, breaks down and fits nicely into a standard dairy crate for easy transportation.
If you want to watch the video of this tutorial, click here.
For more content like this, and things like gear reviews, tips, tricks, tutorials, fun behind-the-scenes posts, and cute dog pics, then sign up for our newsletter, subscribe to Droi Media on YouTube, like us on Facebook, and follow us on Twitter and Instagram.